We remain fully operational. Our teams are working around the clock to ensure your deliveries continue safely.

DOWNLOAD THE APP


Customer Services
Copyright © 2025 Desertcart Holdings Limited
DOWNLOAD THE APP
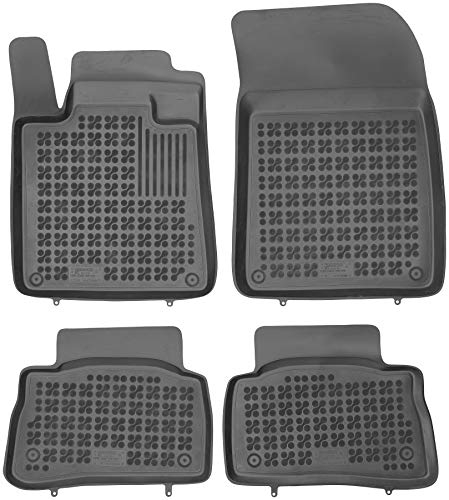


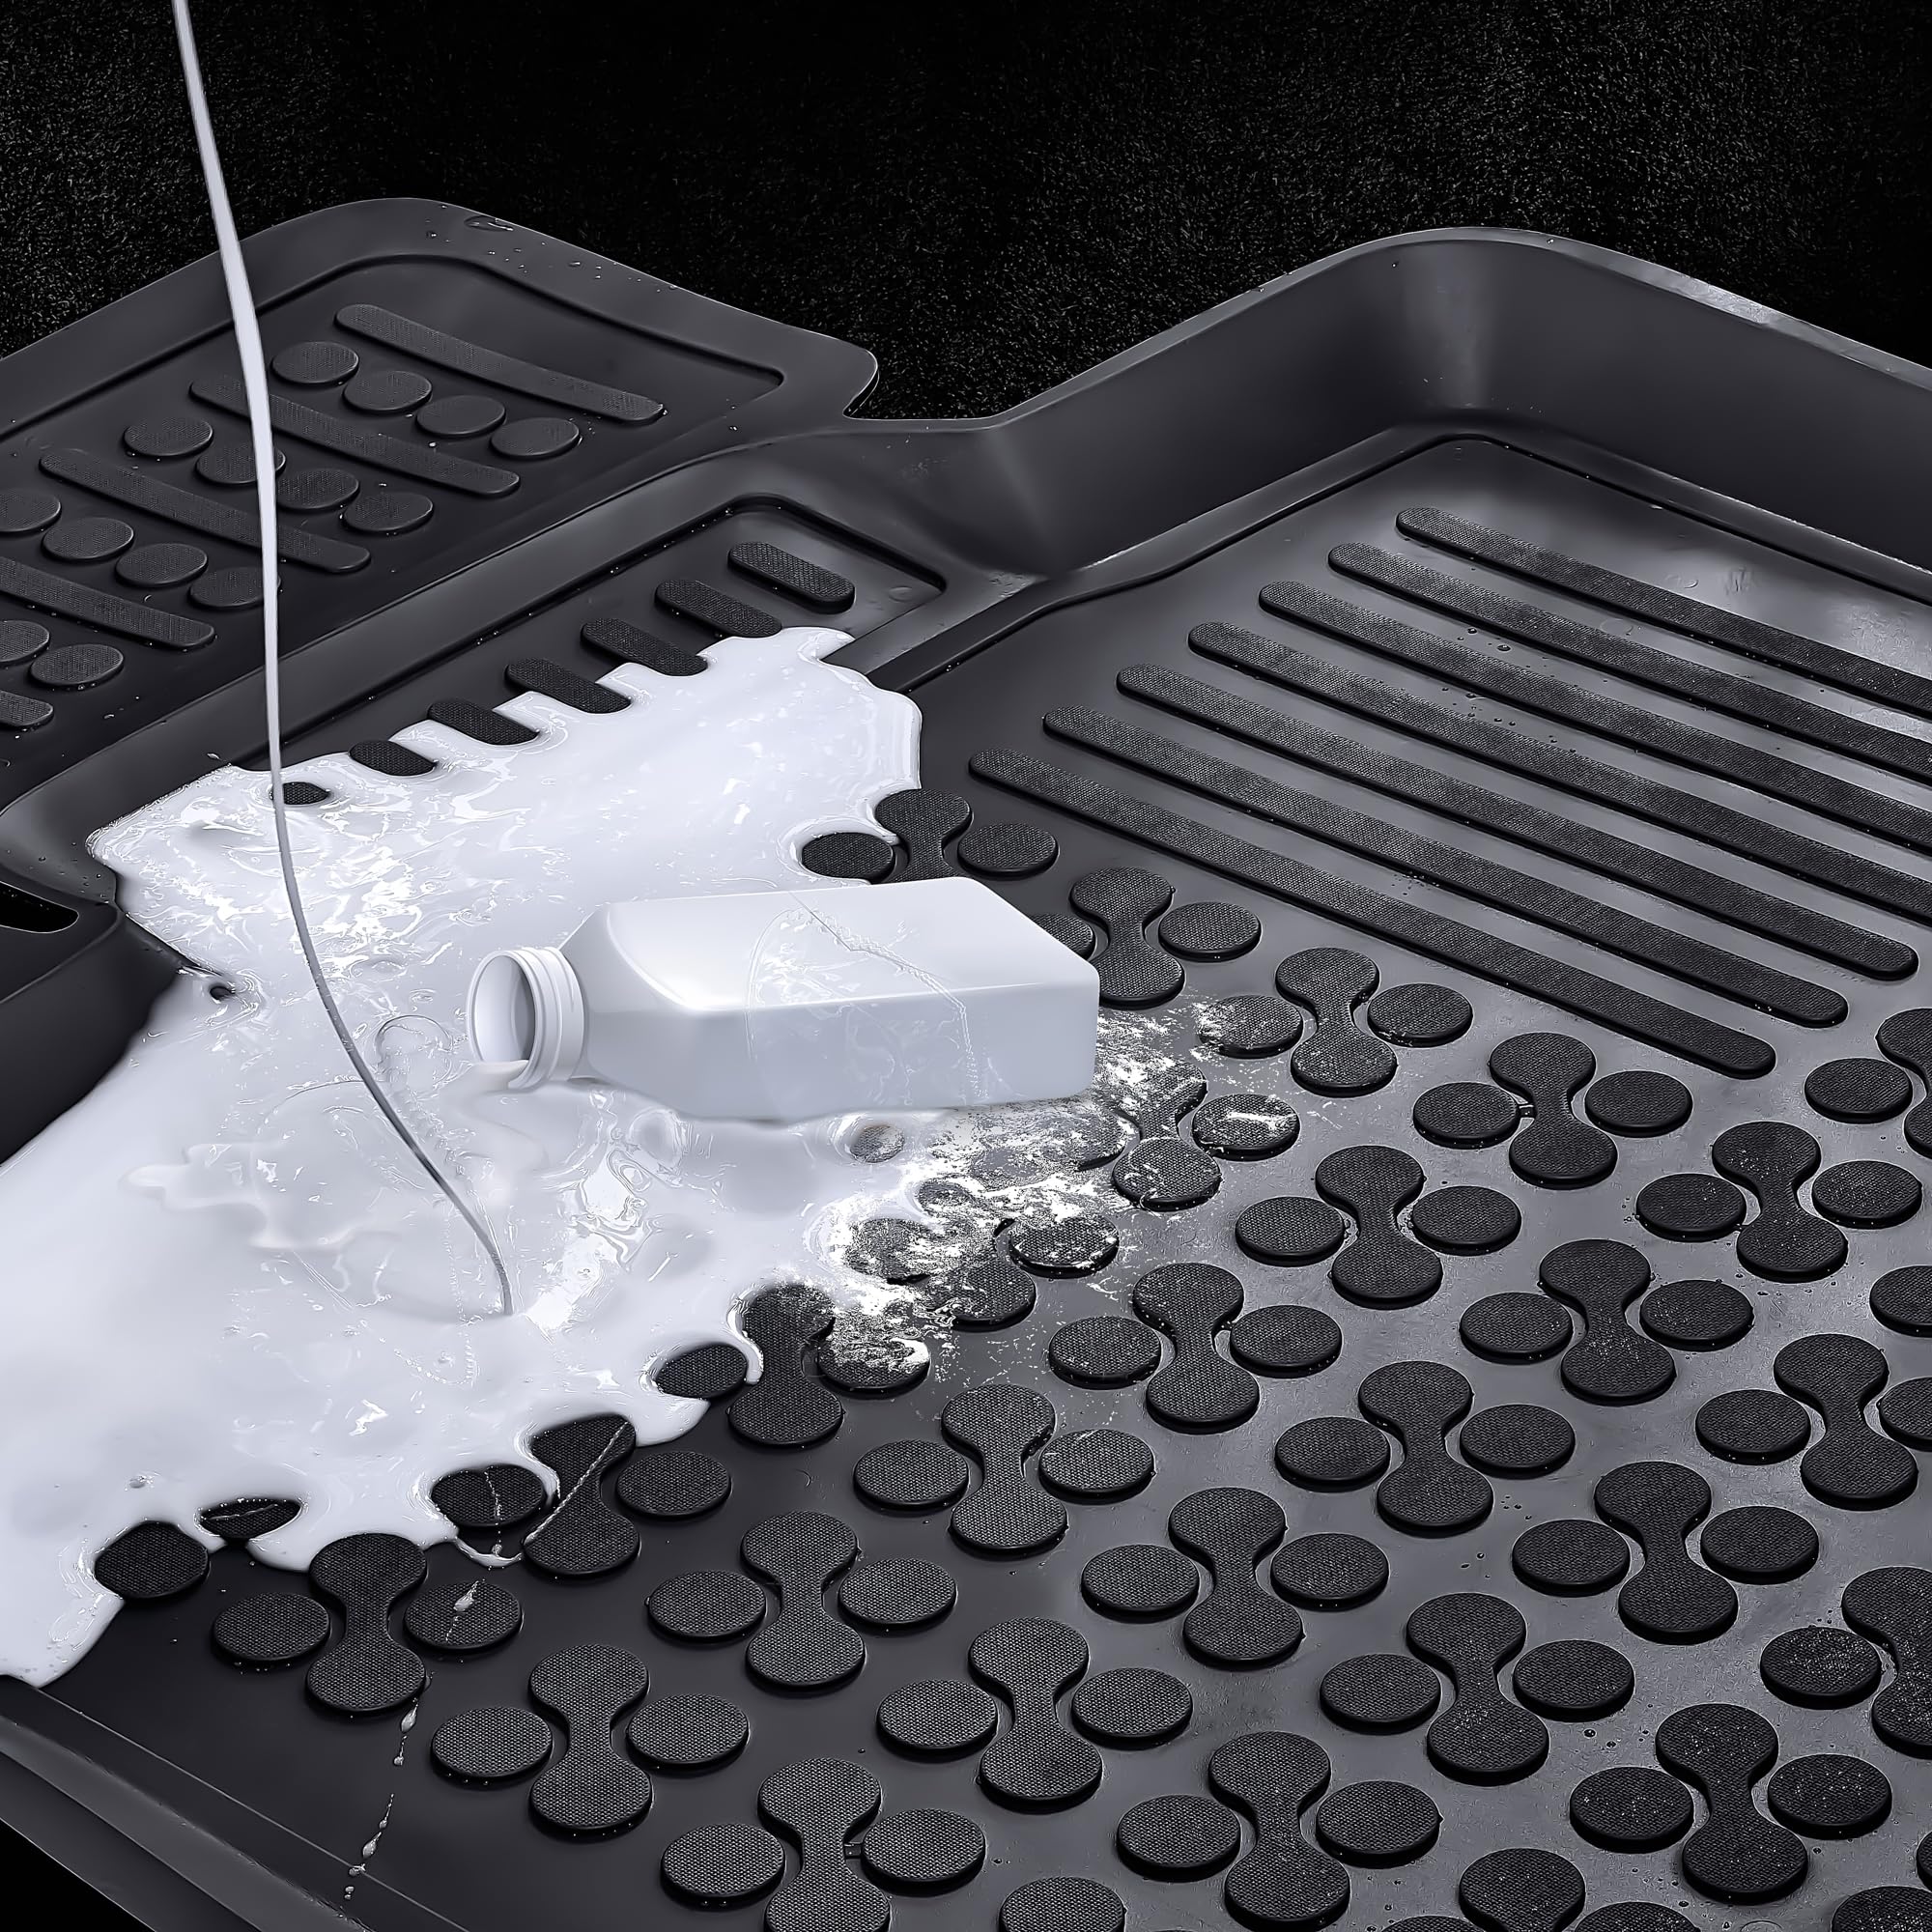


🛡️ Drive Clean, Drive Confident: The Ultimate Floor Armor for Your Suzuki!
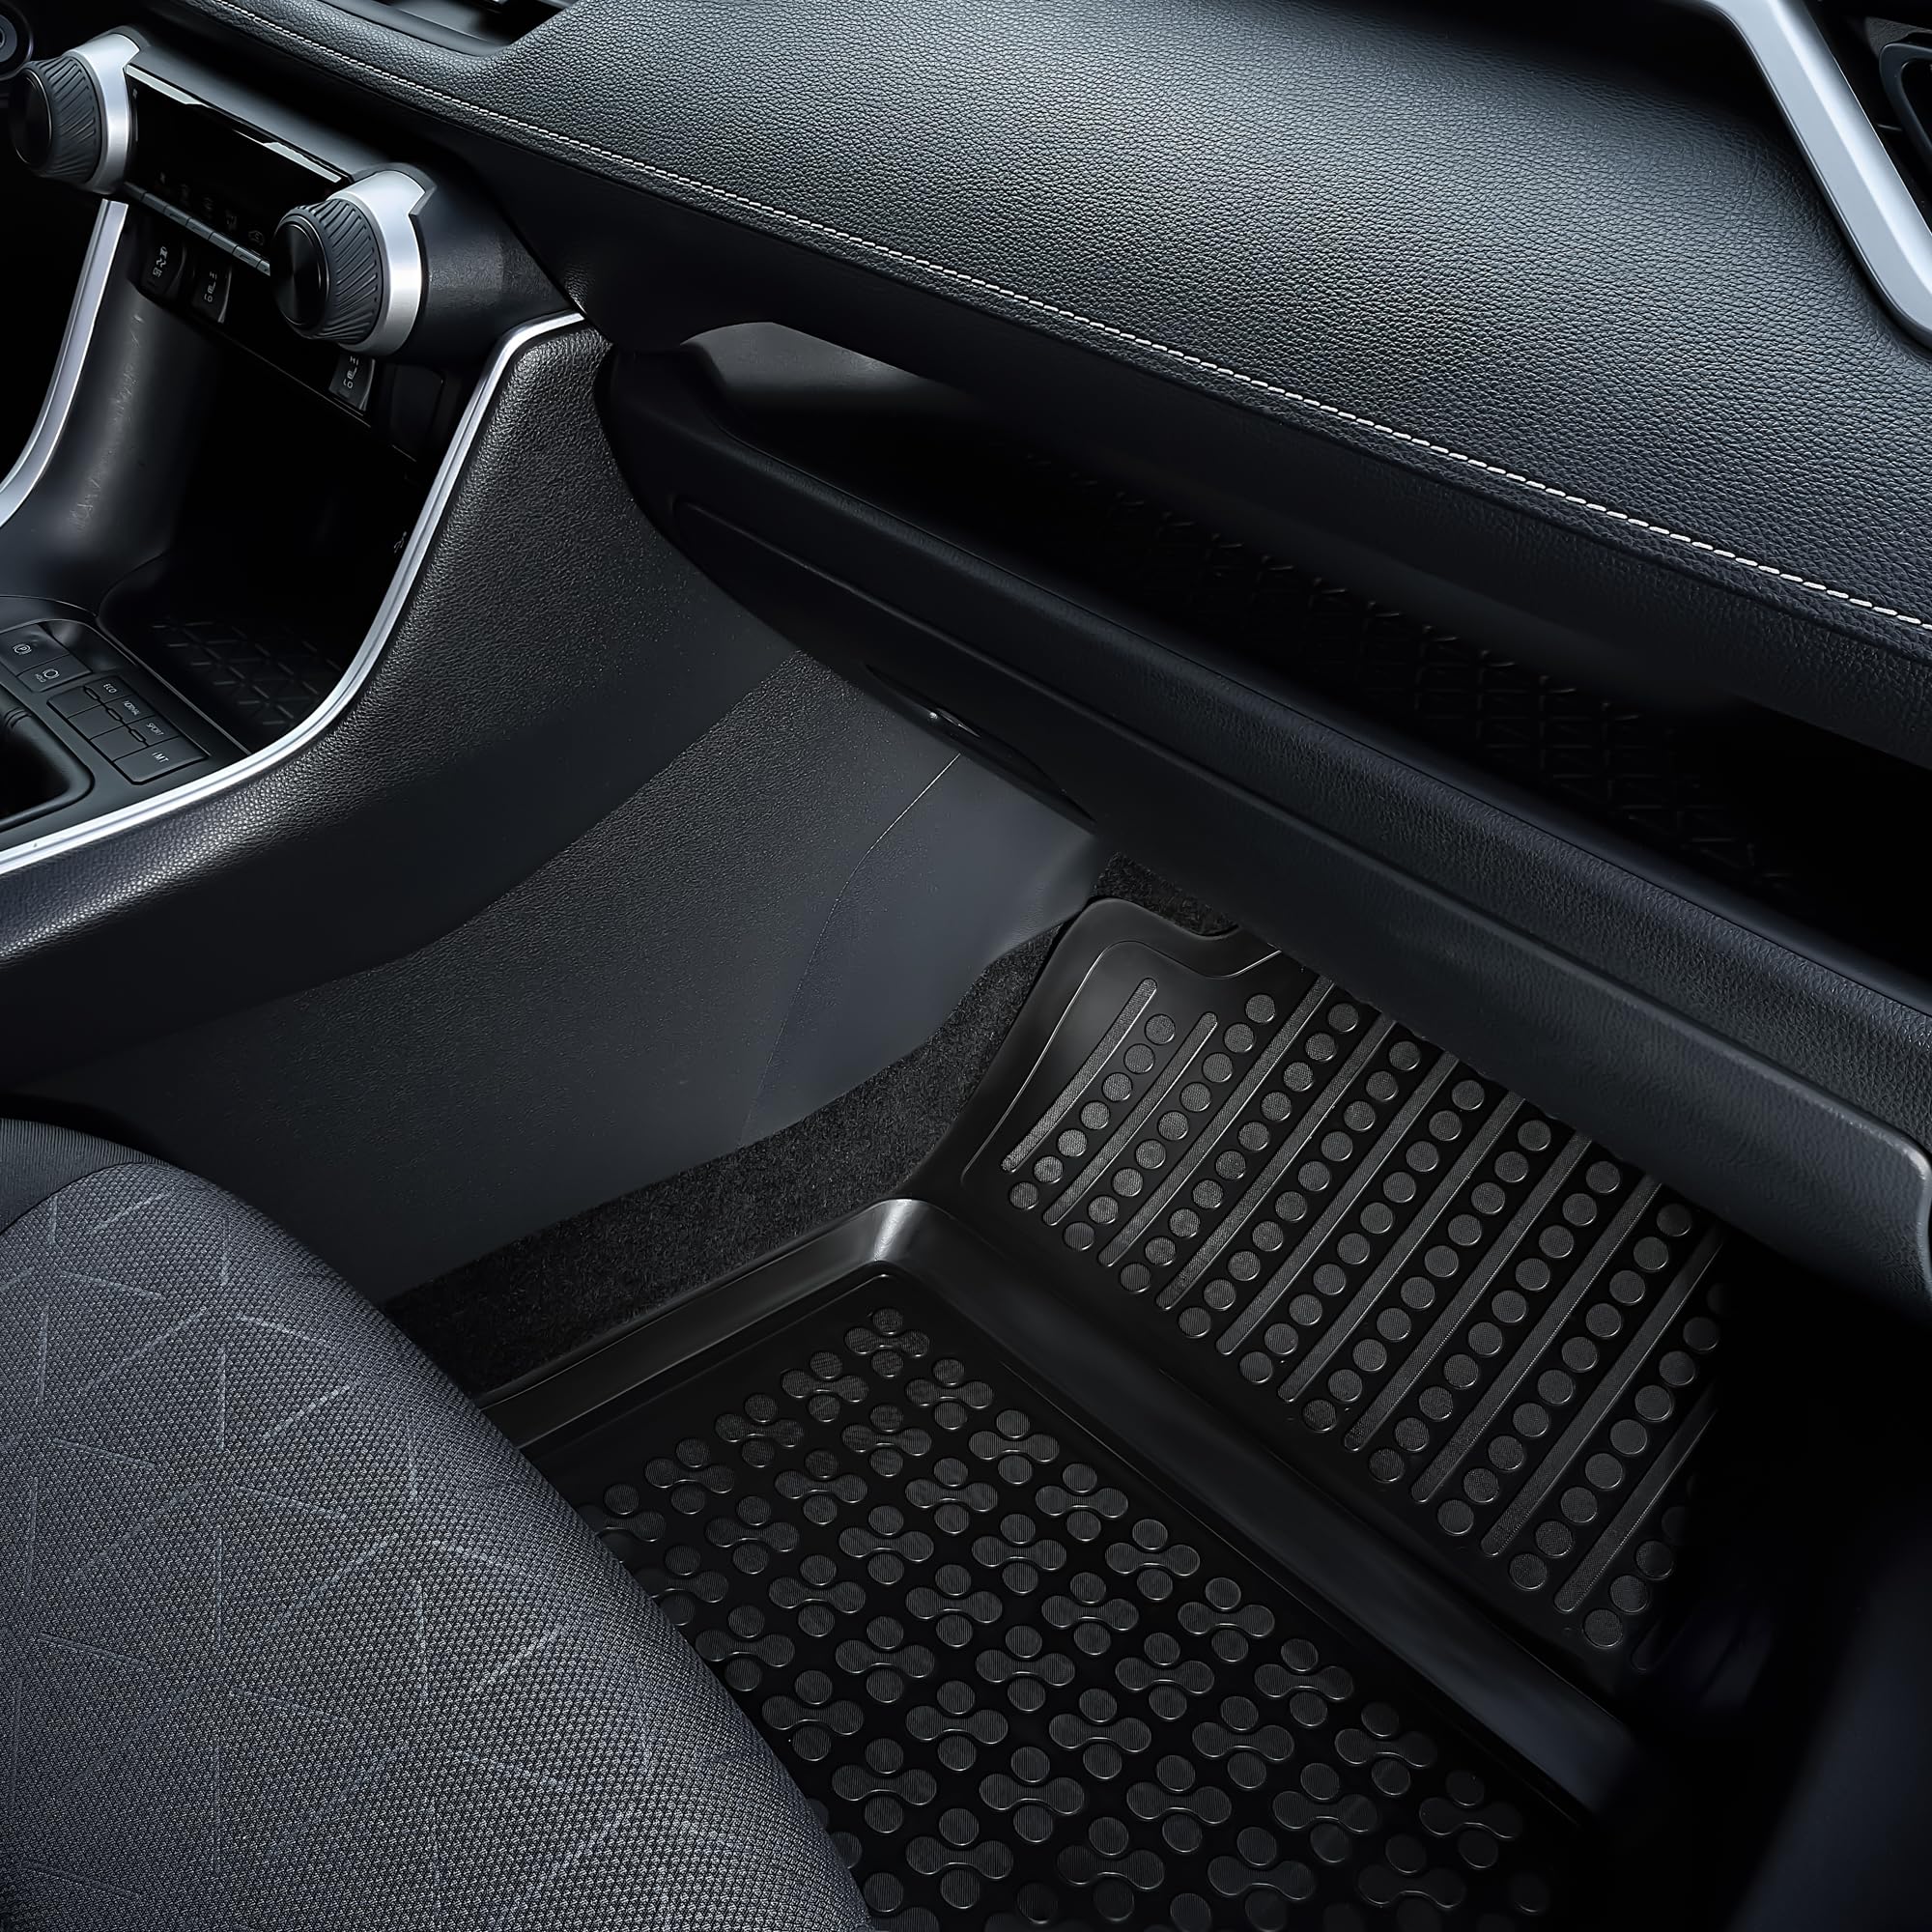
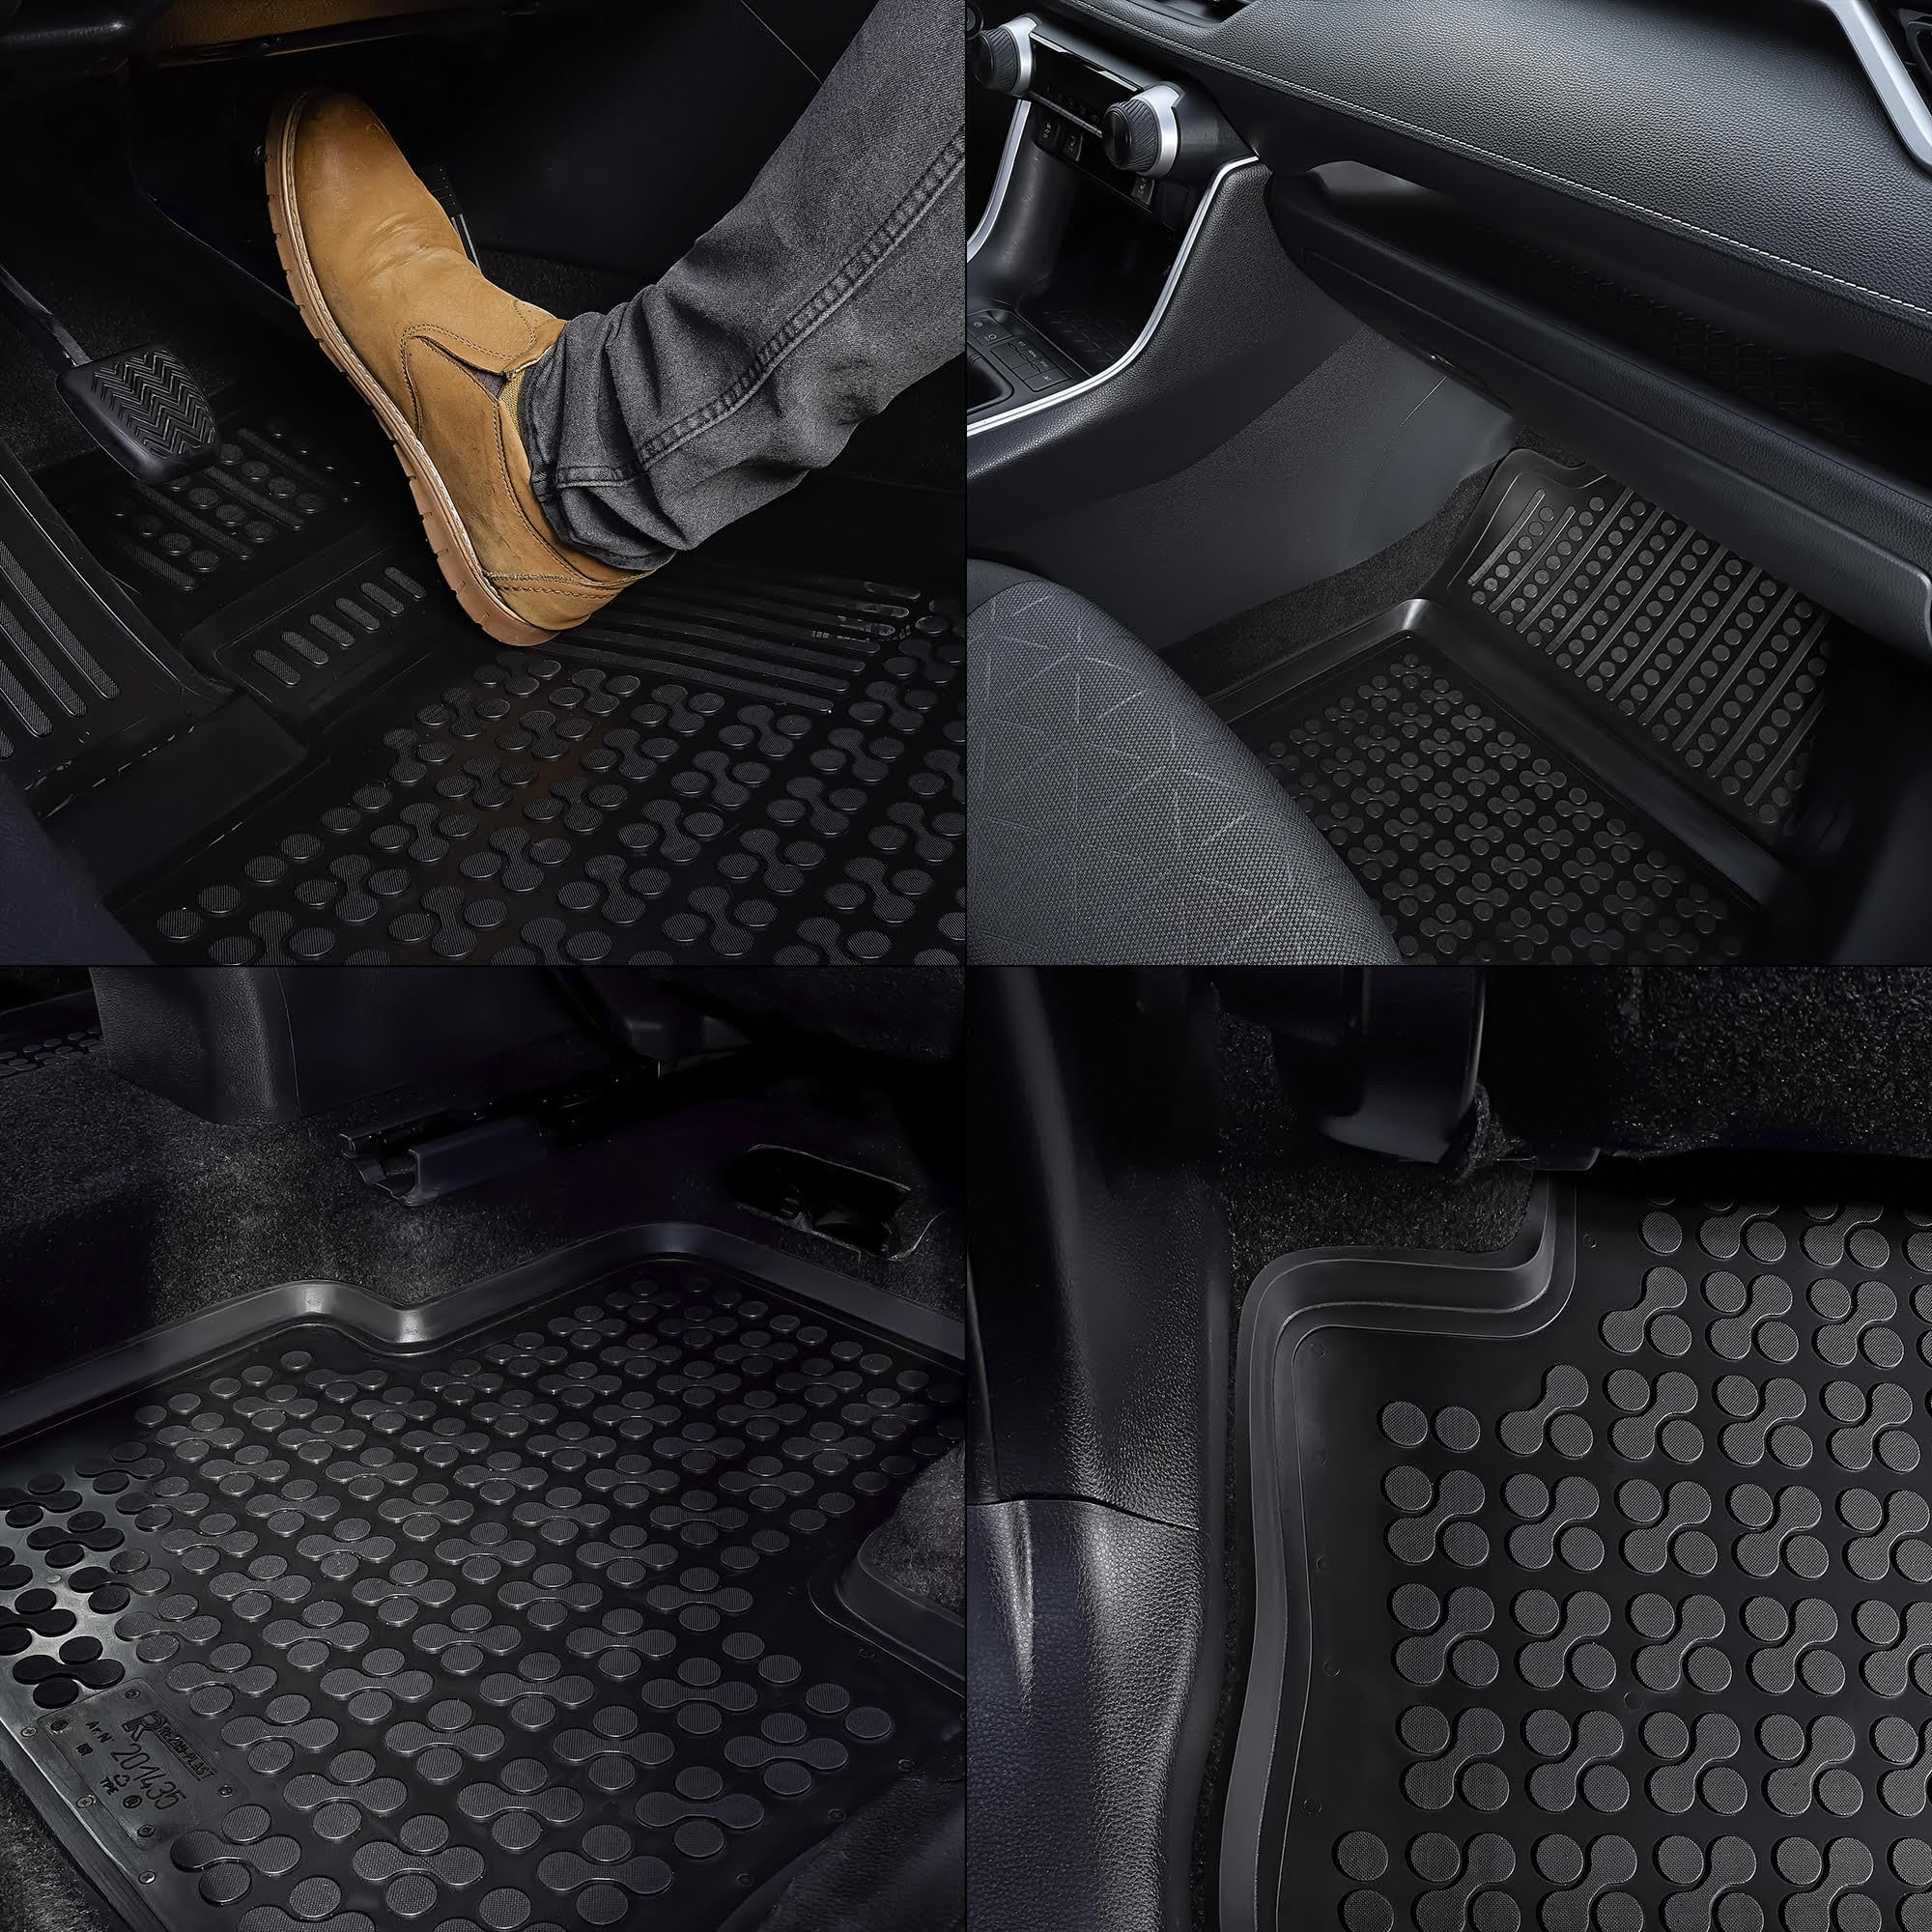
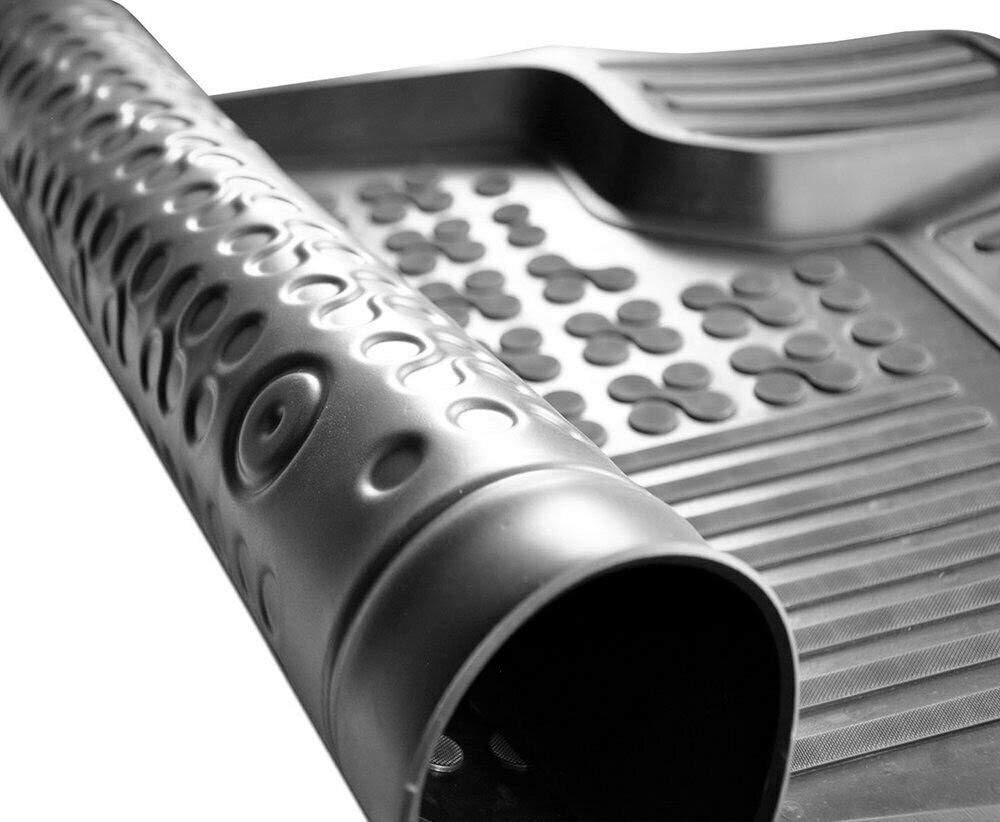
These custom-fit rubber floor mats are precision-engineered for Suzuki SX4 models (2007-2014), offering robust all-weather protection with premium, eco-friendly materials. Designed to stay securely in place, they combine durability, safety, and a fresh interior environment, making them the smart upgrade for any Suzuki owner.
| Manufacturer | Rezaw-Plast |
| Brand | Rezaw-Plast |
| Model | DFGH7865FGH5678GFGDRT |
| Item Weight | 10 pounds |
| Product Dimensions | 24 x 22 x 0.07 inches |
| Country of Origin | Poland |
| Item model number | Y56DFGHU65646GHF |
| Manufacturer Part Number | 202206/BLK |
V**Y
This REZAW PLAST floor mats are exceptional!!!
They’re less expensive than their competitors and I’m sure a superior product.Love it!!!
D**.
Sx4 floor mats
These worked great for my 2013 Suzuki Sx4.
C**K
Excellent quality; nice fit
These are really nice, pliable rubber - not stiff plastic. Only issue was the instructions were poor for adding the retention clip pieces to the mats and how to install the threaded “nibs” onto the front driver and passenger floor/carpet areas where the retention clips of the mats snap to hold the mats in place (my SX4 didn’t have pre-existing retention “nibs” in the carpet/flooring). So here are some tips:1) Cut out the 2 circle areas on each of your front mats, cutting along the INSIDE edge of the larger circles.2) Take the “big circle clips” and put those on the back area of the mat where you cut out the circles and then use the “small circle clips” and snap those tightly into the big circle clips3) Place the front mats into their exact positions on the floorboard then use a black marker to mark the dead center of the 2 holes created by the 2 circle clips of each mat.4) Remove the mats then use a pointy-ended scissors to punch small holes (about 1/2 the diameter of the threaded part of the nibs) where the threaded nibs will screw into the carpet5) Test fit the nibs to make sure they screw all the way in and then put the mat in to make sure the nibs line up on the mat to where it is positioned properly.6) If the nibs are positioned correctly, remove the mats, unscrew the nibs and then coat the threads and base of the nibs generously with clear 2-part 5-minute epoxy and then screw the nibs firmly into place and then wait at least 20 minutes or so.7) After waiting 20 minutes, lightly “test” the nibs by mildly wiggling them to make sure they are firmly in place then put your floor mats into place
Trustpilot
1 month ago
1 week ago