


💖 Elevate Your Nail Game: DIY Glamour Awaits!
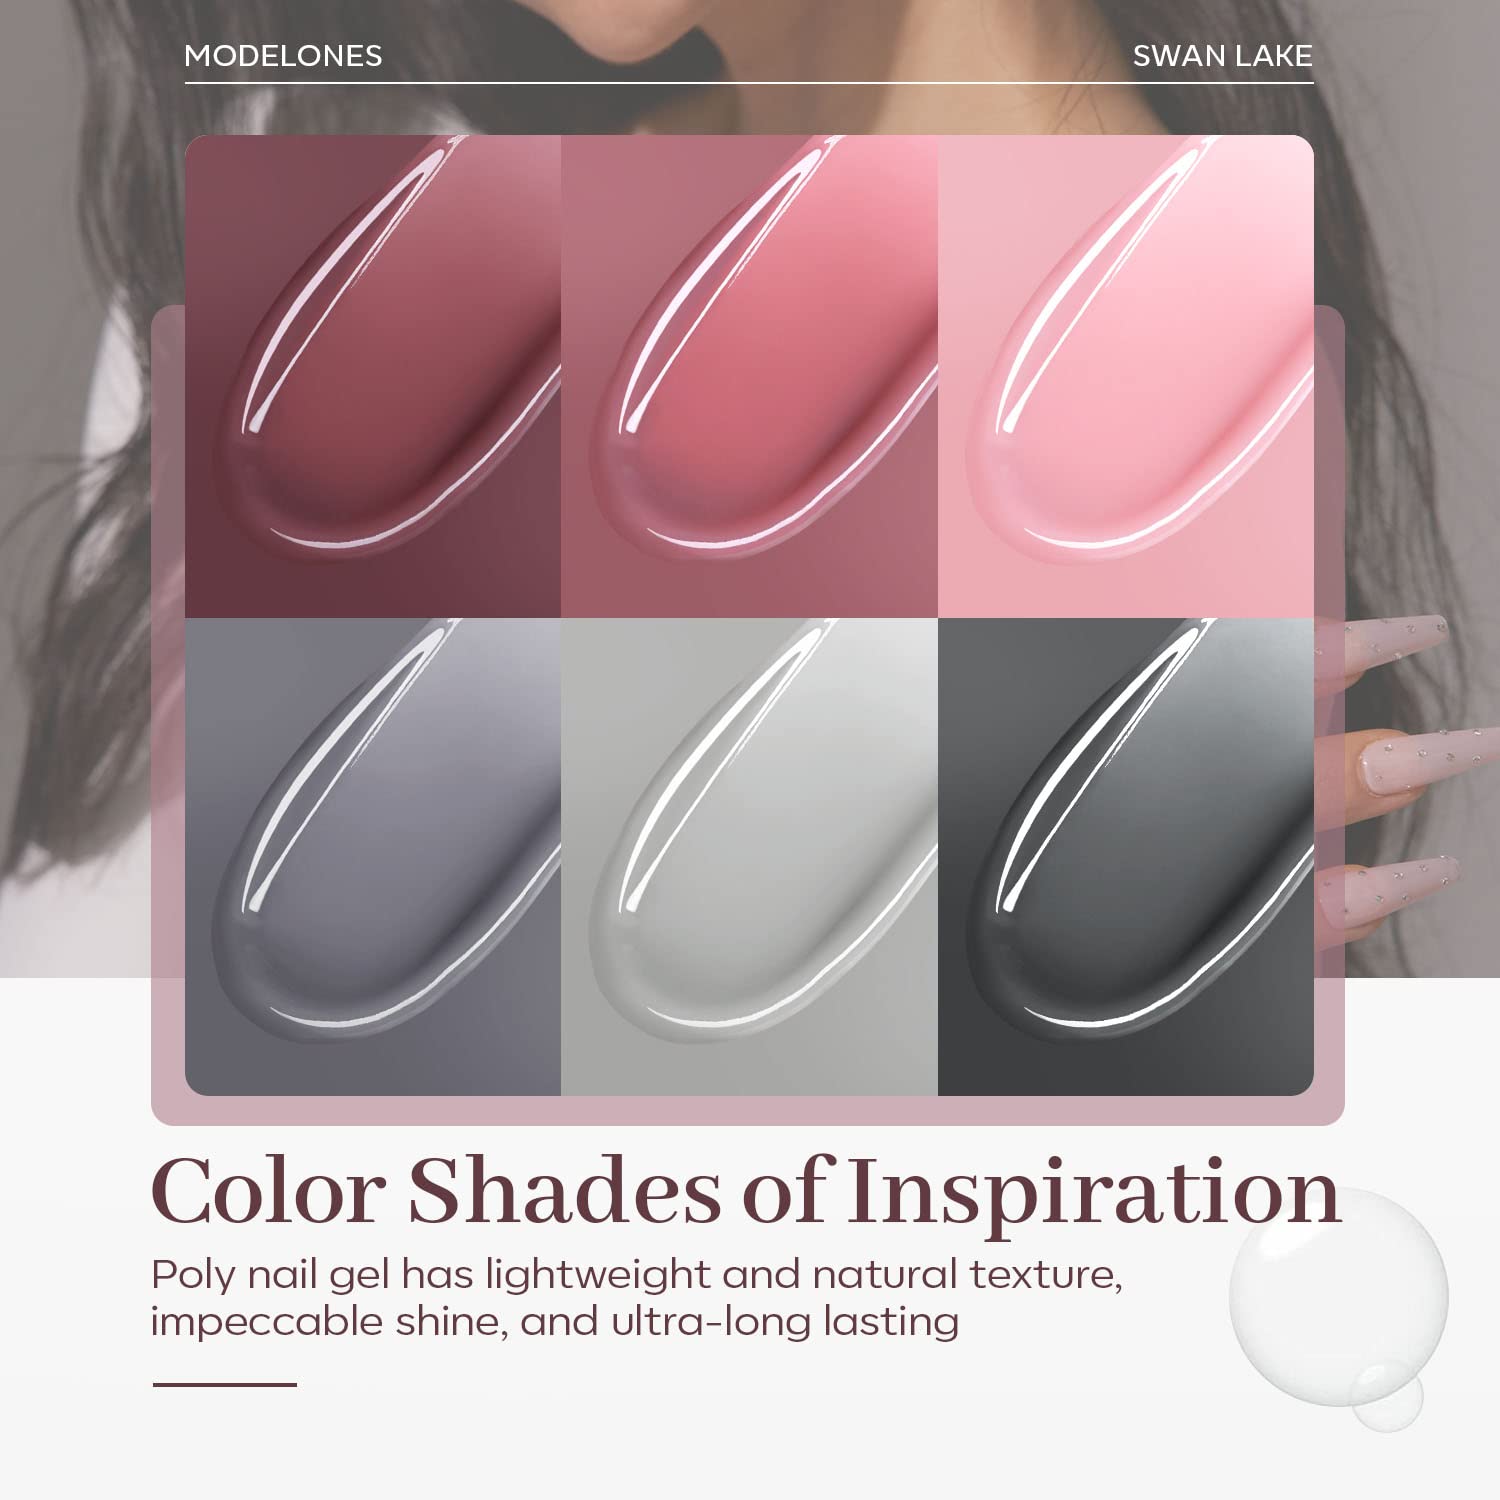
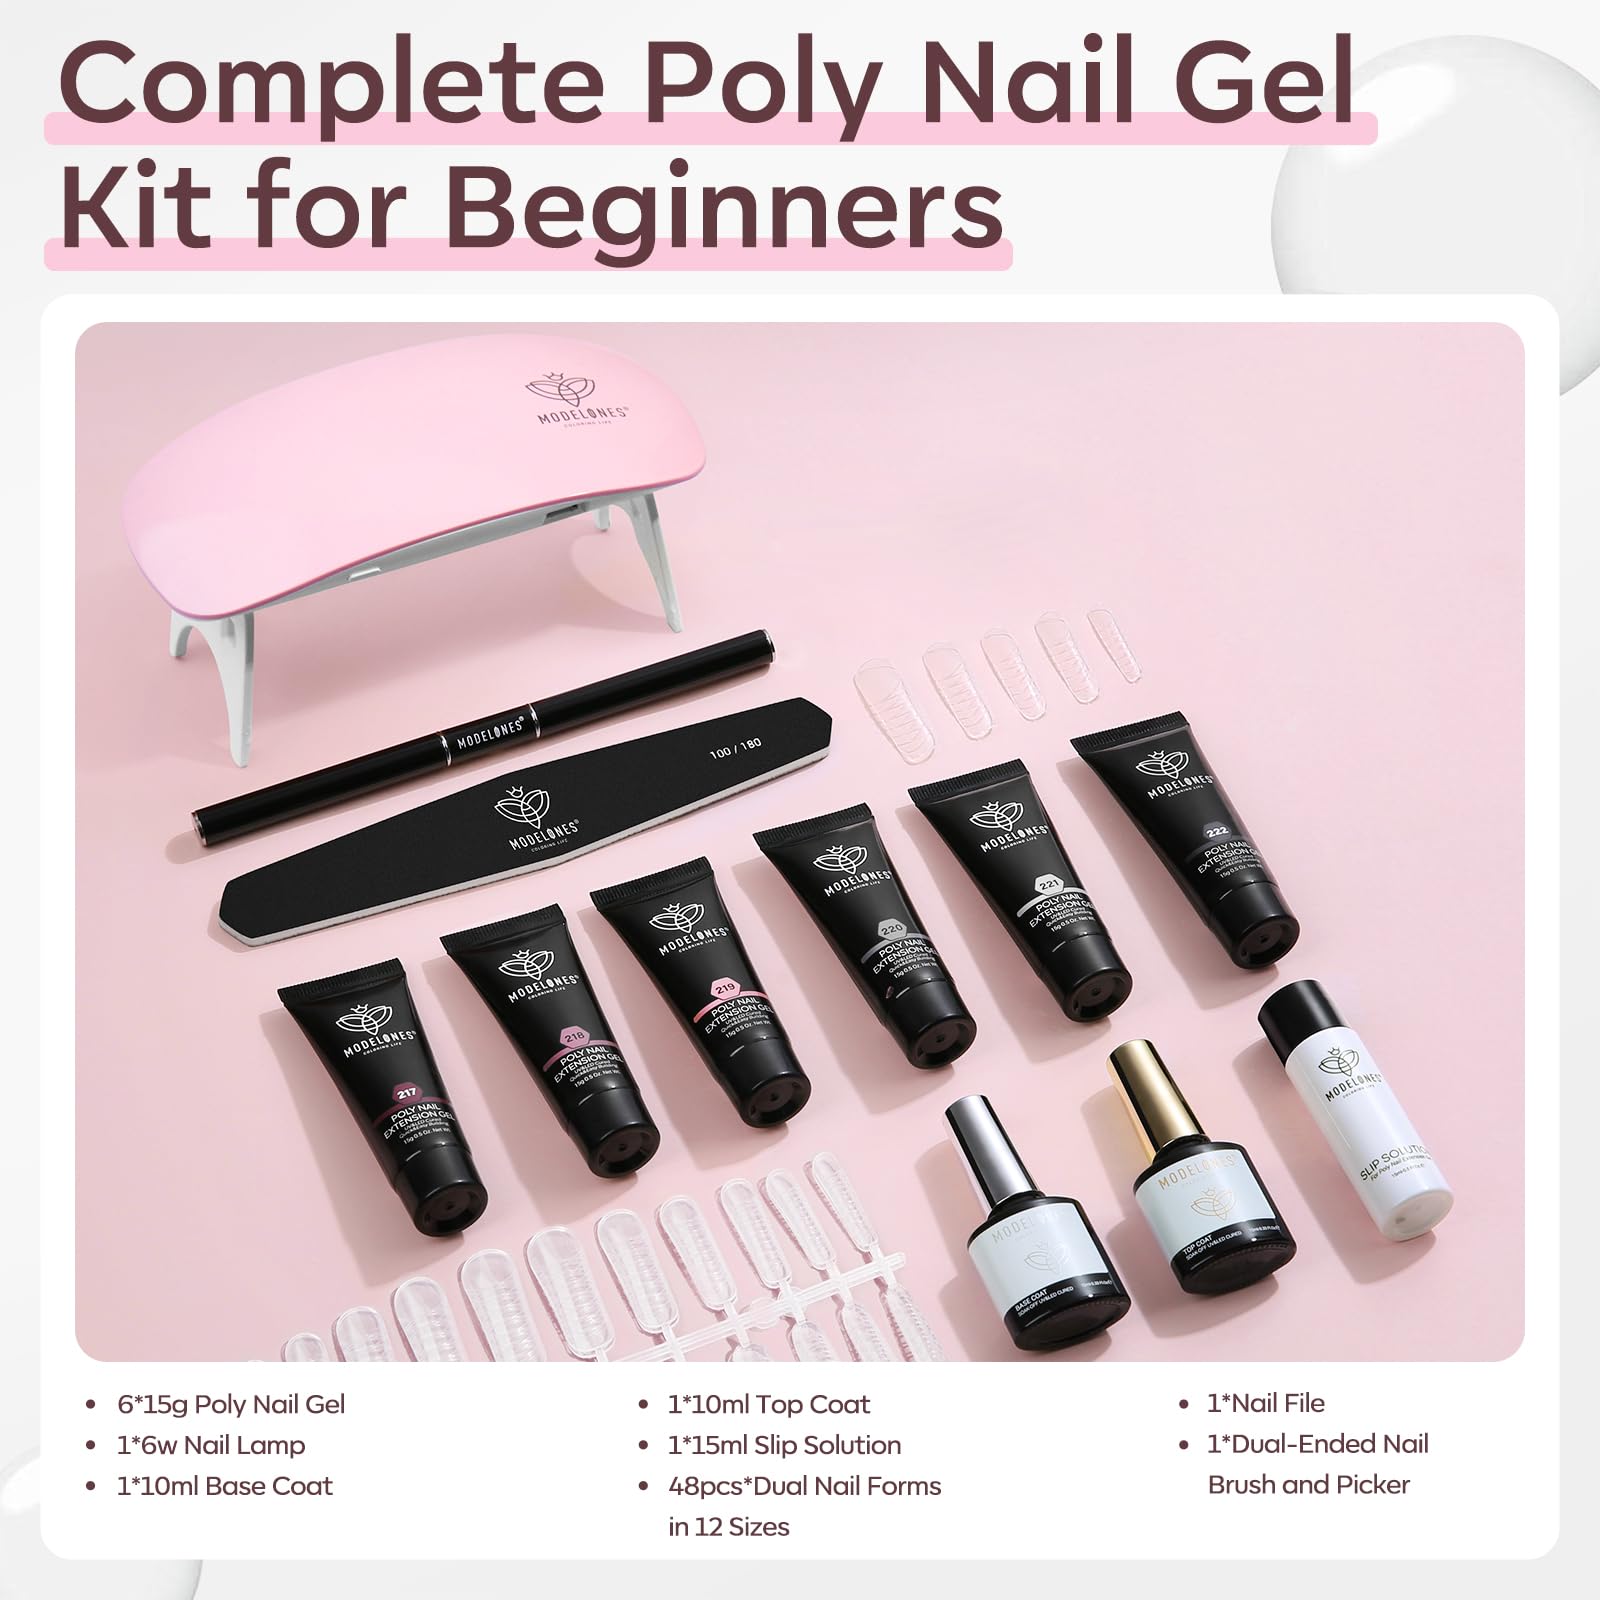
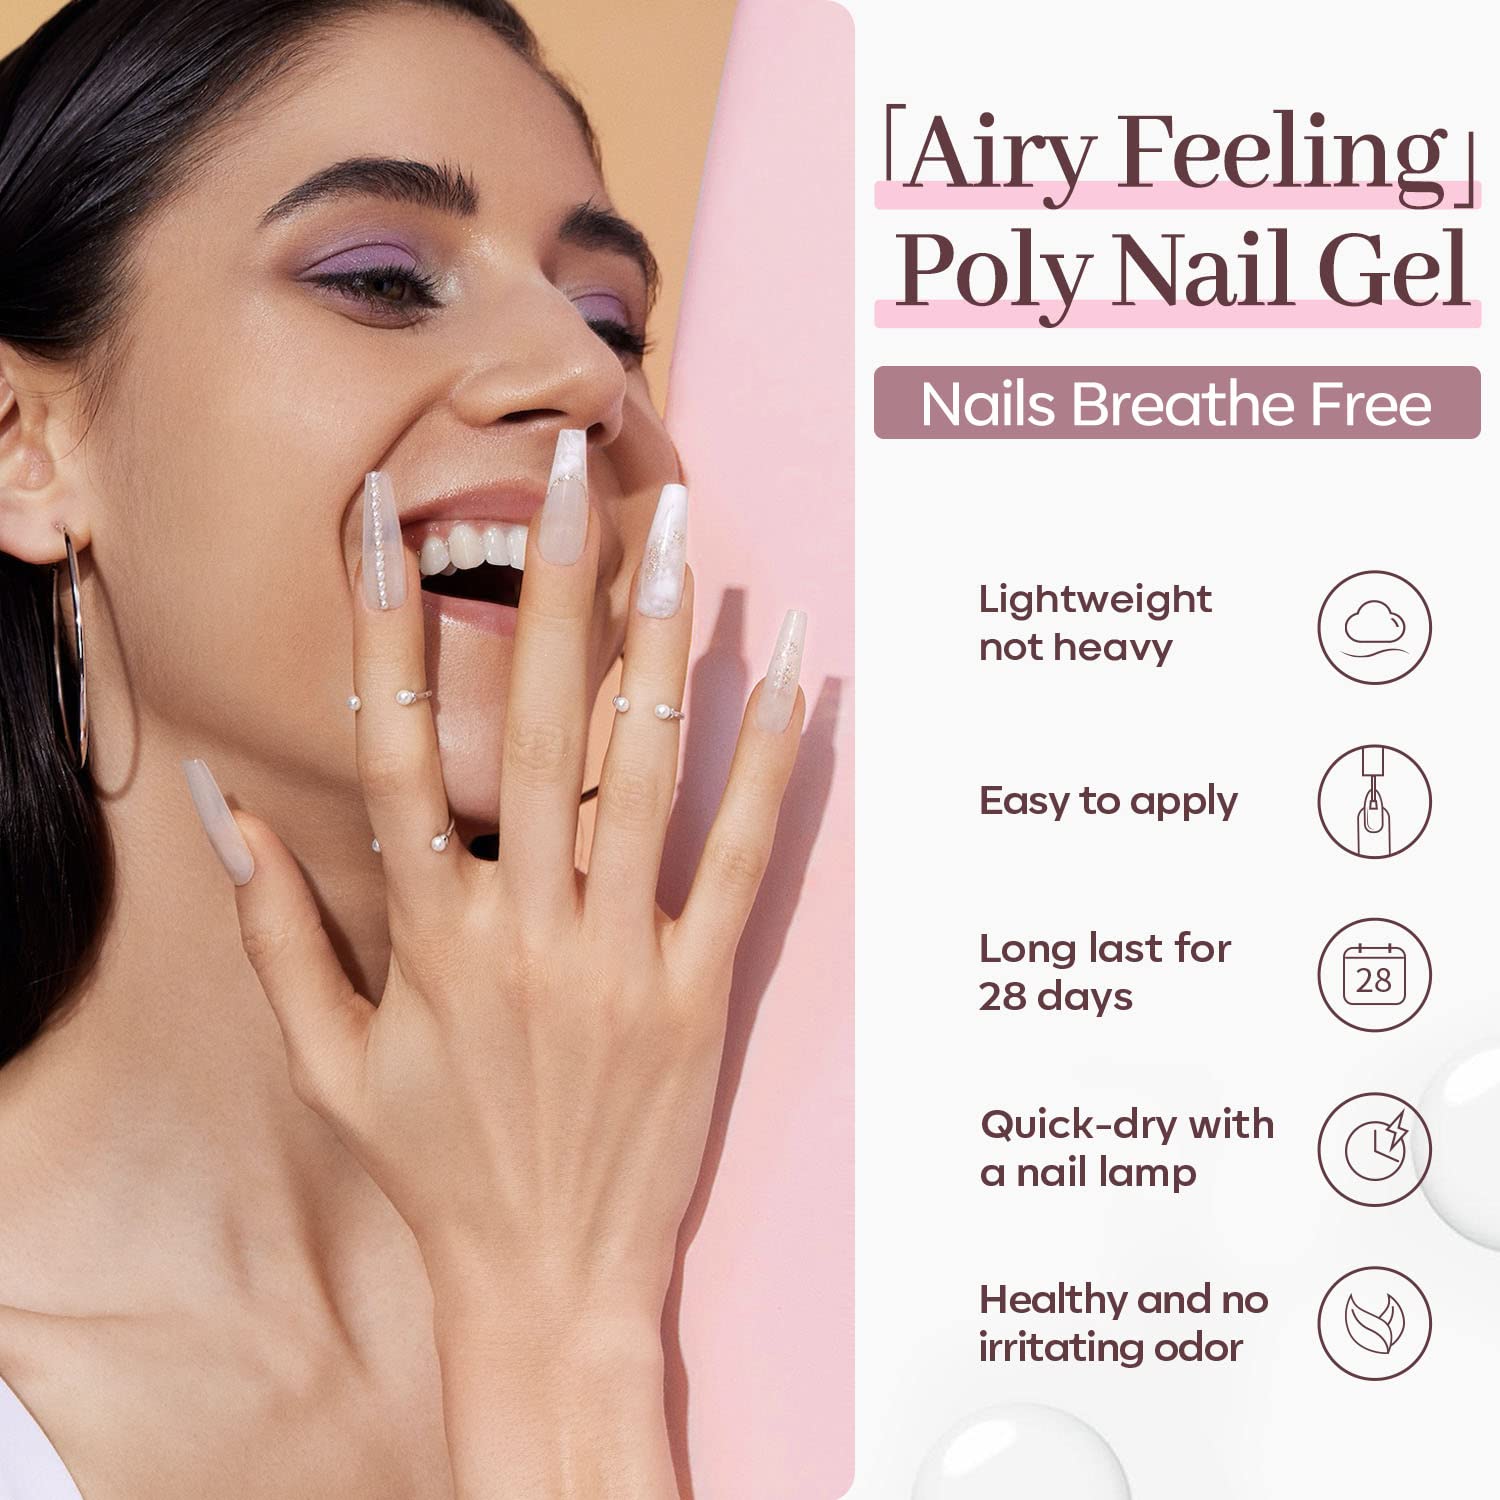
The Modelones Poly Nail Extension Gel Kit is a comprehensive nail art solution featuring 6 vibrant colors, a 6W mini nail lamp, and all essential tools for creating stunning manicures at home. With a long-lasting, toxin-free formula, this kit ensures your nails look fabulous for over 28 days, making it perfect for both beginners and seasoned nail enthusiasts.
K**E
Worth it!
I was tired of spending $50+ every two weeks to get my nails done. I decided to try polygel nails and save some money. This was the first time I have ever attempted to do them myself. I did figure out some things along the way that definitely make the process easier:- After applying the base coats, work on one nail at a time. If you try to do polygel on your whole hand and then cure, it just won’t work. Doesn’t matter if you have nail clips. Going one nail at a time isn’t really that bad.- Don’t forget to spread the gel on the underside unless you have an electric nail file to fix the clump. Don’t forget to cure the underside of the nail too!- Put the polygel on the plastic nail piece, not your actual nail. Try spreading it out to your desired shape/length and then press it on.In terms of stickiness, I don’t think the polygel is that bad. Dip your brush in the provided solution and you should have an easy enough time spreading the gel. I plan on trying again in a couple of weeks once I have some growth. I’ve had them on for one week so far and no issues at all! None of them have popped off, cracked, etc. I’ve also gotten a lot of compliments on the glitter gold.
Y**Z
I love it
Easy to use… and my nails looks beautiful.
S**9
Did not receive the right colors
I like the product but only received the pinks and burgundy did nit receive the white color gels which is disappointing still learning on how to perfect the whole concept because they are either too thin and break off or too thick and you really need to practice but then the tubes are small and doesnt last very long if your learning and it is helpful if you have an electric nail file to be able to file down the excess thickness when done and I have not yet learned the correct way to get the thickness right so its trial and error but hopefully will learn soon but very time consuming to do correctly and if your like me I can do one hand pretty good but doing the other hand is challenging but fun to try to learn the art
L**N
Definitely worth it! So fun!
This was such a pleasant surprise! Yes, it took me a while to do both hands and there was a bit of a learning curve (and a few minor drawbacks), but for the price and amount of product this is a steal. Do note that I just did my nails today, so I'm still not sure of their longevity. Here are a few tips (and note that the attached picture was my first attempt with any kind of poly gel, so I hope to improve):1) The base coat doesn't completely dry under the UV light. At first I thought this was an issue with my light, but it worked fine for the poly gel and top coat. I think maybe the base coat is supposed to be tacky to help the poly stick, but I'm not sure. Just a note!2) It's easy to get a bit of an indent line around your cuticle from where the plastic mold sits, even if the brush is used around it prior to the UV light. I've found that, after curing, you can squeeze a bit more of the gel directly onto your nail at the base and pat it a bit in the areas that could be filled in, just like they'd do at a salon with powder gel or acrylic. Buffing the nail after you cure it again makes it so, with the top coat, it's just as shiny!3) I noticed that the poly gel builds up easily behind your nail, especially the pinky (where it's more concentrated). Be sure to run the brush/slip solution over the back prior to curing. I just did these nails today, and a nail or two is super-thick from the back. I'm trying to figure out if I should re-do them or if there's another way I can chip away at the buildup. Ultimately, though, it's really not a big deal!4) There is minor burning when curing the poly gel under UV, which I know from experience getting nail extensions in Asian salons (many of which, in China and Vietnam, use clear poly gel instead of powder or acrylic) that it's to be expected. I've never had a reaction previously, but I'm aware that others have. Just be aware of your skin sensitivities!
K**U
Temporary Nails
I gave these a shot, but they didn't last.I did 2 full sets of nails in a 48 hour span.The first - I had 5 of them come off within 2 hours after applying them and I hadn't been doing anything strenuous or even put my hands in hot water.The second - I had 3 loosen after I showered and then they started to come off while I was at work. Which left me to take them all off, because I can't have random nails popping off at work and leave one or two on.The nails weren't damaged from the mixture, I had no allergic reaction. I thought the colors were very pretty, though not the same as pictured. I really really wanted these to work from how much I enjoy doing my own nails. The nails, while lasting, were sturdy, I had no issues typing with them.A big complaint is the top coat would never dry, so I had to use a different top coat to make sure it dried and wasn't still tacky and sticky. Because it wound up picking up a lot of fur and I had to clean a few of them off, which left them not smooth anymore because of the issue.Unfortunately, I won't be using them ever again.
B**H
Love it! With one important adjustment…
I love nails and I love nail art. I consider myself decent with nails and decently knowledgeable, though I am no nail tech.I think using the included nail forms is too hard. I was frustrated and wondered if nail guide sticker forms would work to build the nails (like how you would build them with acrylic). I ordered some nail guide stickers, watched some tutorials on YouTube for the same technique, and it works great! It definitely takes a lot of time and some practice, but if you have the time, I think it is worth trying this technique. Use acetone as your slip and the brush that comes with this to shape the nail, and once cured, file and shape as needed. Definitely prep and finish the nails as instructed. You may want to invest in nail primer and dehydrator (not included). Note: you DO need a UV lamp for these! 36 watts or higher is recommended for a full cure. It is also recommended to take care of your skin by protecting it with sunscreen or UV gloves if using for an extended period of time. Also, you can develop an allergy to this product if you get it on your skin a lot, so be careful to avoid getting it on your skin and you should be fine. Be patient and practice and you will love this product!
Trustpilot
2 months ago
1 week ago


