


🔥 Keep Your Ride Cool and Comfortable!
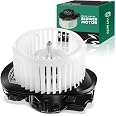
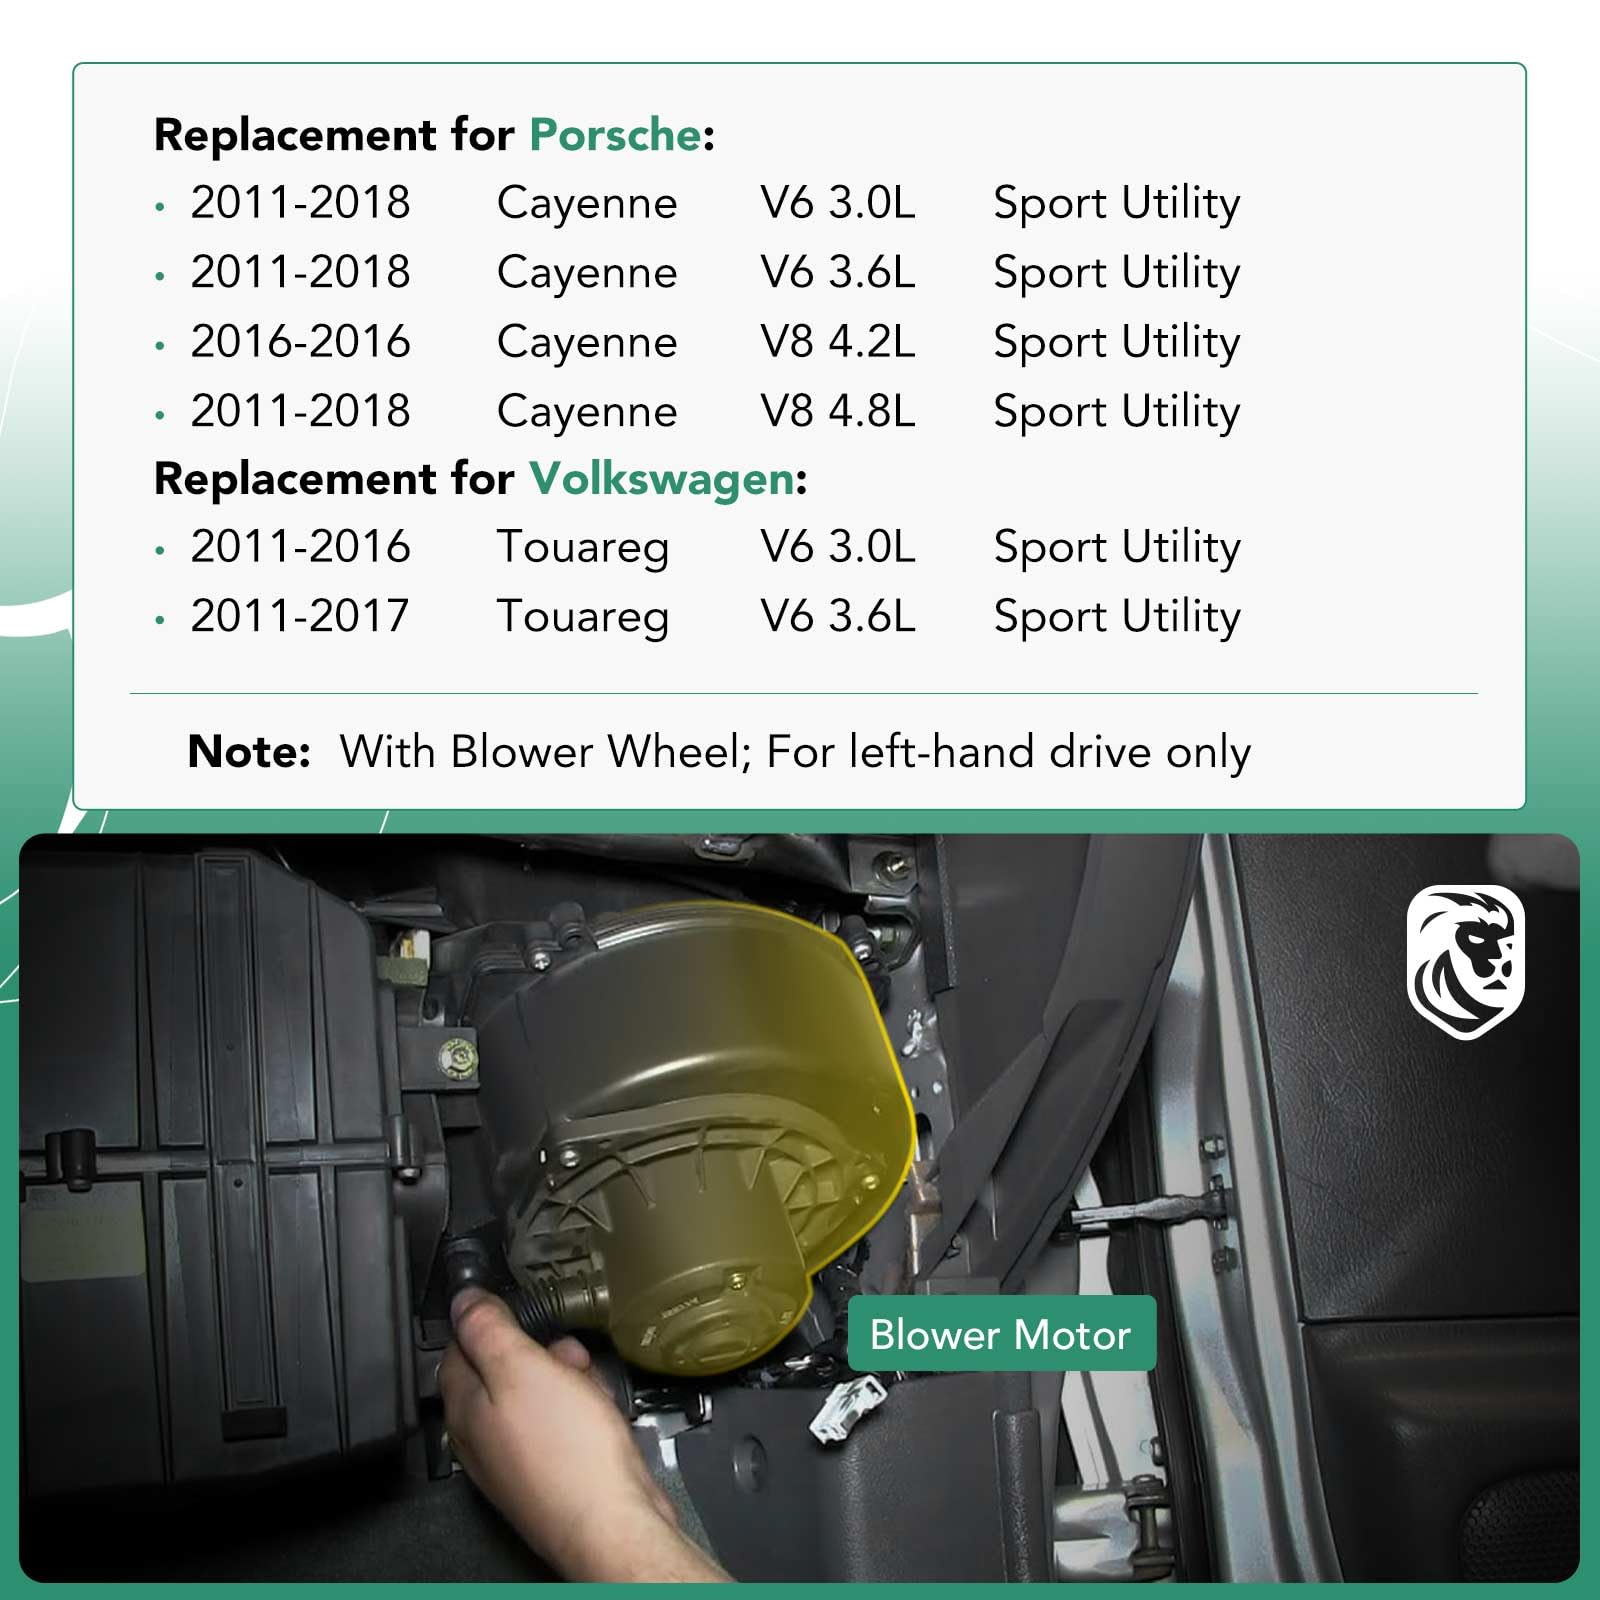
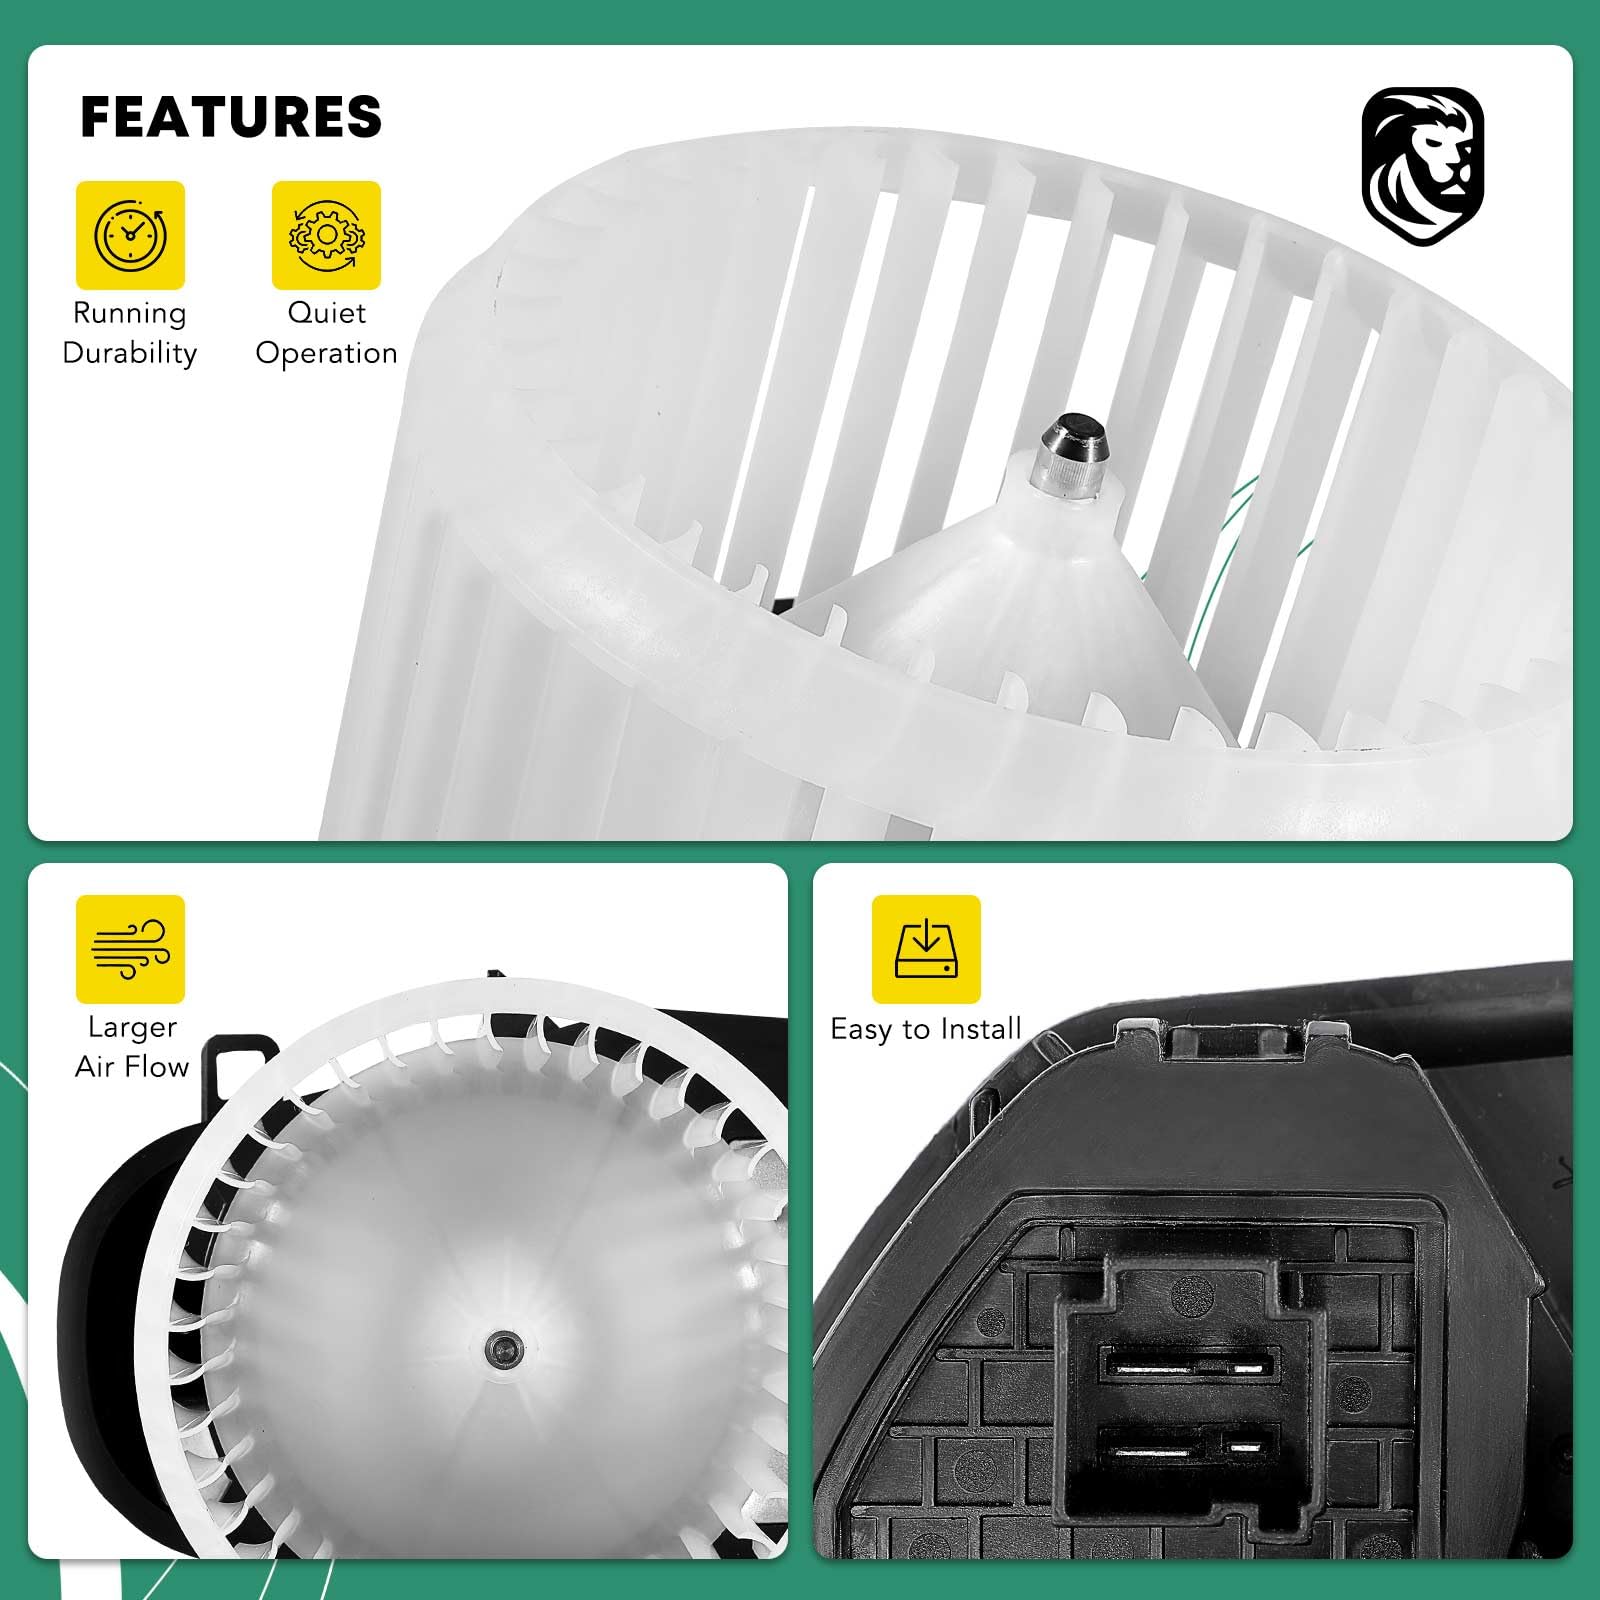
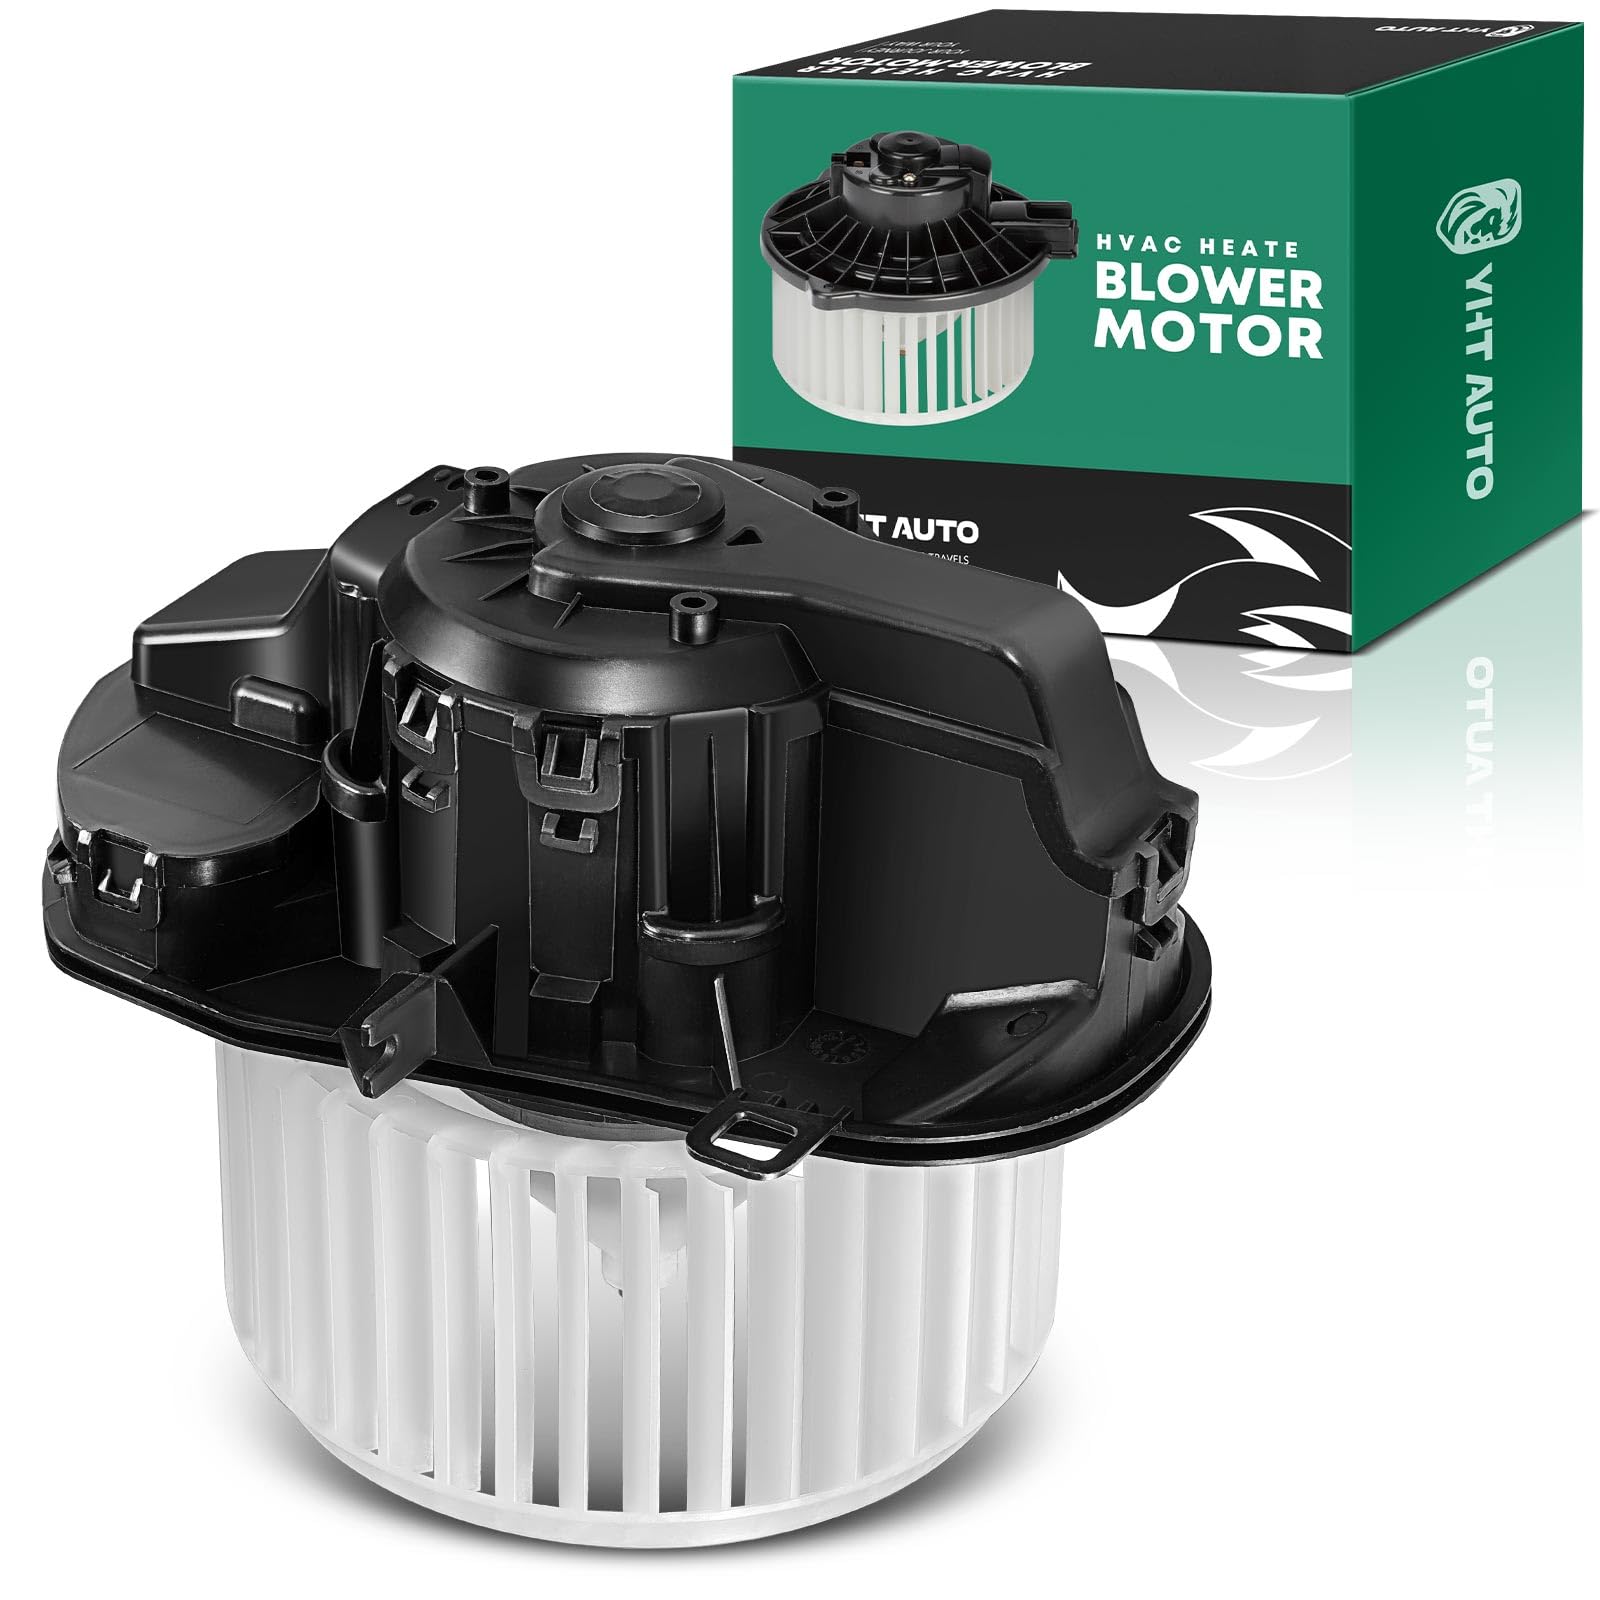
The YHTAUTO Heater Blower Motor with Resistor Assembly is a high-quality replacement part designed for 2011-2018 Porsche Cayenne and 2011-2017 Volkswagen Touareg models. This assembly includes a powerful electric motor, blower motor resistor, and fan, ensuring efficient air circulation for your vehicle's HVAC system. With precise engineering and OE performance standards, this product guarantees reliability and ease of installation.


| Manufacturer | YTAUTOPARTS |
| Brand | YHTAUTO |
| Item Weight | 4.93 pounds |
| Package Dimensions | 9.61 x 9.37 x 7.95 inches |
| Manufacturer Part Number | YHTBM0164 |
| OEM Part Number | 7P0820021, 7P0820021B, 7P0820021D, 7P0820021F, 95857234200, 95857234201, 95857234202, PM4090 |
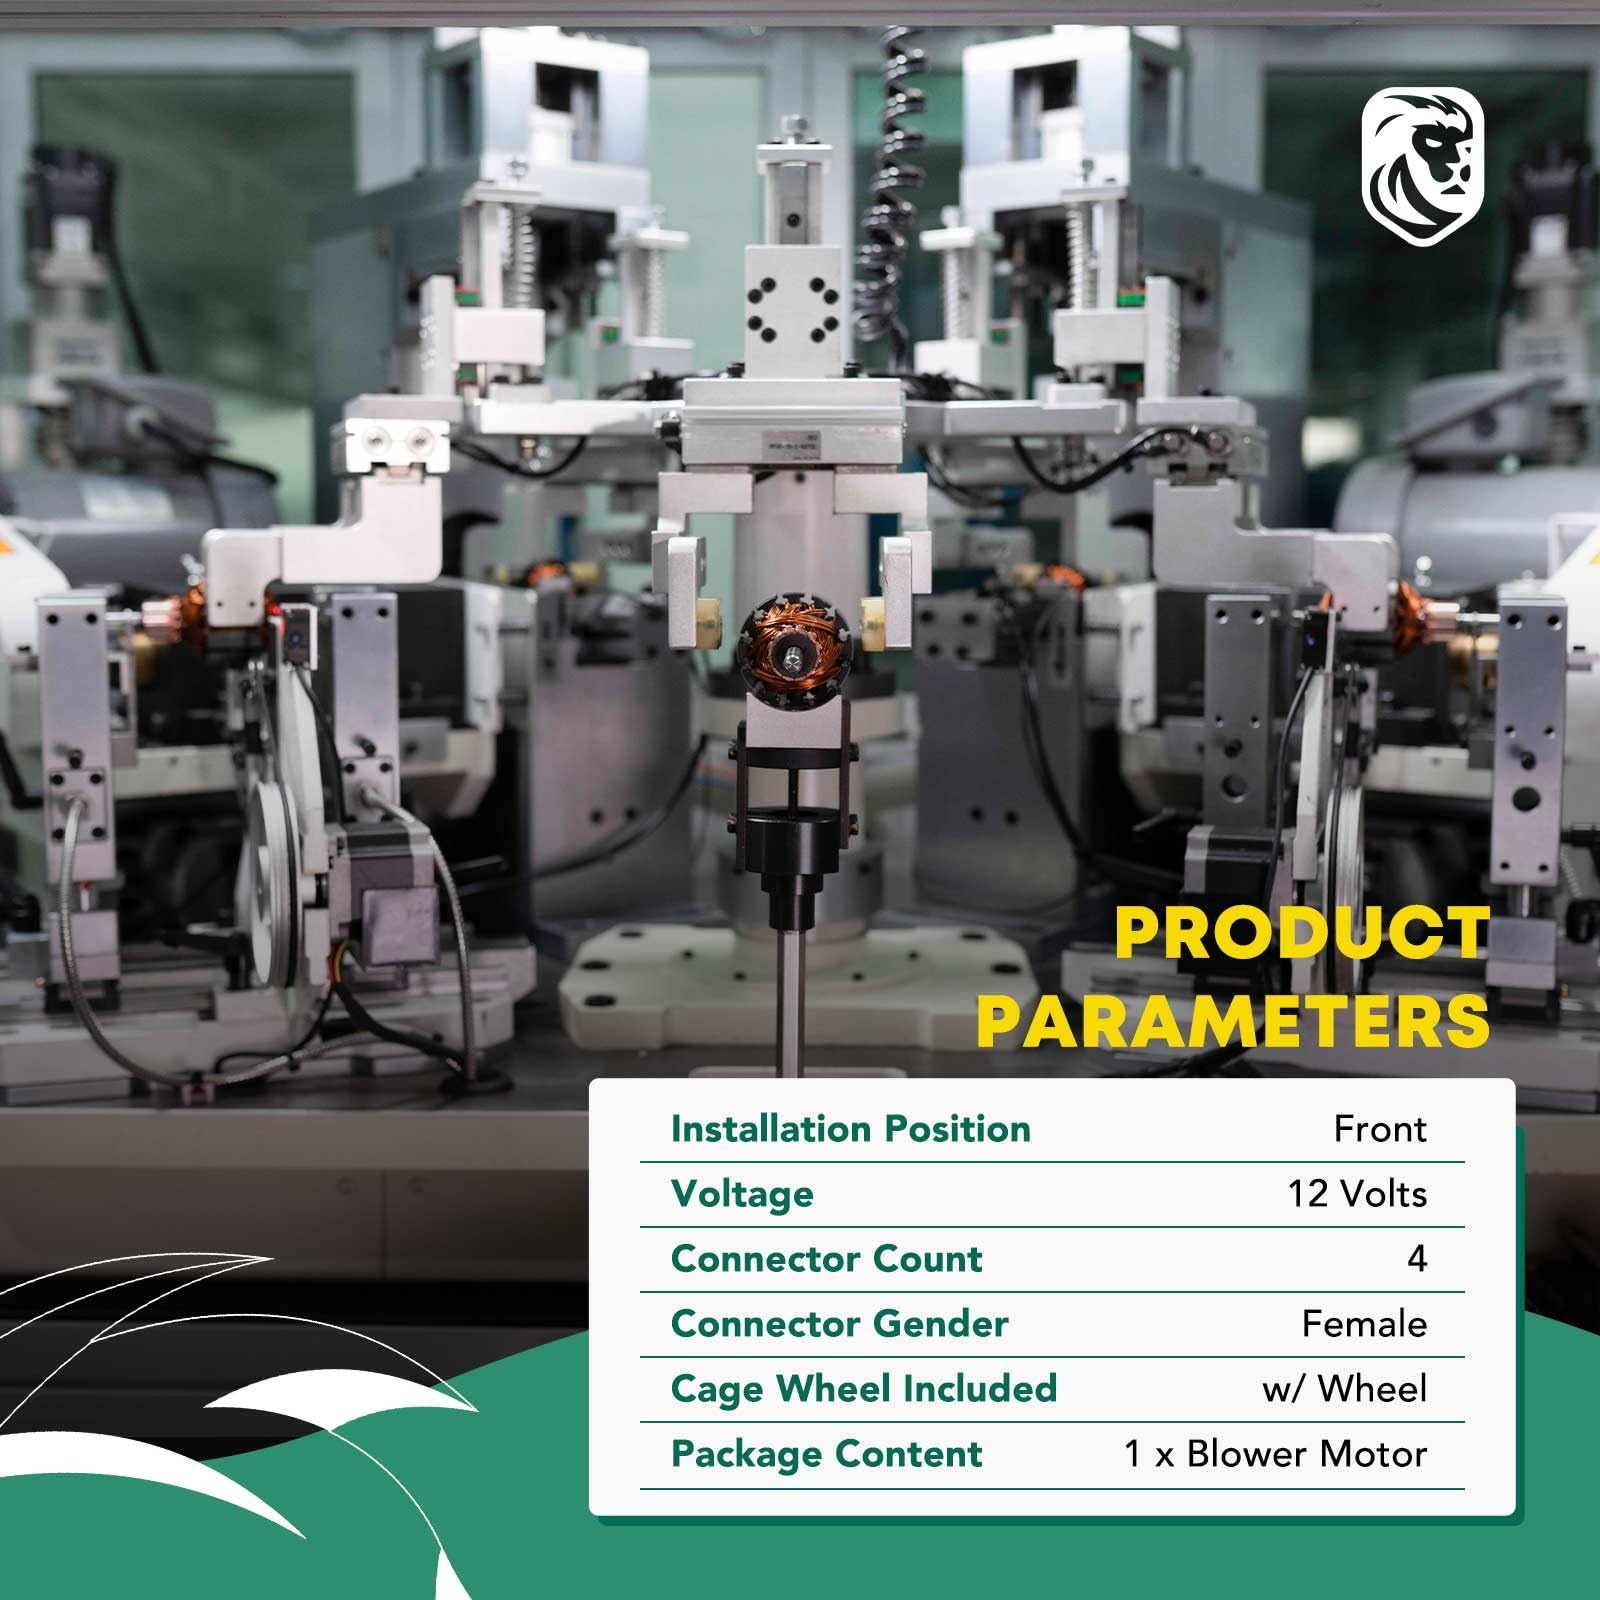
| Voltage | 12 Volts |
A**L
Quick and cheap replacement blower
Shown with the factory original blower from a 2015 Cayenne. This was quite a bit cheaper than the non-Chinese blowers available and appears to be a very close copy that bolts right in and has the same connections. There were several similar blowers for cheaper but this one had quicker delivery.Fixed the intermittent fan and lack of higher speeds on the old blower. Note that these fan motors have the fan as well as the resistors for speed control included (it's usually the resistors that go bad). Bearings seem decent quality and it is just as quiet if not quieter than the original blower.See available youtube videos for installation. You don't need to remove the glove box (makes it easier to get the blower out, but takes longer to remove the glove box as you need to pull two vents, some trim, and the fuse cover as well as remove the glove box).On a 2015 Cayenne:1) T20 torx to remove the passenger footwell cover2) Pull down cover from clips (the edge towards you simply pulls down to release the clips and then towards you to remove) and disconnect 12v outlet on left (locking clip is on the console side) and pinch the tabs together to remove the floor light connector.3) Feel for the tab on the clip (about 2/3rds of the way to the right) behind the air outlet manifold or just pull it down on the right side. The left side requires a little twist and tugging - temperature sensor rotates 90 degrees and pulls out. Technicaly you can just let it dangle from the left side to replace the blower and cabin air filter, but it's much easier to see as well as maneuver by removing the manifold. It reinstalls easier than it removes. Note that the clip attaches to a round boss on the fan cover.4) Disconnect blower electrical connector (push in tab with screwdriver or pick).5) Pull thin, black blend door motor wire out of slot on fan cover, and push forward to clear the fan cover removal and reinstallation (you can unclip the connector & another clip to get more clearance, but its not that hard to keep this from getting pinched on reinstall).6) Remove five 5.5 mm (7/32") bolt head screws from fan cover housing (two under thick wire harness, can see by pushing wire to side, but must pull wire forward and slide 5.5mm socket with extension behind the wire.7) Fan cover housing should be loose and pull off easily (if not, you probably missed a screw).8) Remove two 5.5 mm (7/32") bold head screws from motor itself.9) Pull fan down and left - will have to flex the glovebox slightly to clear it.Might clean the housings at this point with a rag and plastic cleaner (like Armor All).Installation is in reverse - recommend installing the three easier bolts on the fan cover housing loosely, then getting the two trickier bolts behind the thick wire harness and snugging them up first. Fan cover has a groove on the housing that sandwiches a flange on the fan motor at both ends. Don't drop the screws behind the side trim! If you have a magnetic socket driver, this would be a good place for it. Might have to make sure cover is seated to get the screws threaded.Before reinstalling the air duct, you might replace the cabin air filter (see youtube videos, stick a small screwdriver in the hole or besides the tab and pry it slightly to the rear of the car, once the tab unclips the cover and gasket are easy to remove, the filter may require slightly compressing with a screw driver - squeeze one of the short edges towards the middle slightly to pull down easily as it can be a tight fit). Note where the air manifold clips to the fan cover before installing the manifold as it's hard to see/feel when the manifold is shoved up there. After reinstalling the wiring connectors, the footwell cover slides into two rectangular slots at the 'back' (towards the firewall), then press the left slide up to engage the clip closest to the console before pressing along the 'front' edge (closest to the passenger).
T**J
Failed in 6 weeks,
Product appears To be made of decent plastic, it was also balanced. So, it did not vibrate. I had the product for 3 weeks before I was able to install it. It installed perfectly, an oem direct replacement as far as fit. But durability it fell way short of OEM. Unfortunately, yesterday the fan speed became eradict, speed controls had no effect, and the fan was running away... It overheated, drawed too much current, it began to smell like an electrical fire amf then its finally stopped. Now my vents smell bad. Most likely the regulator failed. Because these China units are cheap, I had a back up I bought from Ebay as insurance.The Warranty, I'm not sure? These items rarely have their warranties honored but, I'll reach out to the seller. Best bet is to buy a new OEM from the Stealership or find an OEM recycled unit. The backup china brand works for now. Confirming my controls are fine. I'm just glad I have my AC during this hot hot summer and my Cayenne didn't burn to the ground.
D**N
Great DIY Job
It's not easy to install - you have to take the glove box and fuse panel out (probably 8 screws total) and crawl up under the dash. There are 5 screws holding the fan cover on, and 2 screws holding the fan in. Those are no problem to get to - it's just the overall location of the thing that makes it a difficult job, and there's a good YouTube video on this. Once installed, the fan worked flawlessly and all my heat, A/C, and defroster are working again. This is probably a $200 to $300 job at a shop (one hour or more labor plus parts) so worth the time to do yourself. If you're flexible and know how to work a screwdriver and/or socket wrench you can do this.
H**O
worked well, until it broke
Purchased June 2024, installed in early July. Stopped working June 2025. Save your money.
M**N
It fits
2011 VW touareg tdi. Blower fits perfect and you can get easy installation instructions on YouTube just make sure you have a 5.5mm socket and extension.
E**3
It is direct replacement
Direct replacement for a fraction ofThe price. It works better than new!
G**1
Not worth the money. No warranty.
Worked for 3 months. Not worth it. Lost a $100 on this. Purchased at AutoZ Parts store for $250 but with lifetime Warranty.
A**A
installed on my 2014 Cayenne diesel with 166k miles.
no issues. about 30-45mn to install
Trustpilot
1 month ago
2 days ago