Description
🎬 Elevate Every Presentation & Movie Night with ShowMaven’s 100" Visual Powerhouse!
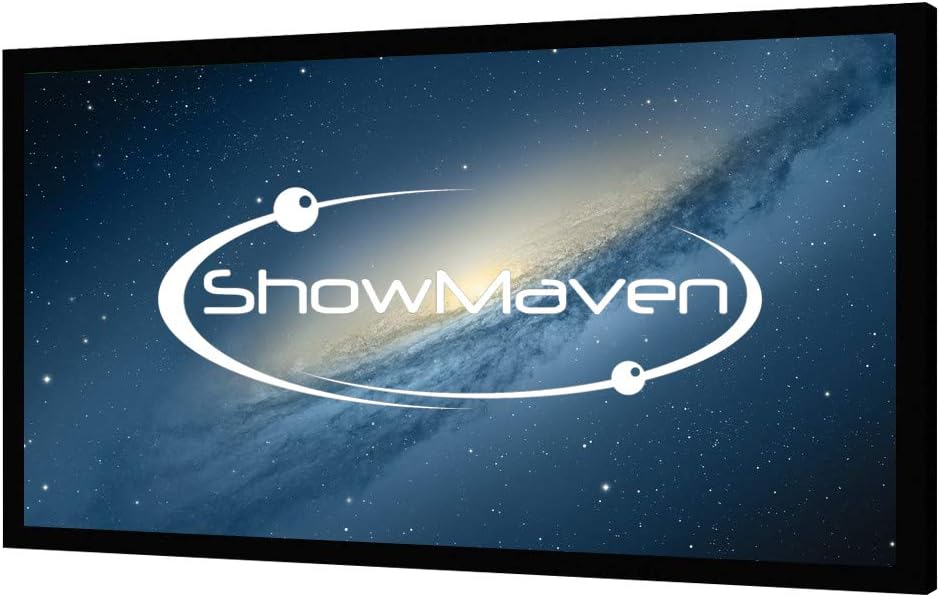
- SLEEK DURABLE DESIGN - Premium soft PVC screen with a velvet-wrapped aluminum frame ensures wrinkle-free, glare-free viewing and a sophisticated look.
- WIDE 160 VIEWING ANGLE - Enjoy consistent, bright images from virtually anywhere in the room—no more fighting for the best seat.
- CRYSTAL CLEAR 4 K 3 D READY - Optimized for ultra-high-definition and active 3D projection, delivering vibrant, lifelike visuals that captivate every viewer.
- EFFORTLESS SETUP MAINTENANCE - Quick 6-piece assembly with adjustable mounting brackets plus easy cleaning with just mild soap and water keeps your screen pristine.
- CINEMATIC IMMERSION UNMATCHED SCALE - Experience a massive 100-inch diagonal screen that transforms any room into a premium home theater or professional presentation space.
The ShowMaven 100in Fixed Frame Projector Screen offers a large 16:9 aspect ratio viewing area with a 160-degree wide viewing angle, supporting 4K Ultra HD and Active 3D projection. Crafted from high-grade soft PVC and framed in sturdy aluminum wrapped in black velvet, it delivers wrinkle-free, vibrant images with minimal light bleed. Designed for easy assembly and maintenance, it’s perfect for home theaters, offices, classrooms, and any setting demanding professional-grade visuals.