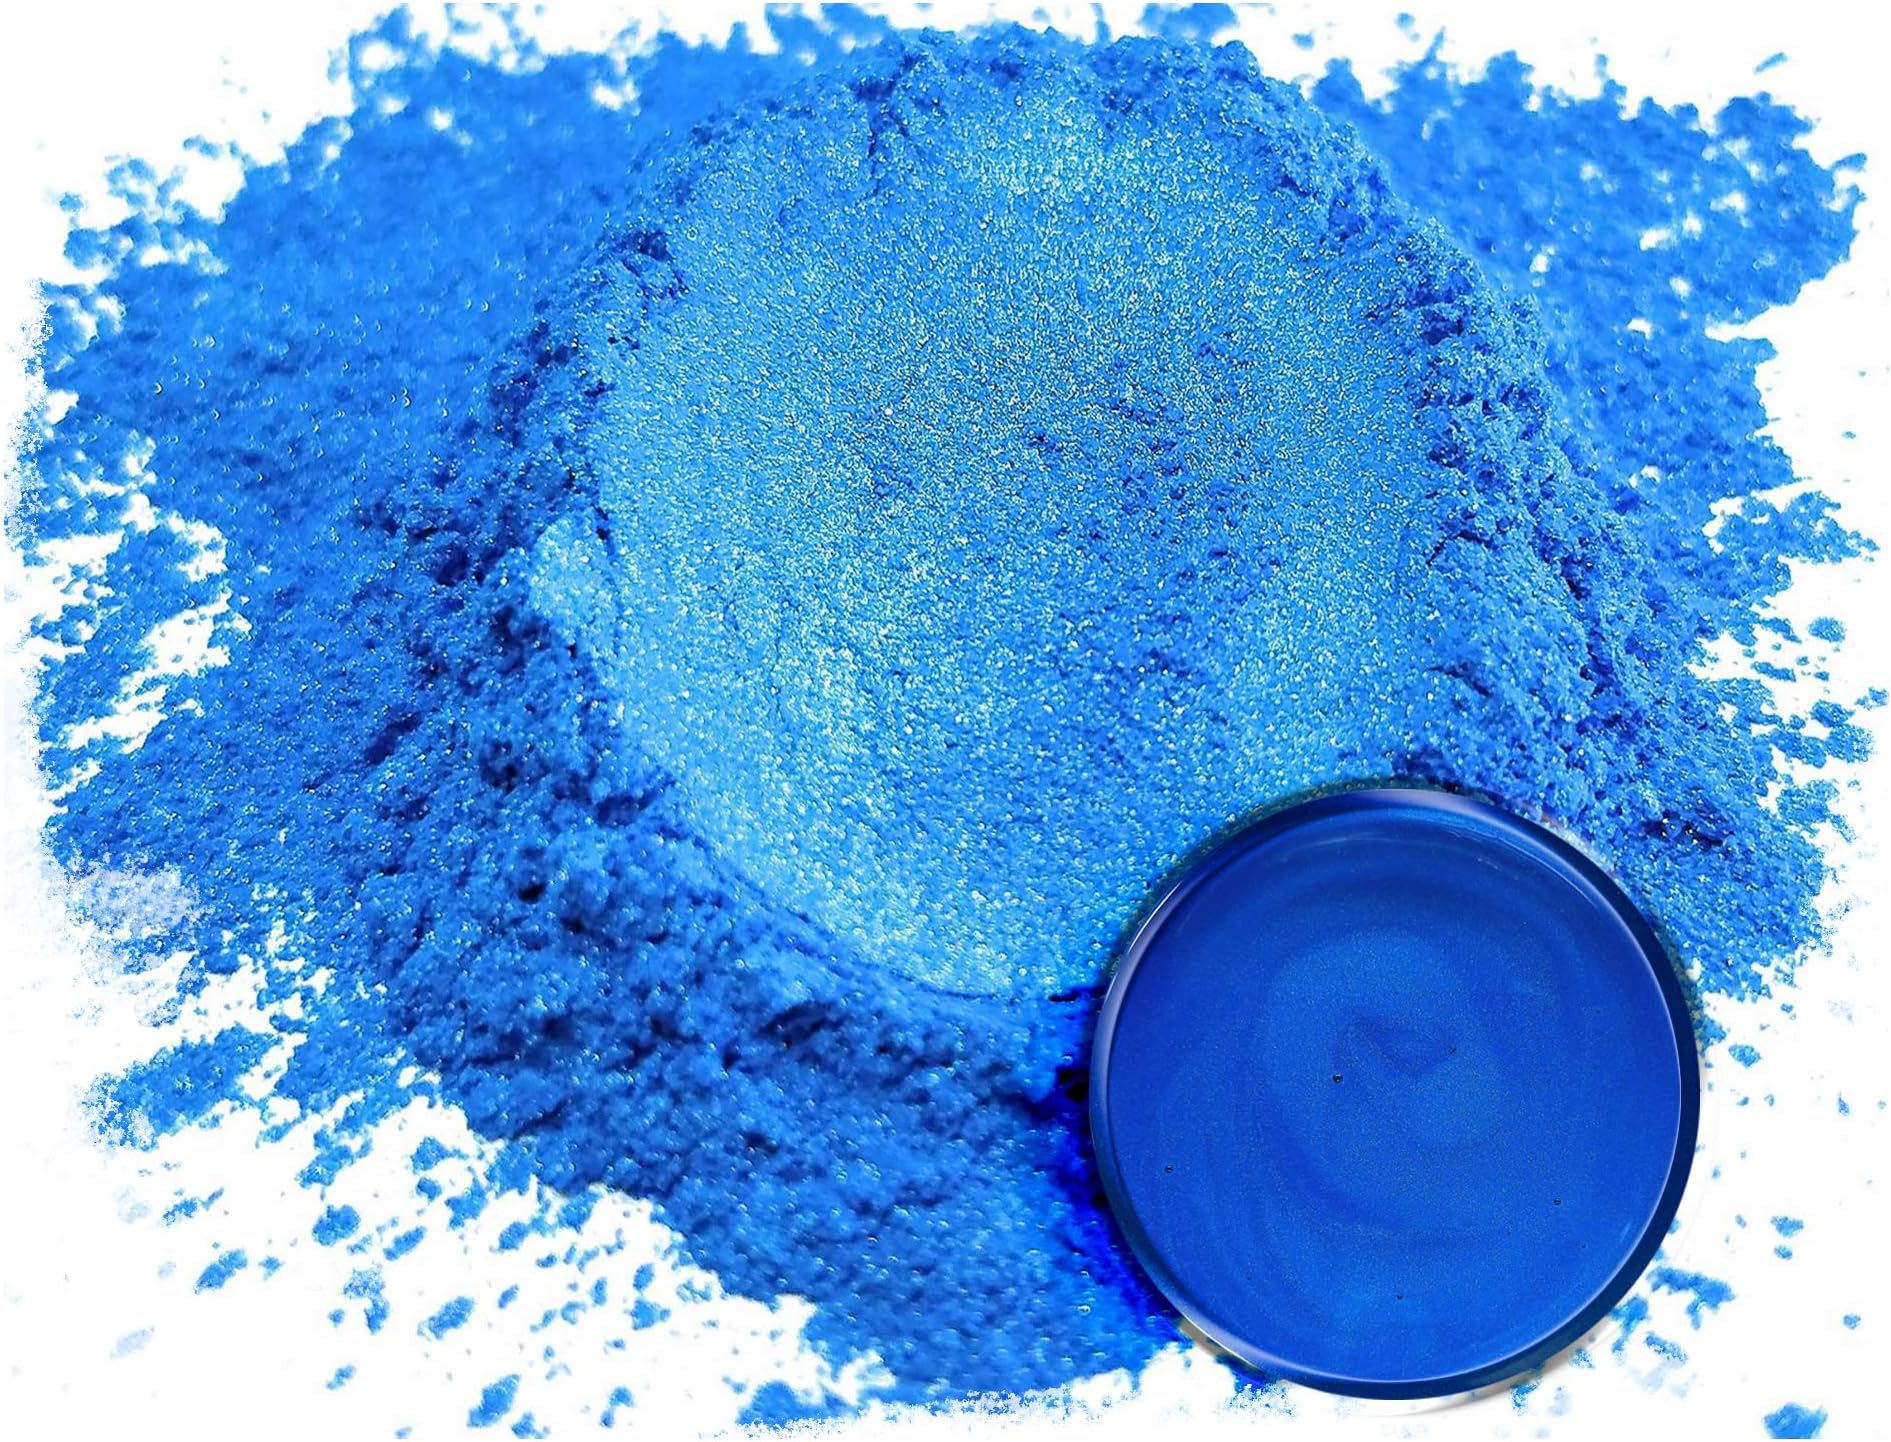


Eye Candy Pigments Premium Blue Mica Powder - Dark Ocean Blue (50gr) - for Epoxy, Resin, Soap, Paint, Woodworking, Acrylic Pouring, Bath Bombs, Fishing Lures - DIY Arts and Crafts Additive
Product ID: 785887762
Buy anything from 5,000+ international stores. One checkout price. No surprise fees. Join 2M+ shoppers on Desertcart.
Desertcart purchases this item on your behalf and handles shipping, customs, and support to Vietnam.
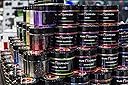
Limitless Possibilities Over 300+ colors and sizes available Popular Pigments Visit the Store Popular Pigments Visit the Store Pigment Pastes Visit the Store Pigment Pastes Sample Sets Review: Great Powder for My Resin Pour - Works great. A little goes a long way. I did my epoxy resin pour in layers over the course of 1 day. My table is 3 inches thick. The rotted hole I filled took 4 pours total. Every resin mix I did, was approximately 1 3/4 cups of resin, I added 2 teaspoon of the colored powder. 2 teaspoon was probably more than what I needed to do but thats what I did. But every rot is different in size so your project may require less or more. I did colored resin through the entire rotted hole. I could've done my first pour with clear resin, no color added but I did not plan on wanting to have extra powder sitting around for a long time before my next project. I still have a lot of powder left after I did 2 tabletop projects that had rot through the 3 inch slice. My next big project is a cedar slab that will be bar height. I will purchase more of this powder for it. I poured my blue resin from the top down which acheived the swirly look. My second table I poured from the bottom down, I had my table upside down and poured into the rot. The blue does not come out swirly this way after sanding and sealing. You can see in the pictures, the difference in the pouring technique. I personally like the swirl look better even though both tables came out looking great. I watched some videos on You Tube to learn how to do a resin table pour. But there were some things that I learned on my own while doing this. These tabletops are my first pour projects. They are both black walnut and I purchased them on EBay. So if you plan on doing a project, do pours in layers. Wait 4 or more hours, depending on if your previous pour feels tacky to the touch. If it's tacky, regardless of how many hours its been, do another layer. You want the temperature of the area where you are working to be 75 degrees or warmer for pouring projects. The resin won't cure properly if its too cold. If it's really warm, the resin will cure faster. So watch videos online. Do a sample piece that could be a tray just to get the technique right. But there are tons of videos out there to teach you how to do this. But look at my photos and see if you like the swirly look or the non swirly look. This was pure accidental, I thought pouring from the bottom of the table down would give me swirls but it did not. The upside down technique made my blue resin look boring and muted. I was not happy with it but my husband sanded the tables with different grit all the way up to 1500 grit sandpaper and the blue resin wasn't muted anymore and looks beautiful. We sealed our tables with Rubio Monocoat Pure color. This really brought out the black walnut color and also made the blue resin a bit more shinny. The Rubio Monocoat was the last step to our tables. I hope my review helps at least 1 person. I am not getting paid for my review. Sorry for any mispelled words. Review: Brite color - Tints well in clear epoxy


| ASIN | B0761QGKJC |
| Best Sellers Rank | #11,789 in Arts, Crafts & Sewing ( See Top 100 in Arts, Crafts & Sewing ) #28 in Soap Making Dyes |
| Brand | Eye Candy |
| Brand Name | Eye Candy |
| Color | Dark Ocean Blue |
| Customer Reviews | 4.8 out of 5 stars 2,152 Reviews |
| Item Form | Powder |
| Item Type Name | Mica Pigments |
| Item Volume | 150 Milliliters |
| Item Weight | 50 Grams |
| Manufacturer | Eye Candy Customz |
| Model Name | bluepigments1 |
| Model Number | ECC-01040A |
| Paint Type | Mica powder pigment |
| Part Number | ECC-01040A |
| Size | 1.76 Ounce (Pack of 1) |
| UPC | 719279210279 |
| Unit Count | 1.76 Ounce |
| Warranty Description | 30 day return |
N**S
Great Powder for My Resin Pour
Works great. A little goes a long way. I did my epoxy resin pour in layers over the course of 1 day. My table is 3 inches thick. The rotted hole I filled took 4 pours total. Every resin mix I did, was approximately 1 3/4 cups of resin, I added 2 teaspoon of the colored powder. 2 teaspoon was probably more than what I needed to do but thats what I did. But every rot is different in size so your project may require less or more. I did colored resin through the entire rotted hole. I could've done my first pour with clear resin, no color added but I did not plan on wanting to have extra powder sitting around for a long time before my next project. I still have a lot of powder left after I did 2 tabletop projects that had rot through the 3 inch slice. My next big project is a cedar slab that will be bar height. I will purchase more of this powder for it. I poured my blue resin from the top down which acheived the swirly look. My second table I poured from the bottom down, I had my table upside down and poured into the rot. The blue does not come out swirly this way after sanding and sealing. You can see in the pictures, the difference in the pouring technique. I personally like the swirl look better even though both tables came out looking great. I watched some videos on You Tube to learn how to do a resin table pour. But there were some things that I learned on my own while doing this. These tabletops are my first pour projects. They are both black walnut and I purchased them on EBay. So if you plan on doing a project, do pours in layers. Wait 4 or more hours, depending on if your previous pour feels tacky to the touch. If it's tacky, regardless of how many hours its been, do another layer. You want the temperature of the area where you are working to be 75 degrees or warmer for pouring projects. The resin won't cure properly if its too cold. If it's really warm, the resin will cure faster. So watch videos online. Do a sample piece that could be a tray just to get the technique right. But there are tons of videos out there to teach you how to do this. But look at my photos and see if you like the swirly look or the non swirly look. This was pure accidental, I thought pouring from the bottom of the table down would give me swirls but it did not. The upside down technique made my blue resin look boring and muted. I was not happy with it but my husband sanded the tables with different grit all the way up to 1500 grit sandpaper and the blue resin wasn't muted anymore and looks beautiful. We sealed our tables with Rubio Monocoat Pure color. This really brought out the black walnut color and also made the blue resin a bit more shinny. The Rubio Monocoat was the last step to our tables. I hope my review helps at least 1 person. I am not getting paid for my review. Sorry for any mispelled words.
S**.
Brite color
Tints well in clear epoxy
J**Y
Great quality
Eye candy pigment never fails to impress. Great quality and always makes my resin work pop.
C**E
The color is brilliant
Easy to mix and beautiful color
A**R
Love the color!
I had a hard time picking the blue I wanted to use to fill cracks in my table but this one turned out to be perfect! The powder itself was what is expected from mica powder.
I**E
Vibrant color.
Tried in several applications. Great stuff.
M**N
very easy to use and well above my expectations. Would highly recommend it.
This is a great product and well worth the money. Well above all my expectations and is the icing on the cake.
R**N
Works great
Brilliant colors looks like a Caribbean ocean will buy again
J**N
Tono
Tono de buena aceptación
J**N
Excelente tono
Práctica
Trustpilot
1 month ago
2 months ago