


Buy anything from 5,000+ international stores. One checkout price. No surprise fees. Join 2M+ shoppers on Desertcart.
Desertcart purchases this item on your behalf and handles shipping, customs, and support to Vietnam.
🚲 Elevate your ride, elevate your space — don’t let clutter hold you down!
The RAD Sportz Bike Hanger is a premium overhead pulley system designed for secure ceiling storage of bicycles or ladders. Featuring a 100lb load capacity, rubber-coated hooks to prevent scratches, and a safety locking mechanism, it maximizes garage space with easy installation on ceilings up to 12 feet high. Trusted by thousands, it’s the original heavy-duty hoist that combines durability, convenience, and protection for your gear.


| ASIN | B003TFOPJA |
| Additional Features | Easy Lift and Secure Locking Mechanism |
| Assembly Required | No |
| Best Sellers Rank | #6,103 in Tools & Home Improvement ( See Top 100 in Tools & Home Improvement ) #2 in Bike Racks & Stands |
| Brand Name | RAD Cycle Products |
| Color | Black |
| Customer Reviews | 4.3 out of 5 stars 13,958 Reviews |
| Global Trade Identification Number | 00885333131429 |
| Included Components | Hoists |
| Indoor Outdoor Usage | Indoor |
| Item Type Name | Bike Hoists – Overhead Pulley System with 100 lb Capacity for Bicycles or Ladders – Secure Garage Ceiling Storage by Rad Cycle (Set of 2) |
| Item Weight | 1.82 Kilograms |
| Manufacturer | Trademark GLB |
| Manufacturer Part Number | 2004 RAD Bike Hoist 2 Pack |
| Material | Metallic-Fiber |
| Material Type | Metallic-Fiber |
| Model Number | 2004 RAD Bike Hoist 2 Pack |
| Mounting Type | Ceiling Mount |
| Number of Shelves | 2 |
| Recommended Uses For Product | Bicycles, Ladders |
| Required Assembly | No |
| Shelf Type | Hanging Shelf |
| Shelf Weight Capacity | 100 Pounds |
| Special Feature | Easy Lift and Secure Locking Mechanism |
| Style Name | 2-pack |
| UPC | 885333131429 885479572728 885425722108 885298275985 885337884369 885678239255 885839771716 885874929752 885274894926 885399539641 885181482650 885889988294 786372972083 885388250380 885909208241 885760804569 613103032023 885463625416 885265926780 885153980788 885196185935 885465508496 |
| Unit Count | 1.0 Count |
J**.
Works great after some modifications
As some other reviews have noted, the install can be a bit tricky. I decided to mount the pulleys to a 2x4 sitting on top the rafters in my garage because I wanted to get the bike as far above the floor as possible. This also made the installation easier because I was able to get the pulleys positioned and screwed to the 2x4 while I was standing on the floor instead of trying to do it while up on a ladder. First I measured the bike to gauge the approximate distance the pulleys should be from one another. Then, I taped the pulleys to the board using strong gorilla tape. Next I suspended the board at about eye level between a ladder and a shelf in my garage, threaded the rope through the pulleys, and attached the hooks to my bike and gave it a try at ground level more or less. (Had the tape not held the pulley brackets in place for the test I would have used some small screws as temporary holders but the tape actually held it fine so I didn't need to do that.) Once I confirmed that the bracket placement was correct, I attached the pulley brackets to the 2x4's using the screws provided. Others have noted the screw quality it not very good. I think that's correct, but by drilling the proper size pilot hole I didn't have any trouble with them. Next, with the brackets attached to the 2x4, before I got up on the ladder and finagled the two before into place above the rafters. Once in the position I wanted, I drilled a 1-in hole through the rafter in between the brackets so that the line could pass through without any friction. See picture of this as well. During the first two initial tests my bike fell. My seat doesn't have a lip on the back of it and the hooks just slid off, allowing the bike to fall. I used a vice and a heavy mallet to bend the metal on the ends of the hooks so they would not be as likely to slip off the handlebars or the seat. I ultimately decided to use the hooks grabbing the seat rotated 180° from what is recommended so that they grab the seat from the front. See the picture I posted. With those modifications it works fine and doesn't seem likely to slip off. Some have noted that it lifts the bike unevenly. That is true. I lift the bike most of the way up, then pull down on the end of the bike that is higher, and then finish raising it the rest of the way. The total install took me about 2 hours, but it was worth it. Space is at a premium in my garage, and I don't have any wall space left to mount a bike, so this product was the perfect solution and I'm glad I bought it. I would highly recommend it just be aware you need to allow time to adapt it to your specific situation.
R**C
Great product and a great price for a 2 Pack. Get it!
Directions were easy to follow. The other reviews here on amazon were helpful. Here are my tips/thoughts for you. 1. Use a 2x4 or a 2x6 to mount the pulleys to. (Get a 10 footer at a hardware store and most places will cut in half for you if you don't have a saw) 2. Throw the bags of screws they give you in the trash. They are terrible and you'll strip them before they are sunk into the wood. Get some deck screws while you are picking up your wood. Also get some lag bolts and washers to mount the 2x4 or 2x6 sections on to the joists. 3. Run the lines through the hooks and the pulleys before you mount it on the ceiling before you mount it. Tie the knot in the end of the front bracket before you mount it to the 2x4 or 2x6. I had to undo mine before I realized this would be easier if done before hand. 4. The nylon line included is super long. With the bike down give yourself a foot or two to use to pull the bike up and cut the rest off. Use a lighter to melt the end of the line where you cut it to prevent it from unraveling itself. 5. The hooks work fine and I did not need to bend mine at all. Just measure the distance between your handlebars and the back of your seat as the instructions indicate and you'll be fine. I can swing my bikes while they are mounted and they are not coming down. 6. The line brake works great but people are right I could see myself replacing the lines after a few years use. 7. The system is easy enough that my mother in law had no problems raising and lowering the bikes.
B**K
Feels like it's missing hardware but does the job for ebikes!
Bought these and left them in box for over a year. I finally got fed up enough with the cluttered garage so I did an overhaul with paint and finally utilize the super high ceilings. Overall they were fairly straight forward to install. Finding the joists with a 2x4 was the hardest part. I did not trust the J hooks that are on the pulleys at all to hold up my ebikes. Luckily I found some cheap climbing carabiners and soft straps and used those instead to attach to the hoist. They also do not give you enough hardware to mount to the 2x4. They say you only need 4 bolts per mount but in my opinion I would add screws to fill all the holes in the 2x4. There is 6 screw locations total per mount and they only provide 10 screws for one hoist kit. There are 2 mounts so it's missing a few screws. I also used 5/16" and 3 inch lag screws from home depot and did 3 lags per bike mount on a 2x4 attached to the ceiling joist. Mounted all the hardware on the 2x4 on the ground after measuring the bars to seat distance. They are not included with the kit. The rope seems to do the job, but I would also suggest picking up a 3/8" rope from home depot while you are there for the lag screws. Overall it's pretty good value for the money but doing it on high ceilings you better get comfortable with a tall ladder. They saved me a ton of space and seem sturdy enough so I'm a happy camper.
P**R
Cheap, sturdy, easy to operate, excellent function
Well priced and it works. The hardest part of the install will probably be to locate and center up both mounts on the ceiling. I used a laser that projected a vertical line on the ceiling and this allowed me to line up both mounts. Every bike will be slightly different so measure the distance between where you want the front and rear hooks to pick up the bike. This will allow you to get a rough idea of how far apart the mounts should be. My garage ceiling is finished with drywall so my solution was to drill some holes where I wanted the mounts and the I climbed up into the attic above the garage to add some 2x4’s between the joists. The mounts are solidly in place. Finally, DO NOT CUT THE ROPE, until you have everything installed and then lower the bike to the floor. Once on the floor, determine how much rope you need in order to reach it easily. Then cut the rope to whatever maximum length you need. Otherwise, it’s a great product and has freed up a good amount of space in my garage.
K**Z
It may not be perfect but it works well enough.
Overall it works well enough. As others have pointed out the hooks aren't the most secure and it is possible for the bike to slip and fall. The hooks seem to grab the handlebars well enough but the part going under the back of the seat isn't the most secure. I went ahead and ran a bungee strap between the hook and the seat post for additional security which seems to have fixed it. The other issue I had isn't with the pulleys or the hooks but with the cheap screws included in the kit. I predrilled pilot holes and still managed to strip 4 of them one right after the other. Yes I made sure everything was lined up and had a brand new bit in my driver, the problem is they're just made of cheap metal. Luckily I had a handful of quality 2" screws laying around which went right in. So, if you're purchasing this kit go ahead and add a pack of SPAX 2" #10 screws to your cart. Also, the pulleys are a bit too narrow for the brackets they go in leaving lots of spare space on either side which the rope likes to get bound up in. The only way to clear it up is to climb a ladder and pop the line back in the groove of the pulley. They should have installed wider pulleys or narrower brackets to avoid this problem. One thing I definitely liked about this kit, the line brake makes raising and lowering the bikes so much easier and works really well. In the end I'm happy with my purchase and will probably order it again to hang the rest of our bikes.
V**N
Here are some helpful suggestions as you mount this great product...
We researched a lot of similar products via online reviews, settling on this one as having the greatest likelihood of highest quality / best price and WE ARE VERY PLEASED. Here are some key things we'd like you to know: 1. It takes some time to get these things mounted right, so just plan on it... you need to string the rope through the 4 pieces and pulleys just so, mount them on joists just so, and ensure the distance between the two pieces is just right for your bike. We recommend at least two people, chips and salsa, and perhaps a coors light ;) 2. You can mount several bikes fairly close together if you offset the handlebars a bit forward and back among the mounts so that the handlebars never "share the same space." We bought 5 of these bike hoists and mounted them to run parallel to the joists spaced at 24" for mounting 5 bikes, one bike on each of five different joists mounted side-by-side. We bought long screws from the hardware store to replace those included in the package so we could securely screw through the drywall and further into the wood joists. We'd recommend including this hardware store errand in your time estimates for installation. 3. It is important that the BACK tire go toward the wall where the rope coming out of the brake will be cleated. The whole rope and braking mechanism works so well this way ... if you put the handlebars on the wall side like the picture for this product, then the handlebars block you moving the rope to operate the brake (trust, trust, trust me on this). If you put the back tire to the wall, the rope moves freely :) By the way, the braking mechanism in the pulley seems so sturdy you might choose not to mount/use the cleat, but it does feel safer to us to use it. 4. The distance between the ceiling and the bike will not be related to how far up the handlebars or the seat stick up ... it will be the length of the hardware above where it hooks on -- this may be important to you if you are mounting above a car and top-to-bottom distance matters. We mounted three of our bikes above a mini-van roof (the other two in front) and it was important to choose the lower profile bikes as not all of the bikes would have fit directly above the van. The "first bike" in line (at the front of the van) can be raised and lowered while the van is parked in the garage so that's a great location for whichever bike you'll be riding most frequently *or* for the bike of a kid not old enough to move the car in order to get his/her own bike down ;) 5. On arrival, the instructions said the mounts would hold 100 pounds (which is more than we had read here online). Our tandem bike fully equipped is just under 50 pounds and seems very secure and happy. 6. These are designed for the top rounded section of the lower hook assembly to fit into the rounded-out section of the ceiling mounted pulleys. The hook assembly will only fit into the ceiling assembly if the two pieces mounted on the ceiling are spaced EXACTLY to fit the specific bike where the hooks will grab the seat and handlebars. You'll be much more pleased if you take the time to get this spacing right (you can tell by letting the hooks hang down while you are choosing the mounting position ~ gravity will allow the ropes to work as a plumb line :) 7. Our thoughts relative to the complaints you might read about this product ... A. The rope has been fine, no fraying or other problems. B. The "hook" ends could be hook-ier without a doubt, although we've not encountered any problems with them (perhaps because we don't live in earthquake zones and we don't move with great haste :) C. Sometimes the front or back of the bike will raise or lower faster than the other end -- when this happens we simply grab the lowest tire and give it a boost up to level it which happens quickly and then it stays level for the rest of the up or down operation so it's never been a big concern. D. We mounted each bike directly into one joist (i.e., parallel/directly below one joist and not perpendicular between two joists) thus there was no need / benefit of mounting the brackets to a 2x4 first and then mounting the 2x4 to the ceiling -- we just mounted straight into the ceiling. 8. If you are going to cut the rope shorter, only do so when the bike is in the down position ... once the bike is lowered, this cool contraption uses a lot of rope! 9. Everyone in the family can operate these hoists easily -- they are so much safer and usable than the stationary hooks we used to have that involved lifting heavy bikes on and off. Also, if you leave the kickstand down as you put your bike up, then when you lower the bike on the pulley later, it will land ready to go :) 10. An unexpected benefit (beyond the extra garage space which we were hoping for) has been that all of us ride our bikes much more often than we used to. Putting the bikes up and getting them down is so easy that it has brought back a lot of frequency and joy to our bike riding experience. July 2014 Continuing Update ~ Still using them and still loving them :) Bon Appetit!
K**E
The Ultimate Garage Space Saver for Heavy E-Bikes
I absolutely love my Bike Hoists! They have made a huge difference in organizing my garage, helping me free up valuable floor space by keeping my bikes 15 feet up and completely out of the way. It’s incredible how much more space I have now for other tools and equipment, and the garage just feels so much less cluttered. I use the hoists for two e-bikes, each weighing between 50-75 lbs, and I’m impressed by how well they handle the load. The hoists are sturdy and reliable, giving me peace of mind knowing that my bikes are safely secured. The pulley system is smooth and easy to operate, making it simple to lift the bikes up or bring them down whenever I need them. I was initially concerned about whether the hoists could manage the weight of my e-bikes, but they’ve proven to be more than capable. The design of the Bike Hoists is truly fantastic—both functional and intuitive. Installation was straightforward, and once they were set up, they became a total game-changer for my garage. It’s a great feeling to know that my bikes are stored securely without taking up any ground space. I’d highly recommend these hoists to anyone looking for a simple, effective, and space-saving storage solution, especially if you have heavy bikes like e-bikes or just want to keep your garage neat and organized.
J**O
DO NOT use for eBikes!
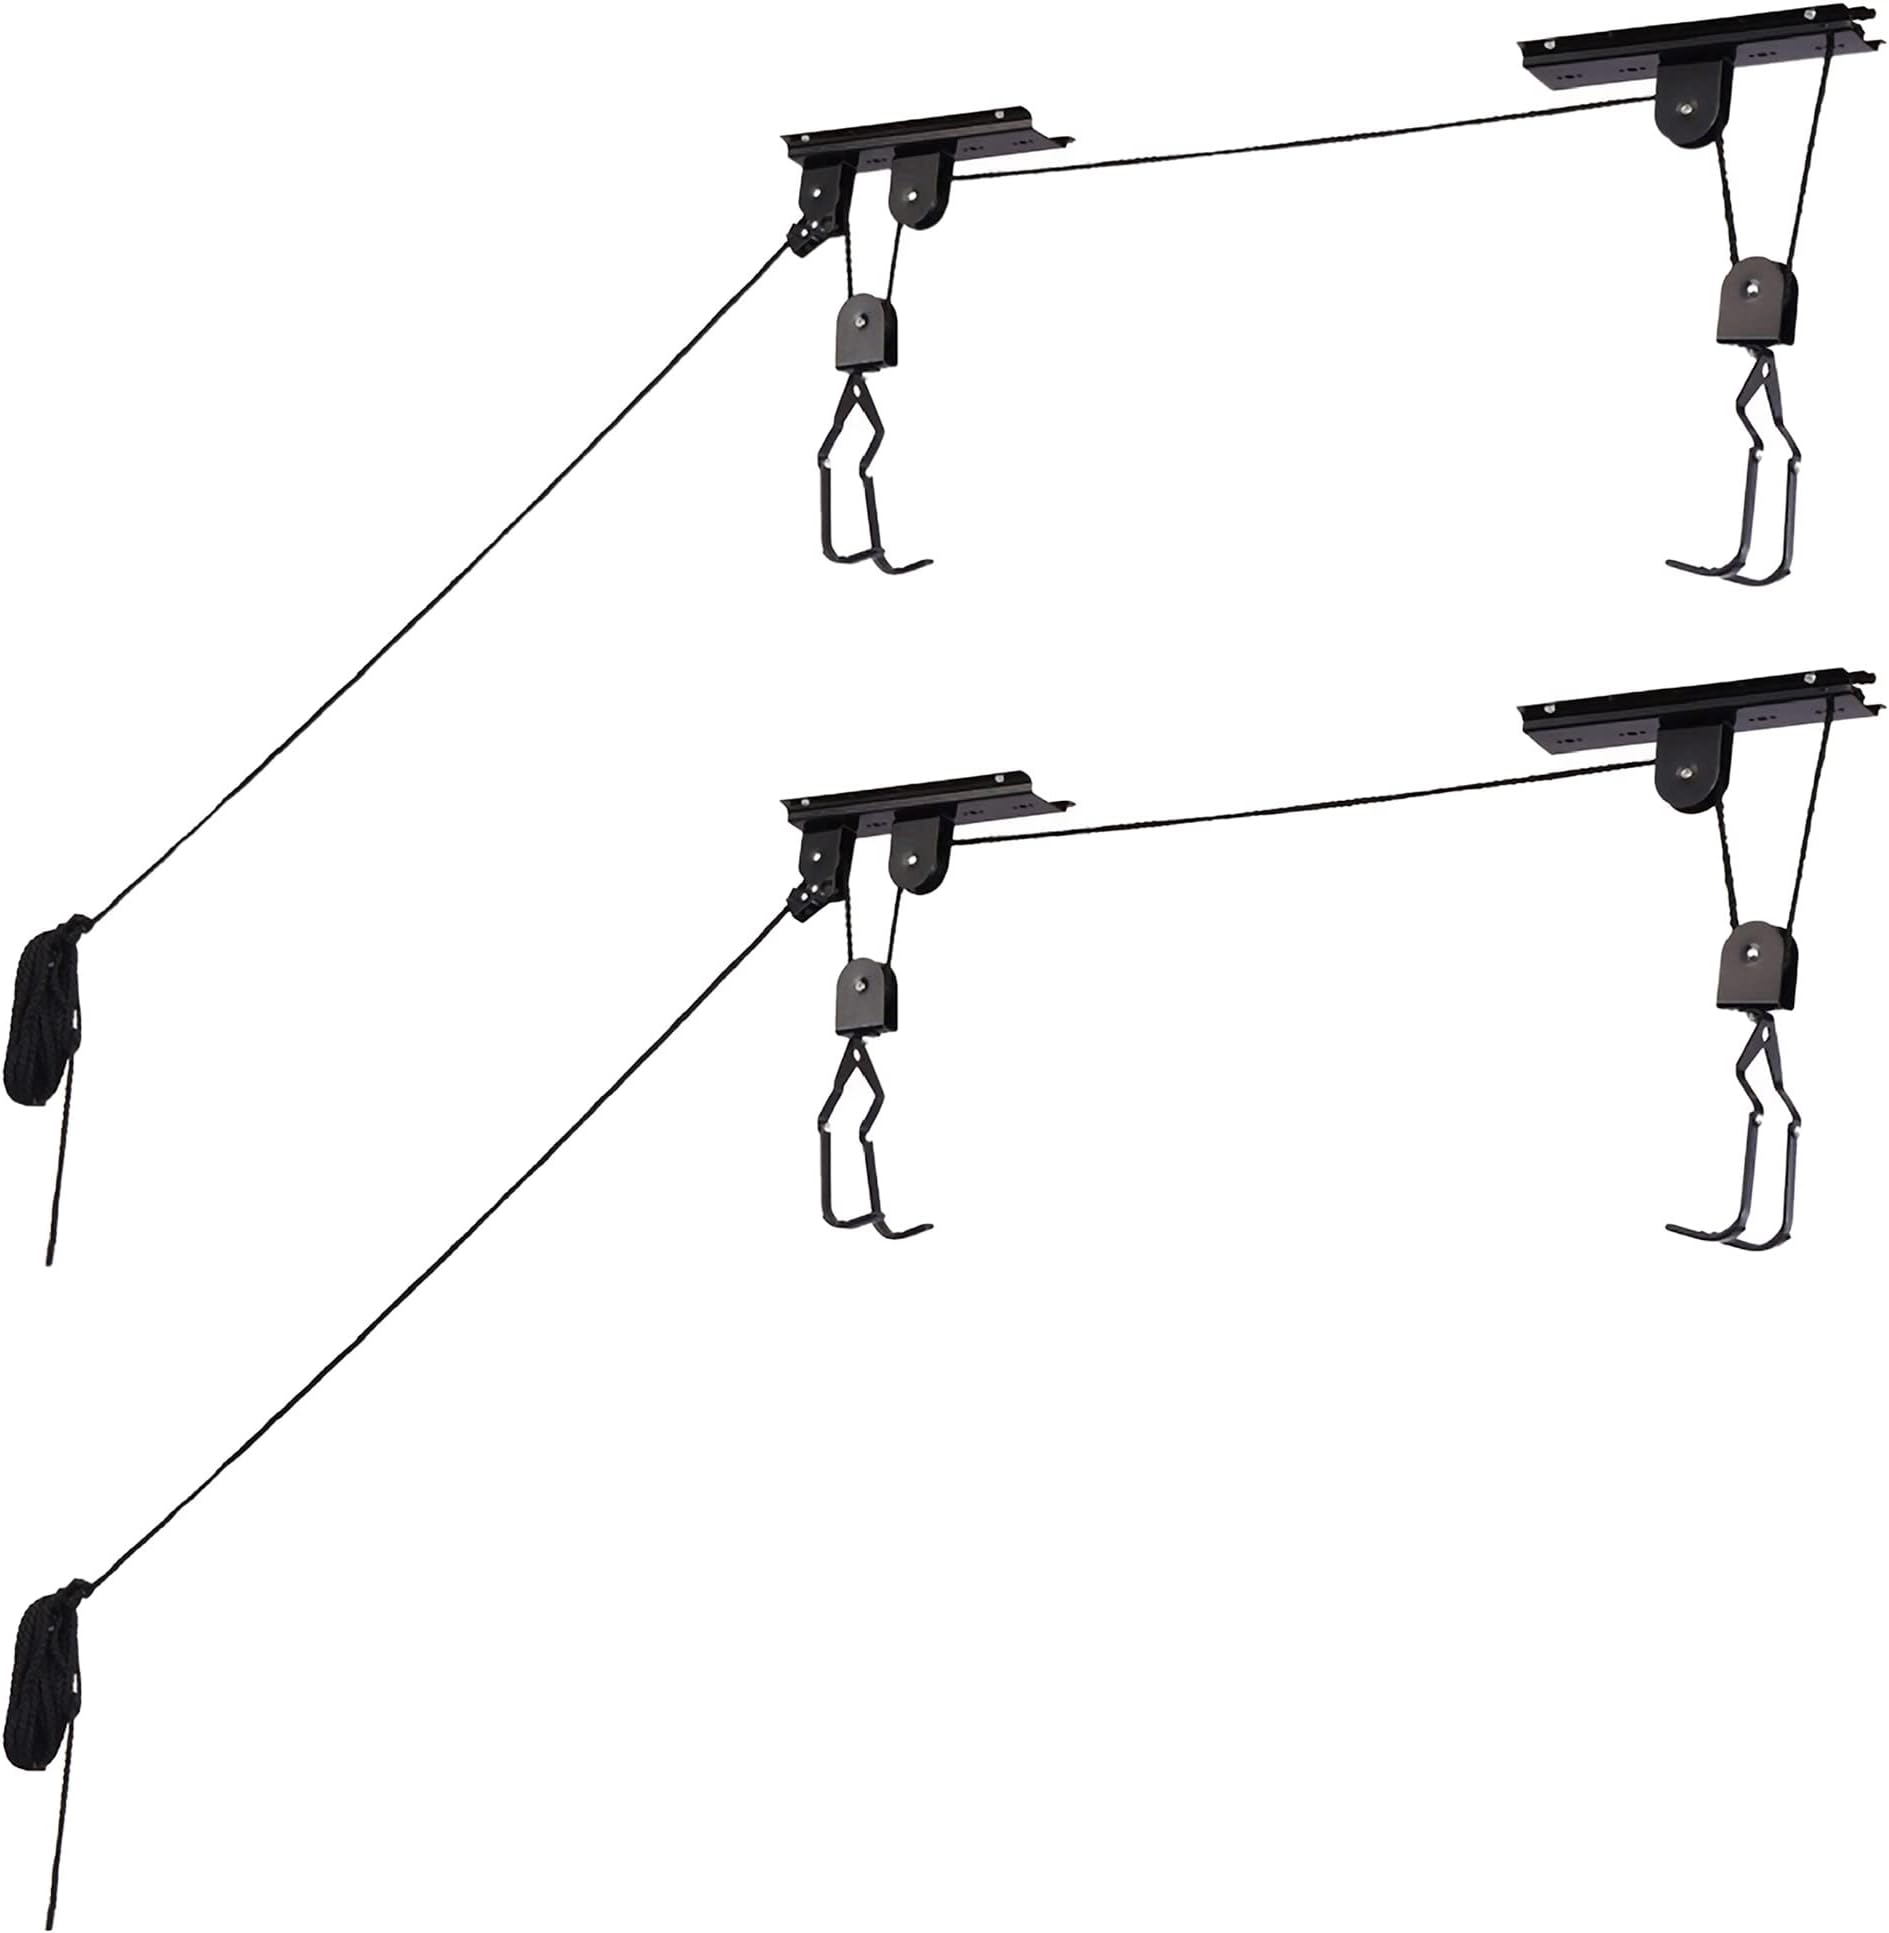
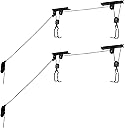
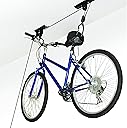
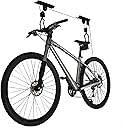
My bike, fell off this device, and it was quite violent. I didn't think I was "going cheap" when I bought this hoist, there were not many other options and they all looked the same. This one was rated at 100 lbs, but I should have scrutinized it better. Installation was ok, I installed per recommended instructions with a 1" x 2" board that was lag bolted to the ceiling joists with (4x) 1/4" x 3-1/2" lag bolts. I used (10x) #10 x 1" screws to secure each plate to the board (They only provide [4x] 1-3/4" screws per plate). The installation was not the problem though. The hooks are the problem and I should have known better. My bike weighs ~60 lbs, well under the maximum rating, but these hoooks are just flat metal stock bent into the shape of a hook with rubber protectivie covers on the tips. The rubber covers come off quite easily too, so that adds to the problem. Clue #1: They don't tell you in the instructions how to connect the hooks to the bike. Why? I connected the hooks to the handlebars and to the seat like I saw in the pictures. My bike went up and hung there in a way that seemed secure. When I started to lower the bike, at about 2/3-3/4 from fully raised, something let loose. I say "something" because it happend so fast that I didn't see what happend first. What I did see, was my bike bouncing off the floor and spasming in unnatual (upside down?) positions until if finally came to rest, in what appeared to be the fetal position. After I got myself up off the floor from my weeping position and wiped away the flow of tears, I was able to analyze some of what happend. I found one of those protective rubber things that is on the hooks laying on the floor. I found that the hooks were to longer vertical and looking like a hook, instead they looked more like an 'L'. I attached pictures of new hooks from the second set that I did not install along side the set of the failed unit for reference. It appears as though the hooks failed under the weight of the bike which caused the catastrophe. I wish I could remeber which hook let go first, but I think my subconscious is blocking the trauma. I also included a photo of the bent brackets on the bottom of the seat, this is how I deduced that it bounced upside down at least once. After considering what happend, I had to wonder what would happen if you bumped the bike while it was hanging in the stowed position. Would the hooks hold? Could it be bumped enough to dislodge it from a hook? What kind of damage would occur if a bike fell and a car or other costly possession was in close proximity? For this reason, I don't think hooks, especially these, are a good option to hang a heavy bike (up to 100 lbs!!). I think some straps and caribiners might be a better option. I'll save you the long story of the customer service conversation, and leave you with a synopsis. Customer service appears to be a third party contractor. They are quick to respond and polite, however I didn't get the feeling of genuine. They cannot help you with products purchased from a 3rd party seller (Amazon) and they don't sell the product directly, only through 3rd party vendors. They suggest you take the issue up with the 3rd party seller. Their final statement "The limited warranty does not, under any circumstances, cover the replacement or repair cost of any electronic device or personal property inside or outside of the product you purchased from us." Of course I am returning the product to Amazon for a refund, but that doesn't help me with my bike. All of that was a fairly standard and expected response from a company such as this one. It's always refreshing to find a company that will stand behind their product and try to make things right when they can. This was not the case with RAD Cycle Products, aka. TeamCustomerService.com, aka. Trademark Global. On a positive note, my bike seems to be ok after I replaced the seat, adjusted the drerailleur, and wept. The customer service with the ebike company has been terriffic, and they have taken care of any issue that was present, including labor if necessary. Of course this tragedy was not theirs to take responsibility for nor did I hold them accountable for any these damages. I hope this helps someone before bad things happen. Be careful out there!
B**E
Wonderful product
Excellent product. Using this product above all other products available on the market. Saves a lot of space. Excellent price from Amazon. Thanks Amazon.
M**Z
Mas que excelente!!!!
La instalación es sencilla si sabes y te gusta hacer este tipo de cosas, si no, se te puede complicar, yo lo adapte a una estructura de protección de un patio sin problemas, en mi caso tengo 2 bicis de adulto 1 jr. Y una infantil
G**X
EXCELLENT
Installation assez simple mais par contre il faut aider la montée du vélo . La corde est très longue , je vais sans doute installé un treuil manuel pour plus de facilité.
M**.
Good kit
Been using this for last year or so.. Holds my bike well, simple to put up and easy to use
L**T
Veel plaats bespaart
Tiptop
Trustpilot
2 months ago
4 days ago