Description
🔒 Elevate Your Space with ProHD Security — Because You Deserve to See It All
- NEXT LEVEL NIGHT VISION - See clearly in near-total darkness up to 32 feet with advanced IR LEDs and low-light CMOS sensor.
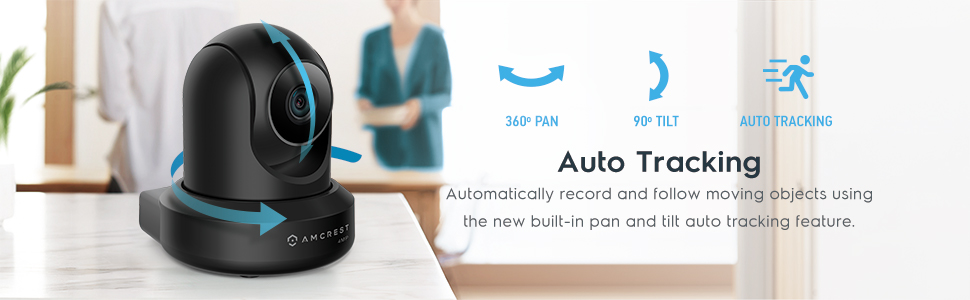
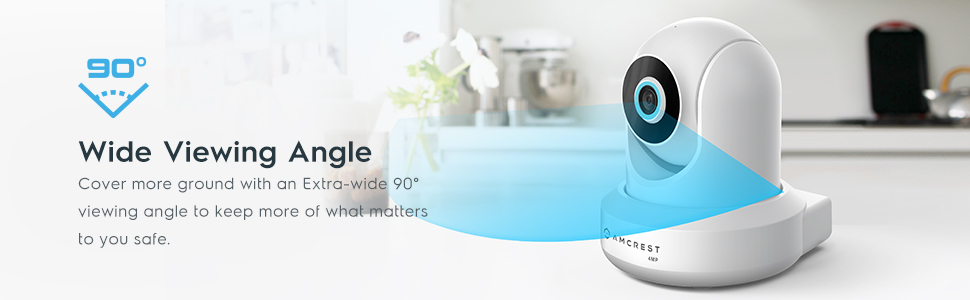
- SMART PAN TILT CONTROL - Cover every corner effortlessly with remote 90° pan and tilt, ensuring no blind spots in your space.
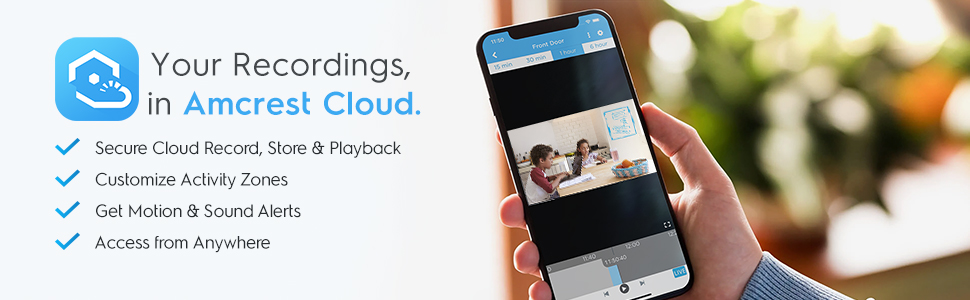
- SECURE CLOUD LOCAL STORAGE - Never lose a moment with encrypted cloud backup, MicroSD, NAS, and FTP options for ultimate peace of mind.
- CRYSTAL CLEAR 4 MP PRO HD VIDEO - Experience ultra-sharp 2688x1520 resolution at smooth 30fps for flawless indoor monitoring.
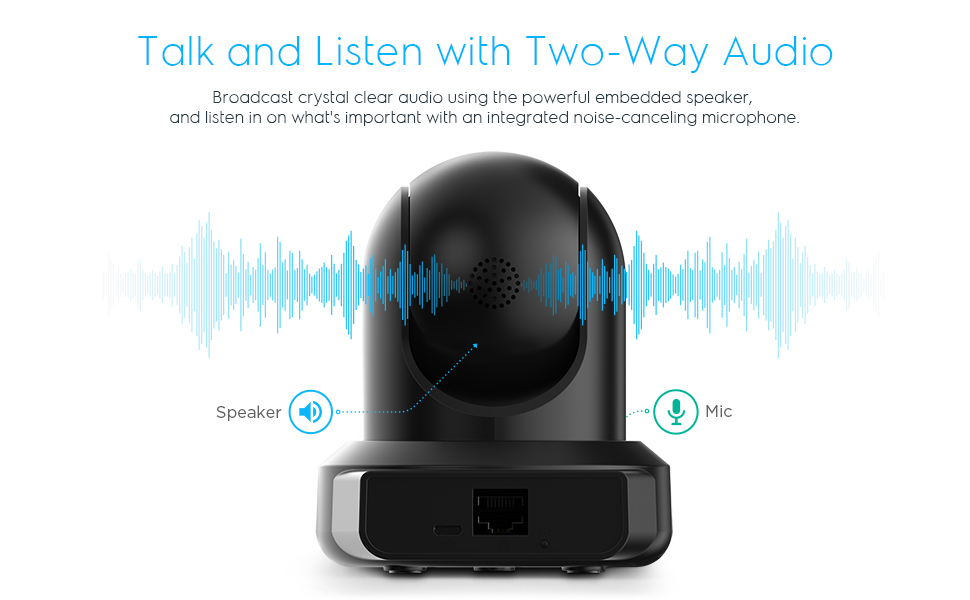
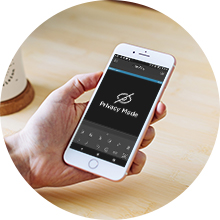
- SEAMLESS TWO WAY AUDIO ALERTS - Stay connected with instant motion alerts and real-time communication via your smartphone app.
The Amcrest 4MP ProHD Indoor WiFi Security Camera delivers professional-grade 4MP video at 30fps with a super-wide 90° field of view and remote pan/tilt control. Equipped with advanced low-light CMOS sensors and IR LEDs, it offers night vision up to 32 feet. Featuring two-way audio, motion alerts, and versatile storage options including secure cloud backup, MicroSD, and NAS compatibility, it integrates seamlessly with Alexa and major browsers. Designed for reliable indoor surveillance with encrypted WiFi and continuous firmware updates, it’s a robust solution for modern smart homes and offices.