

🏡 Secure your space, elevate your yard!
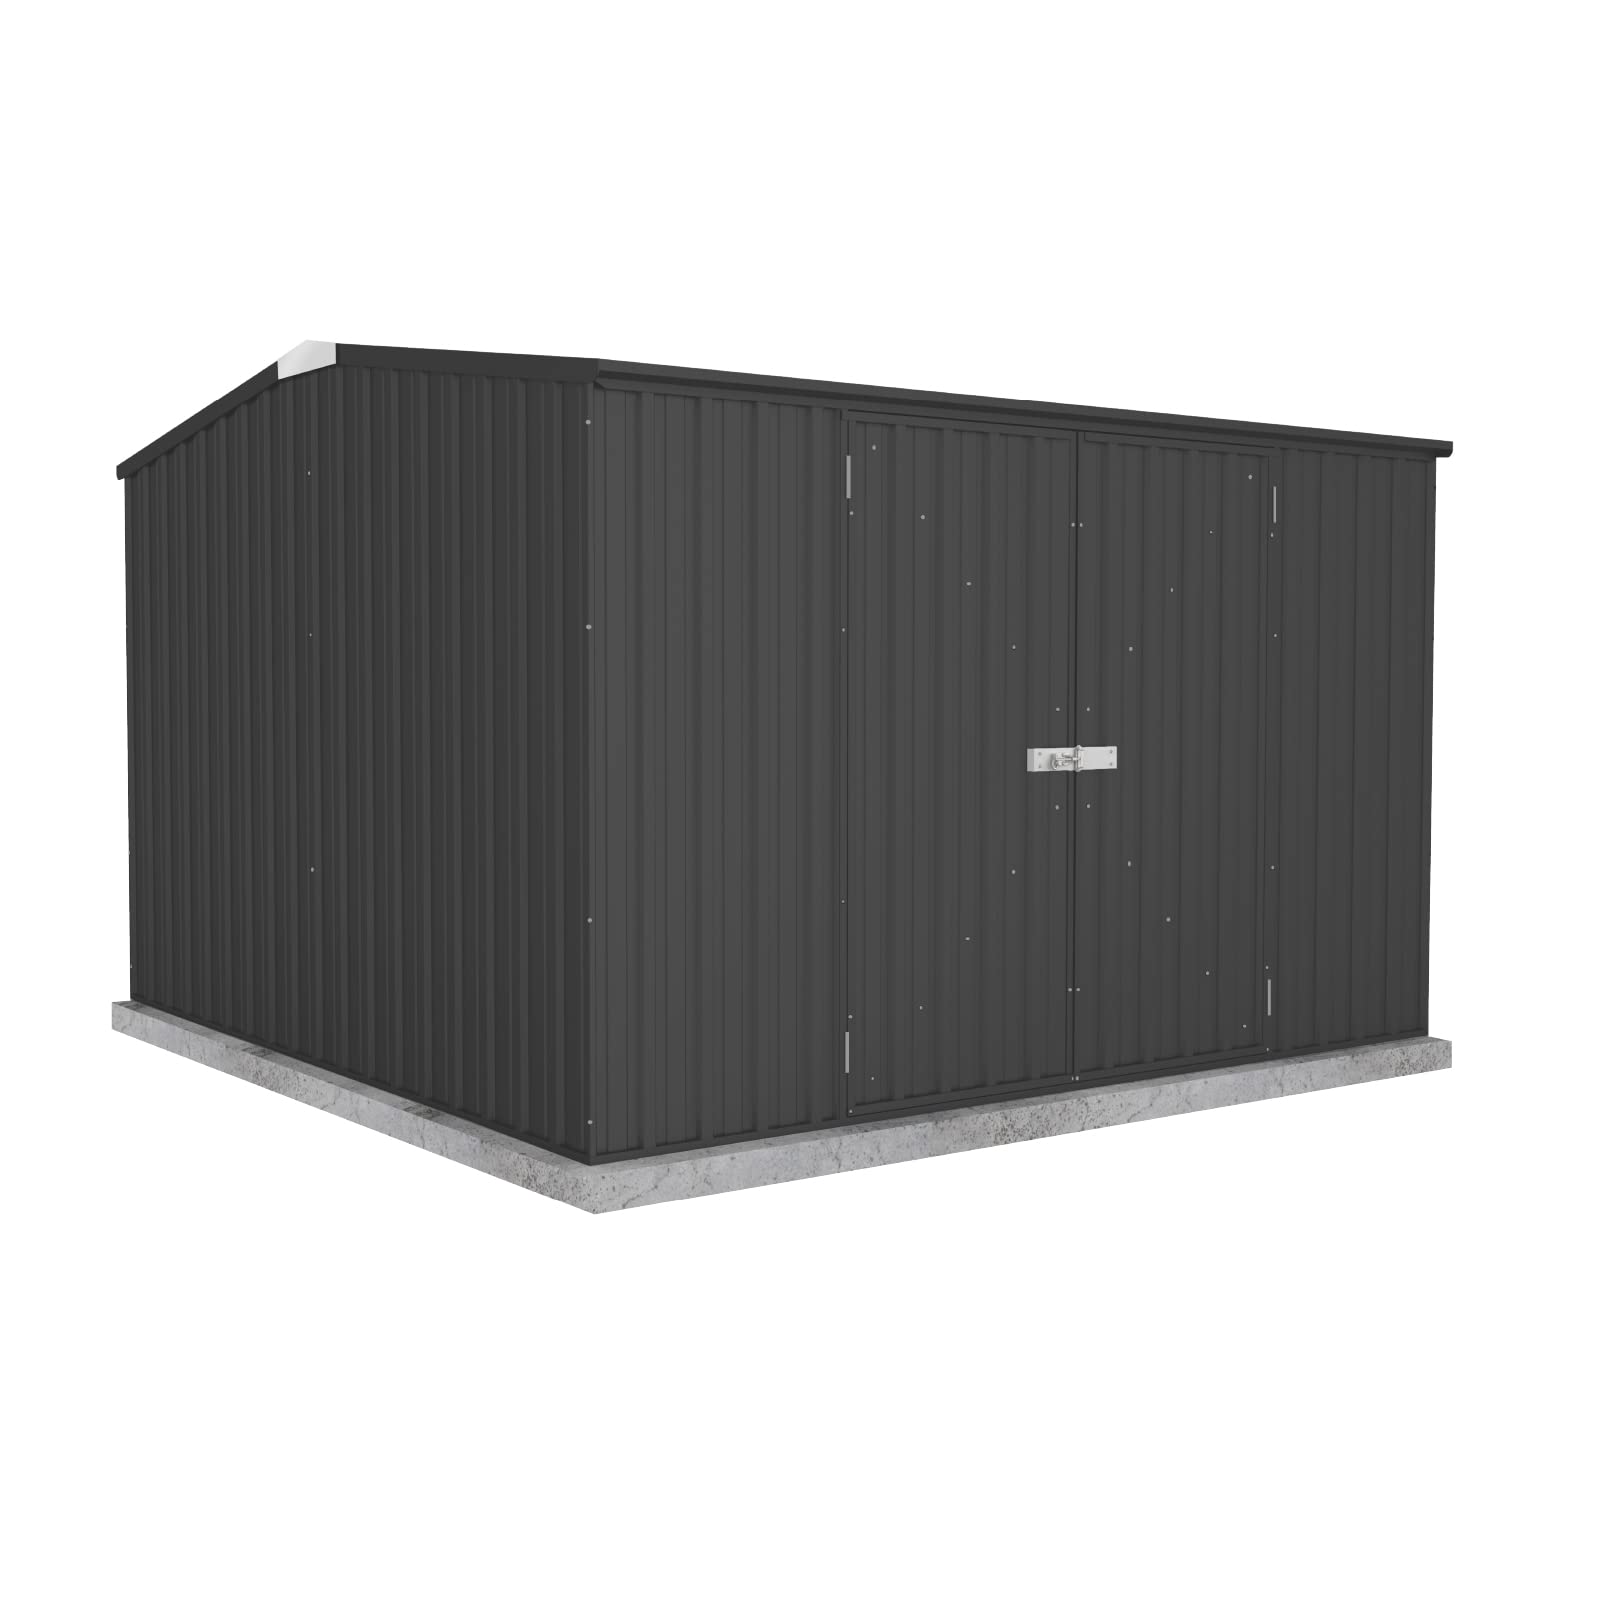
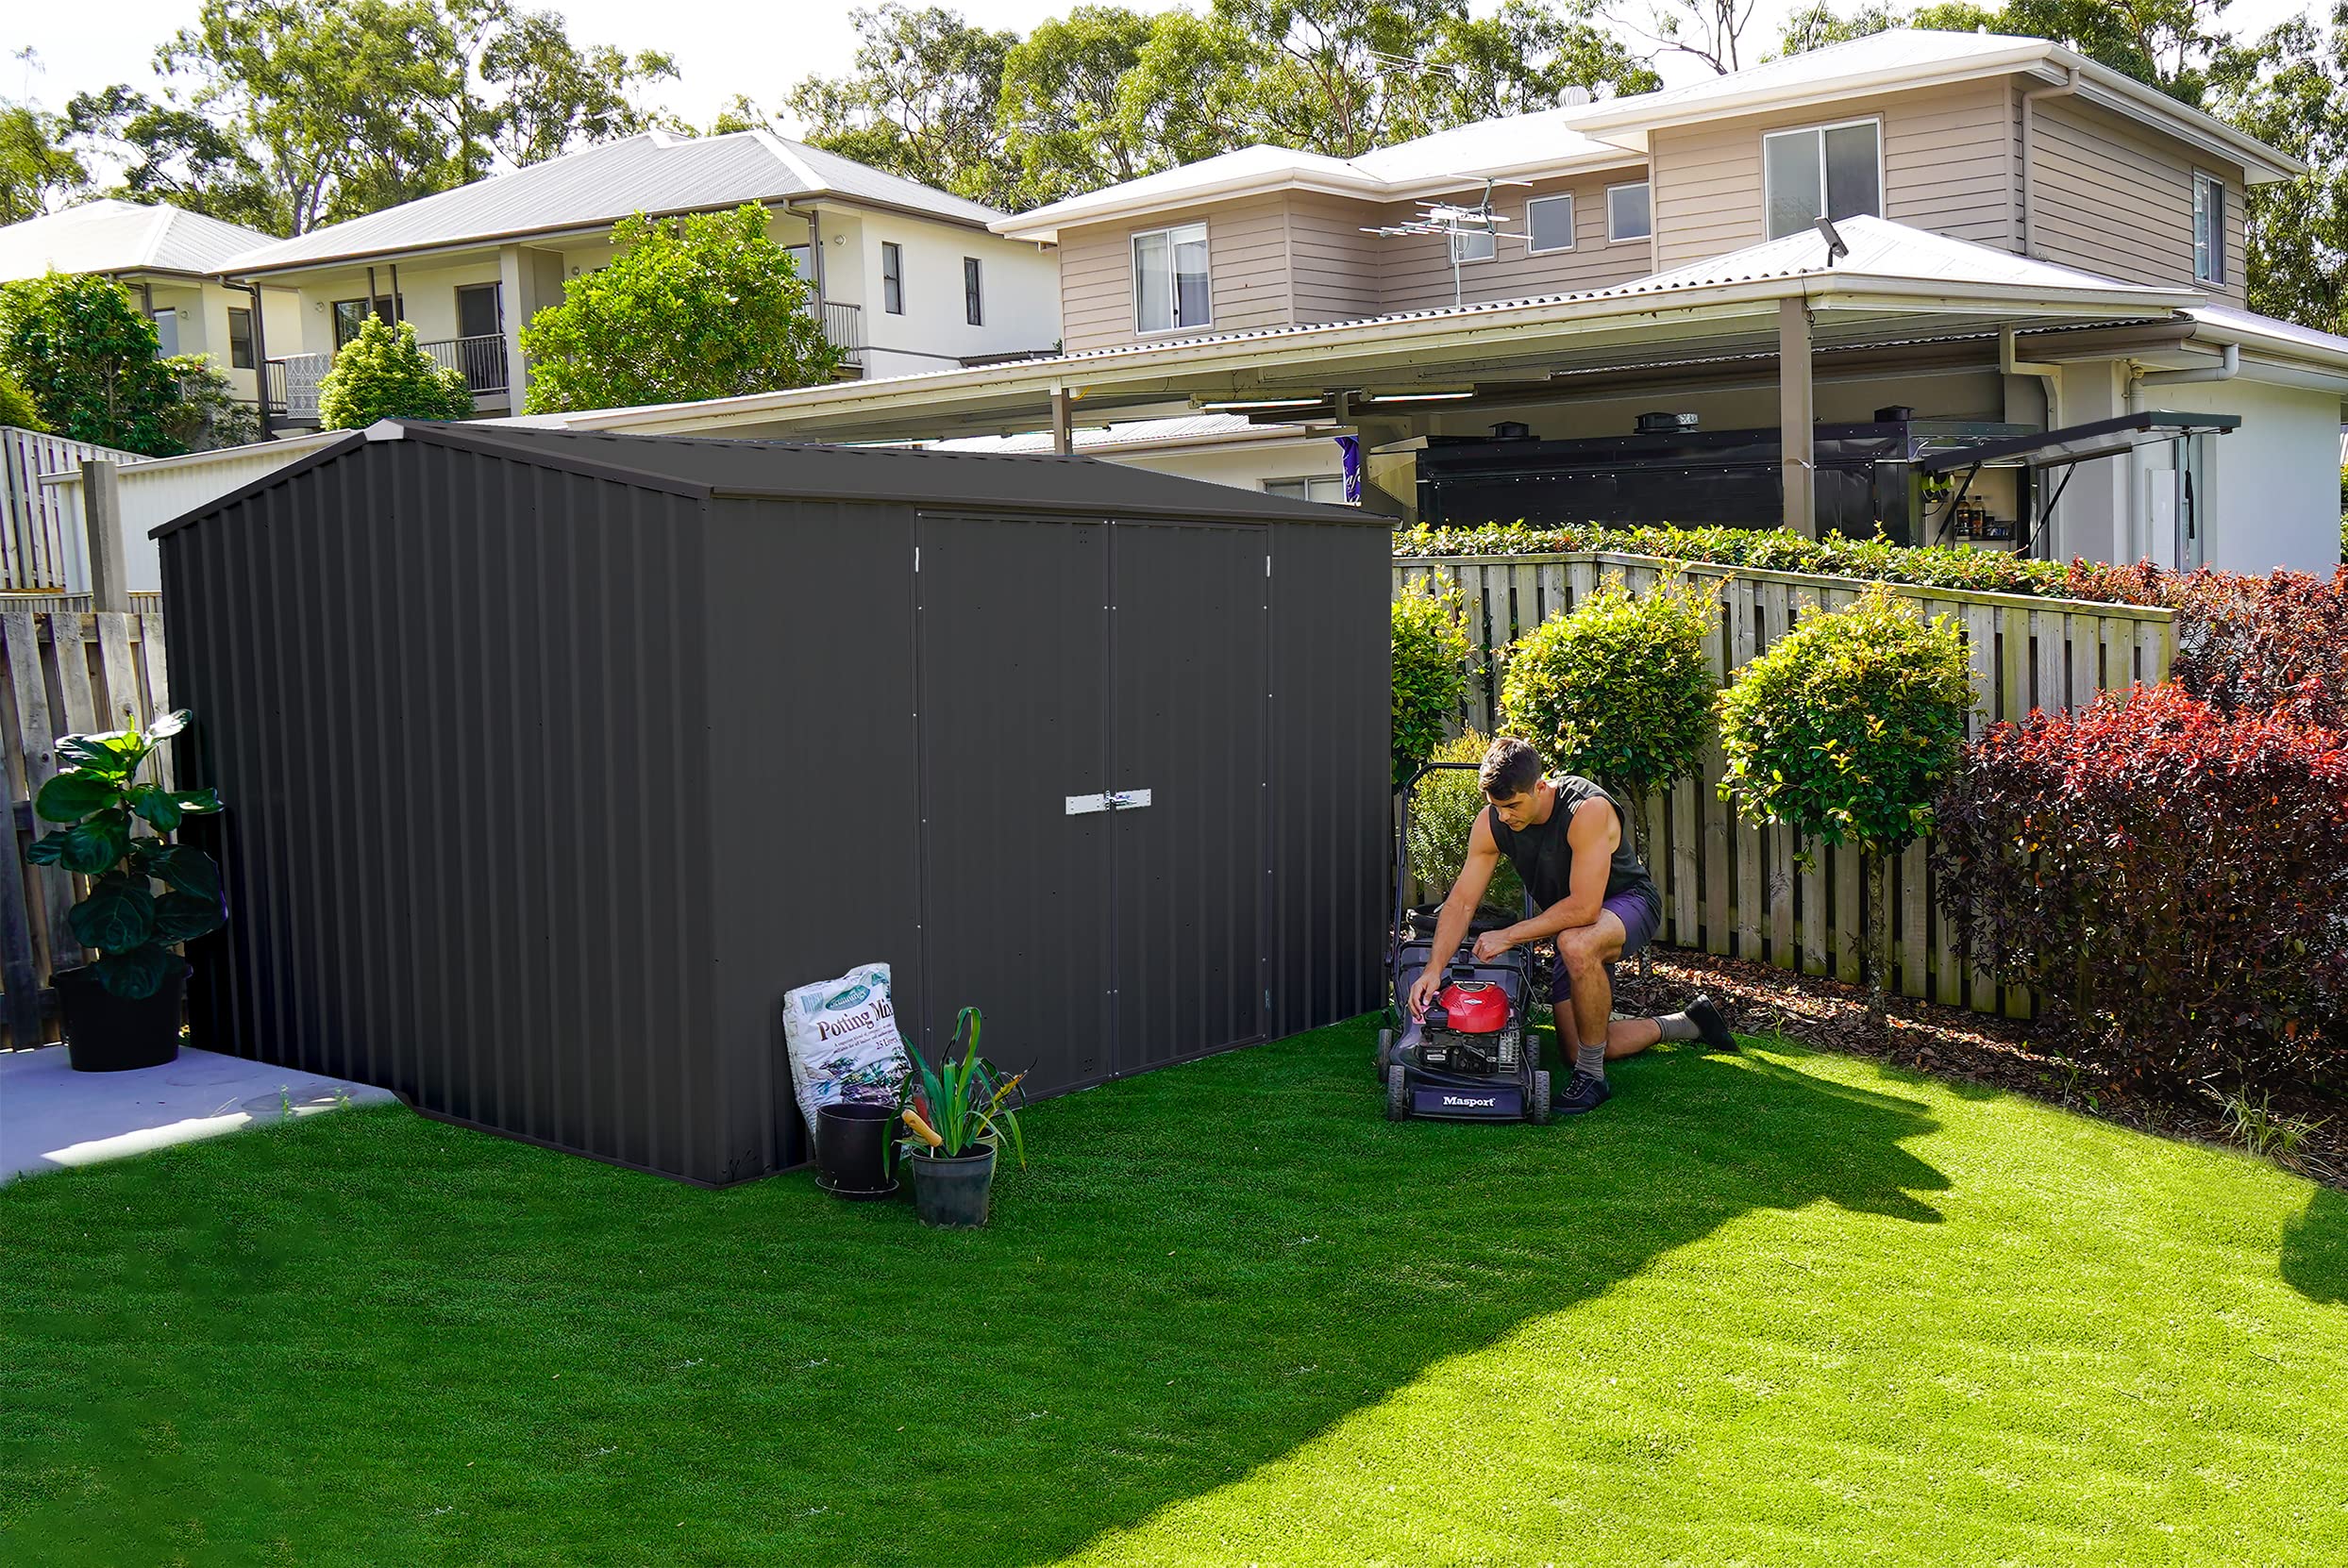
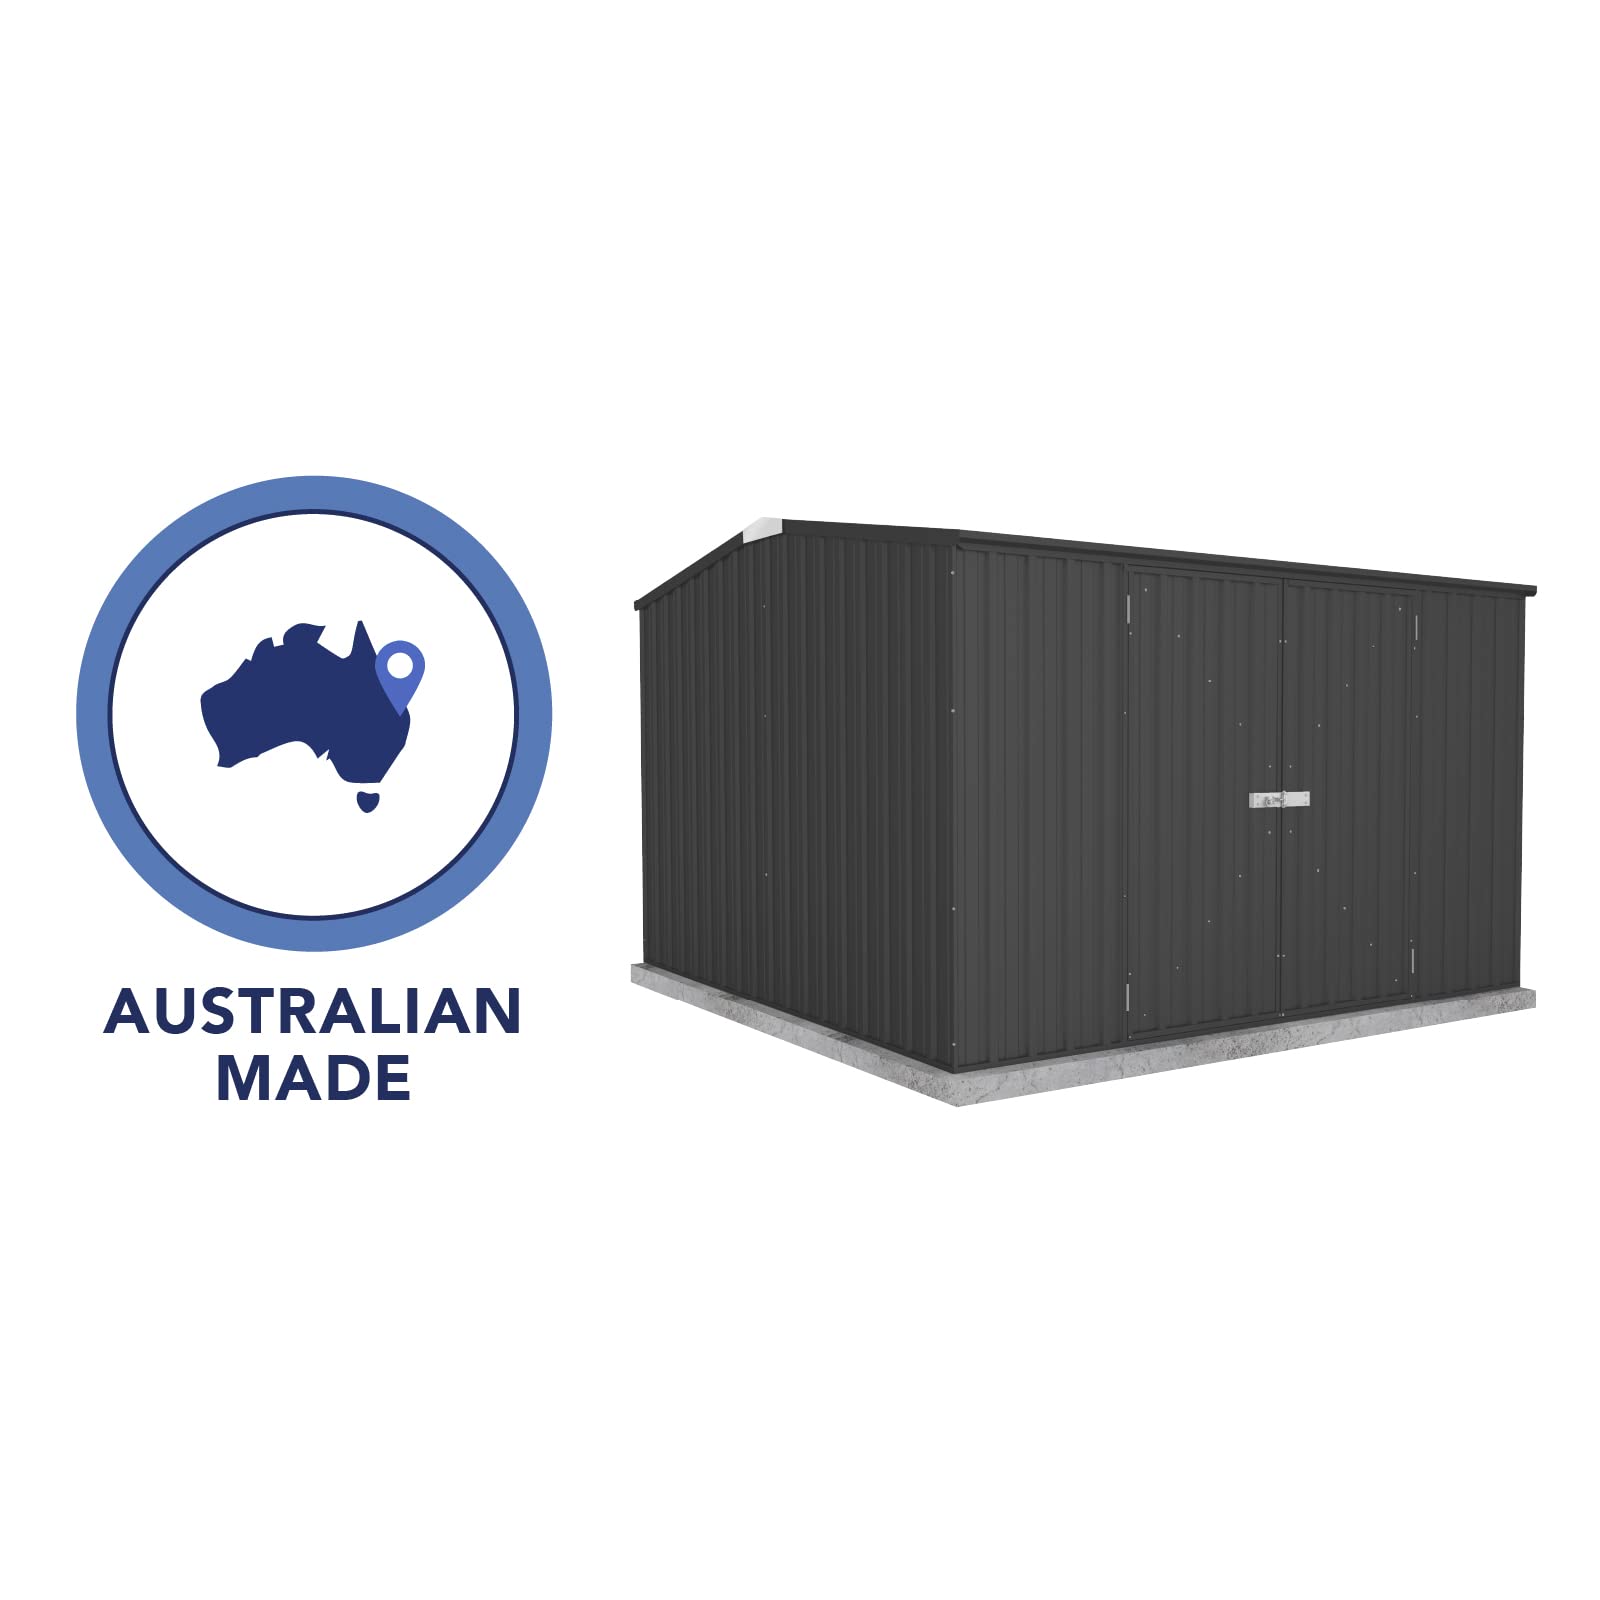
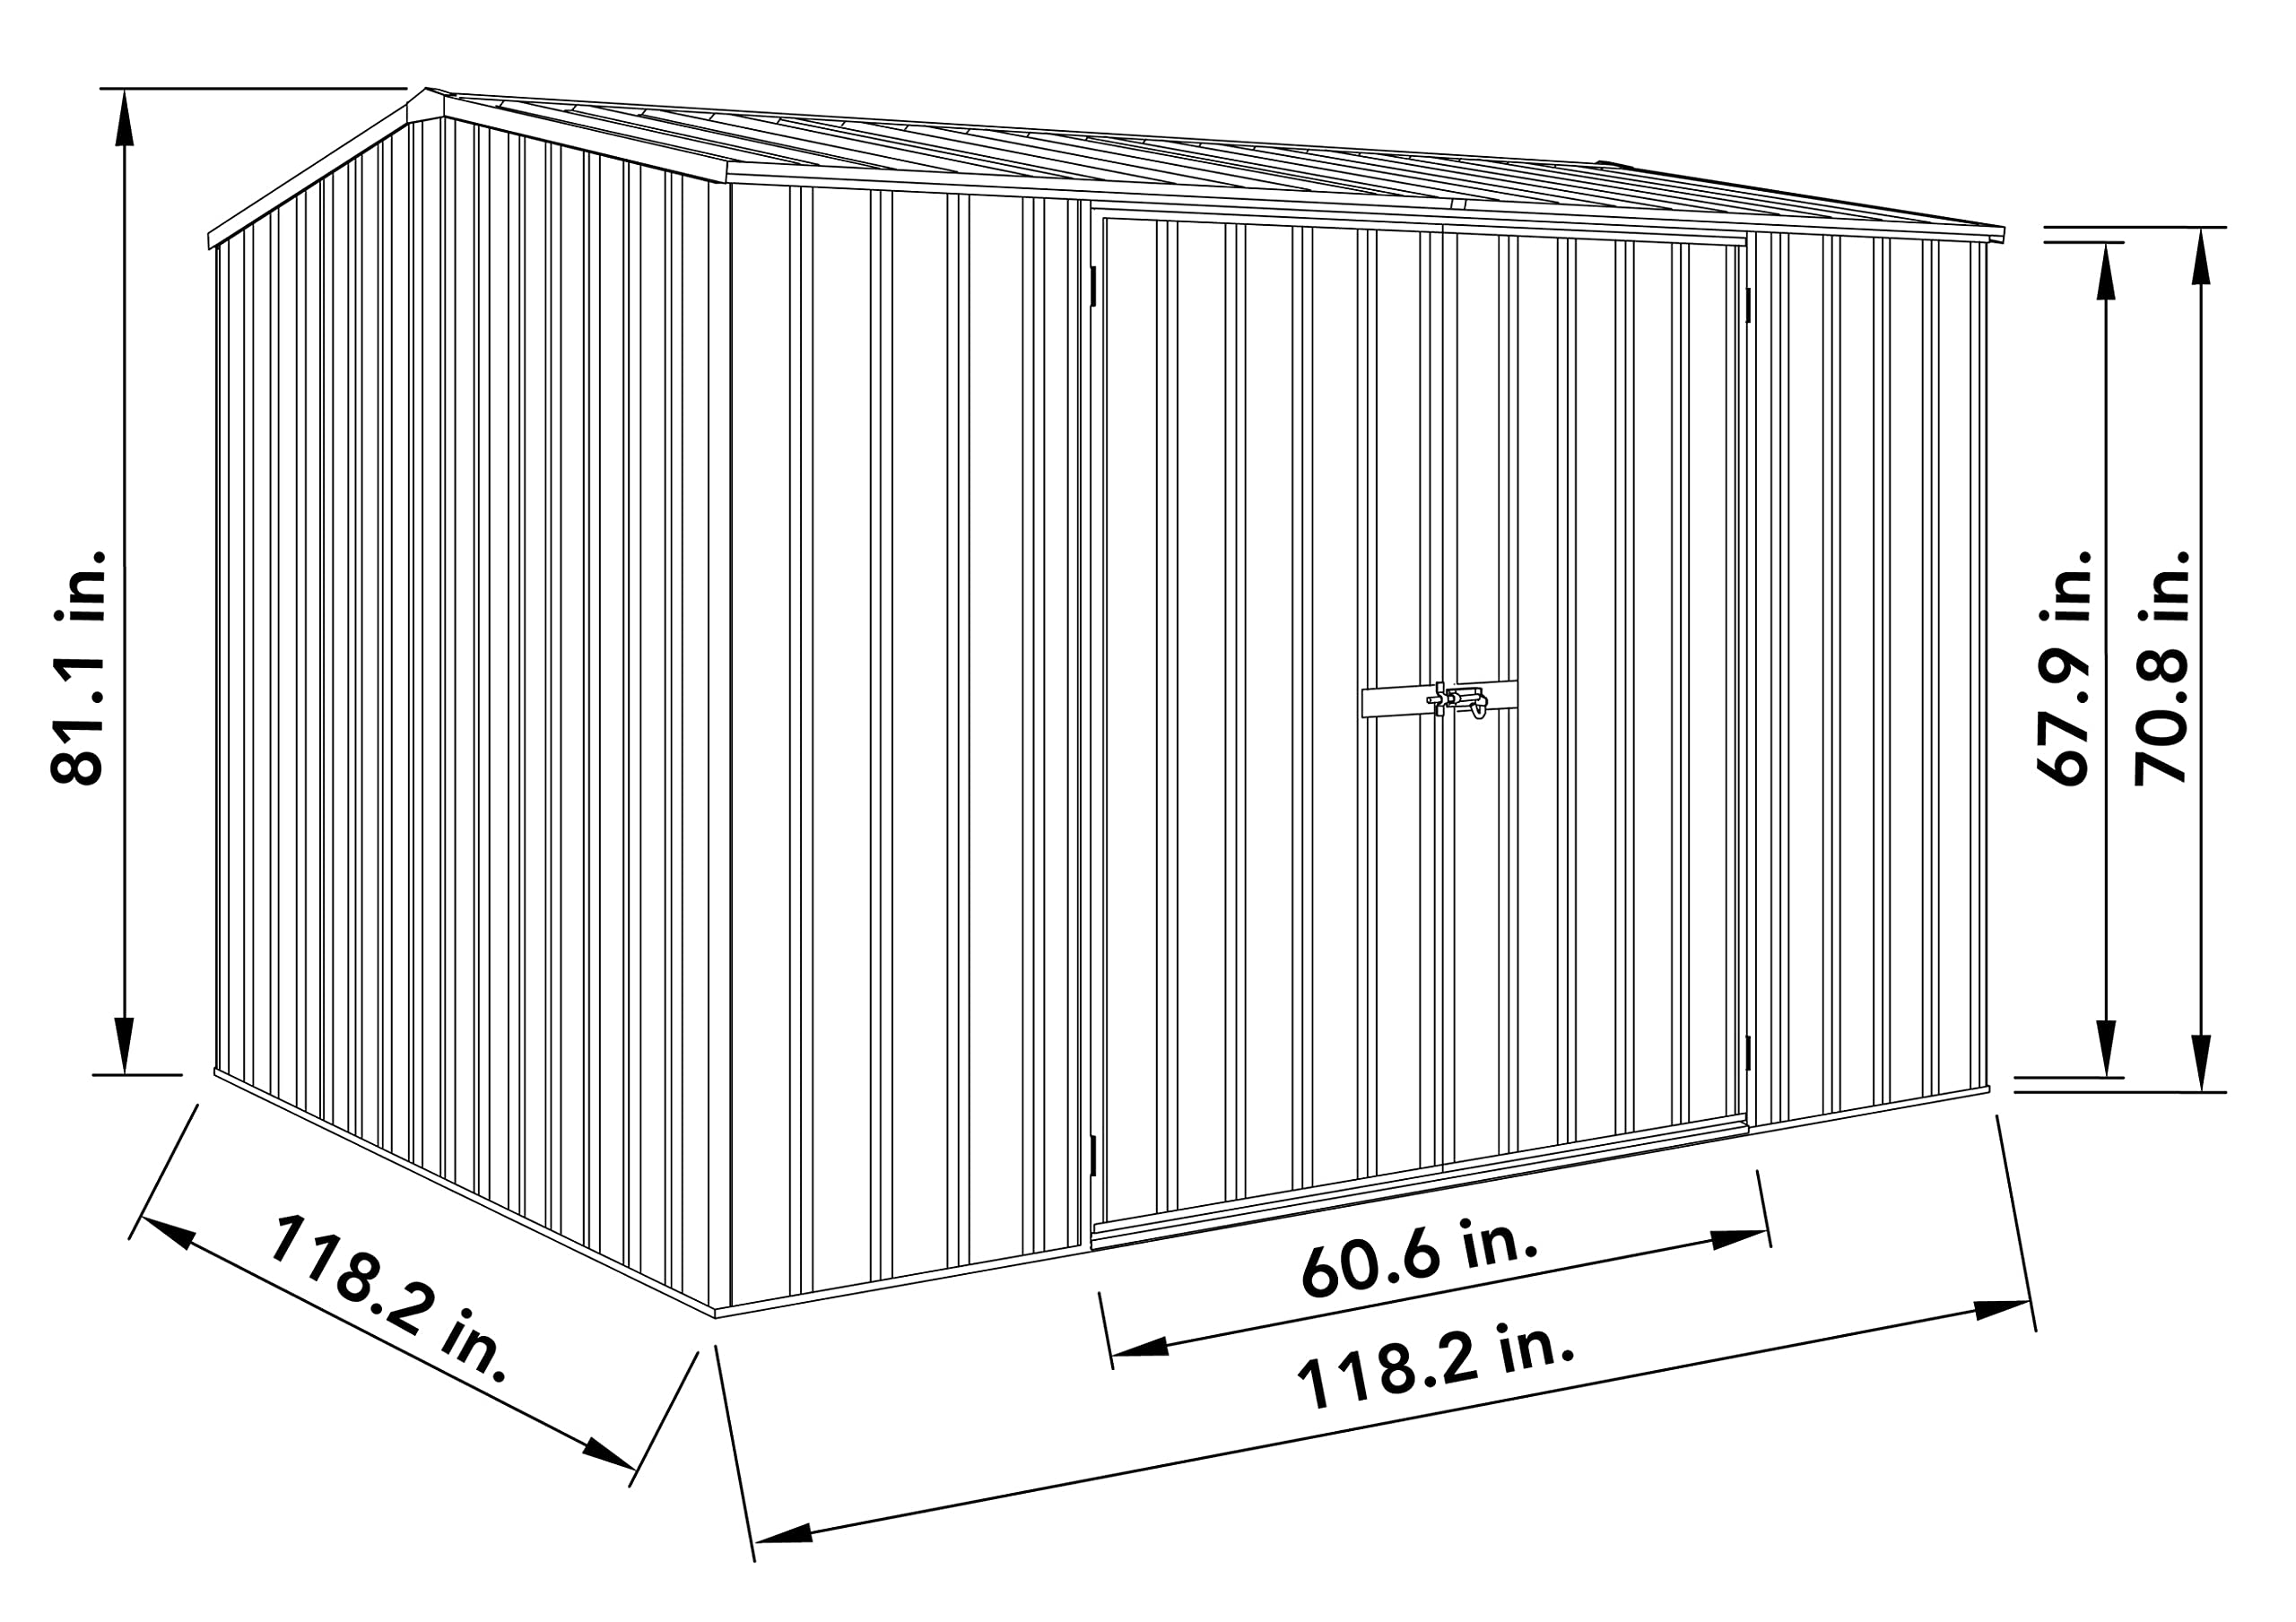
The Premier Storage Shed 10'x10' combines a sturdy steel frame with weather-resistant aluminum panels, offering a durable, maintenance-free outdoor storage solution. Featuring the innovative SNAPTiTE Assembly system, it enables quick DIY setup. Designed for versatile use—from tool storage to motorcycle shelter—this shed is backed by a 12-year warranty, ensuring long-lasting protection and peace of mind.


S**N
Great shed for the price
Takes some time to put together. Instructions could be better. Good shed for the price
P**O
Flimsy, Terrible product
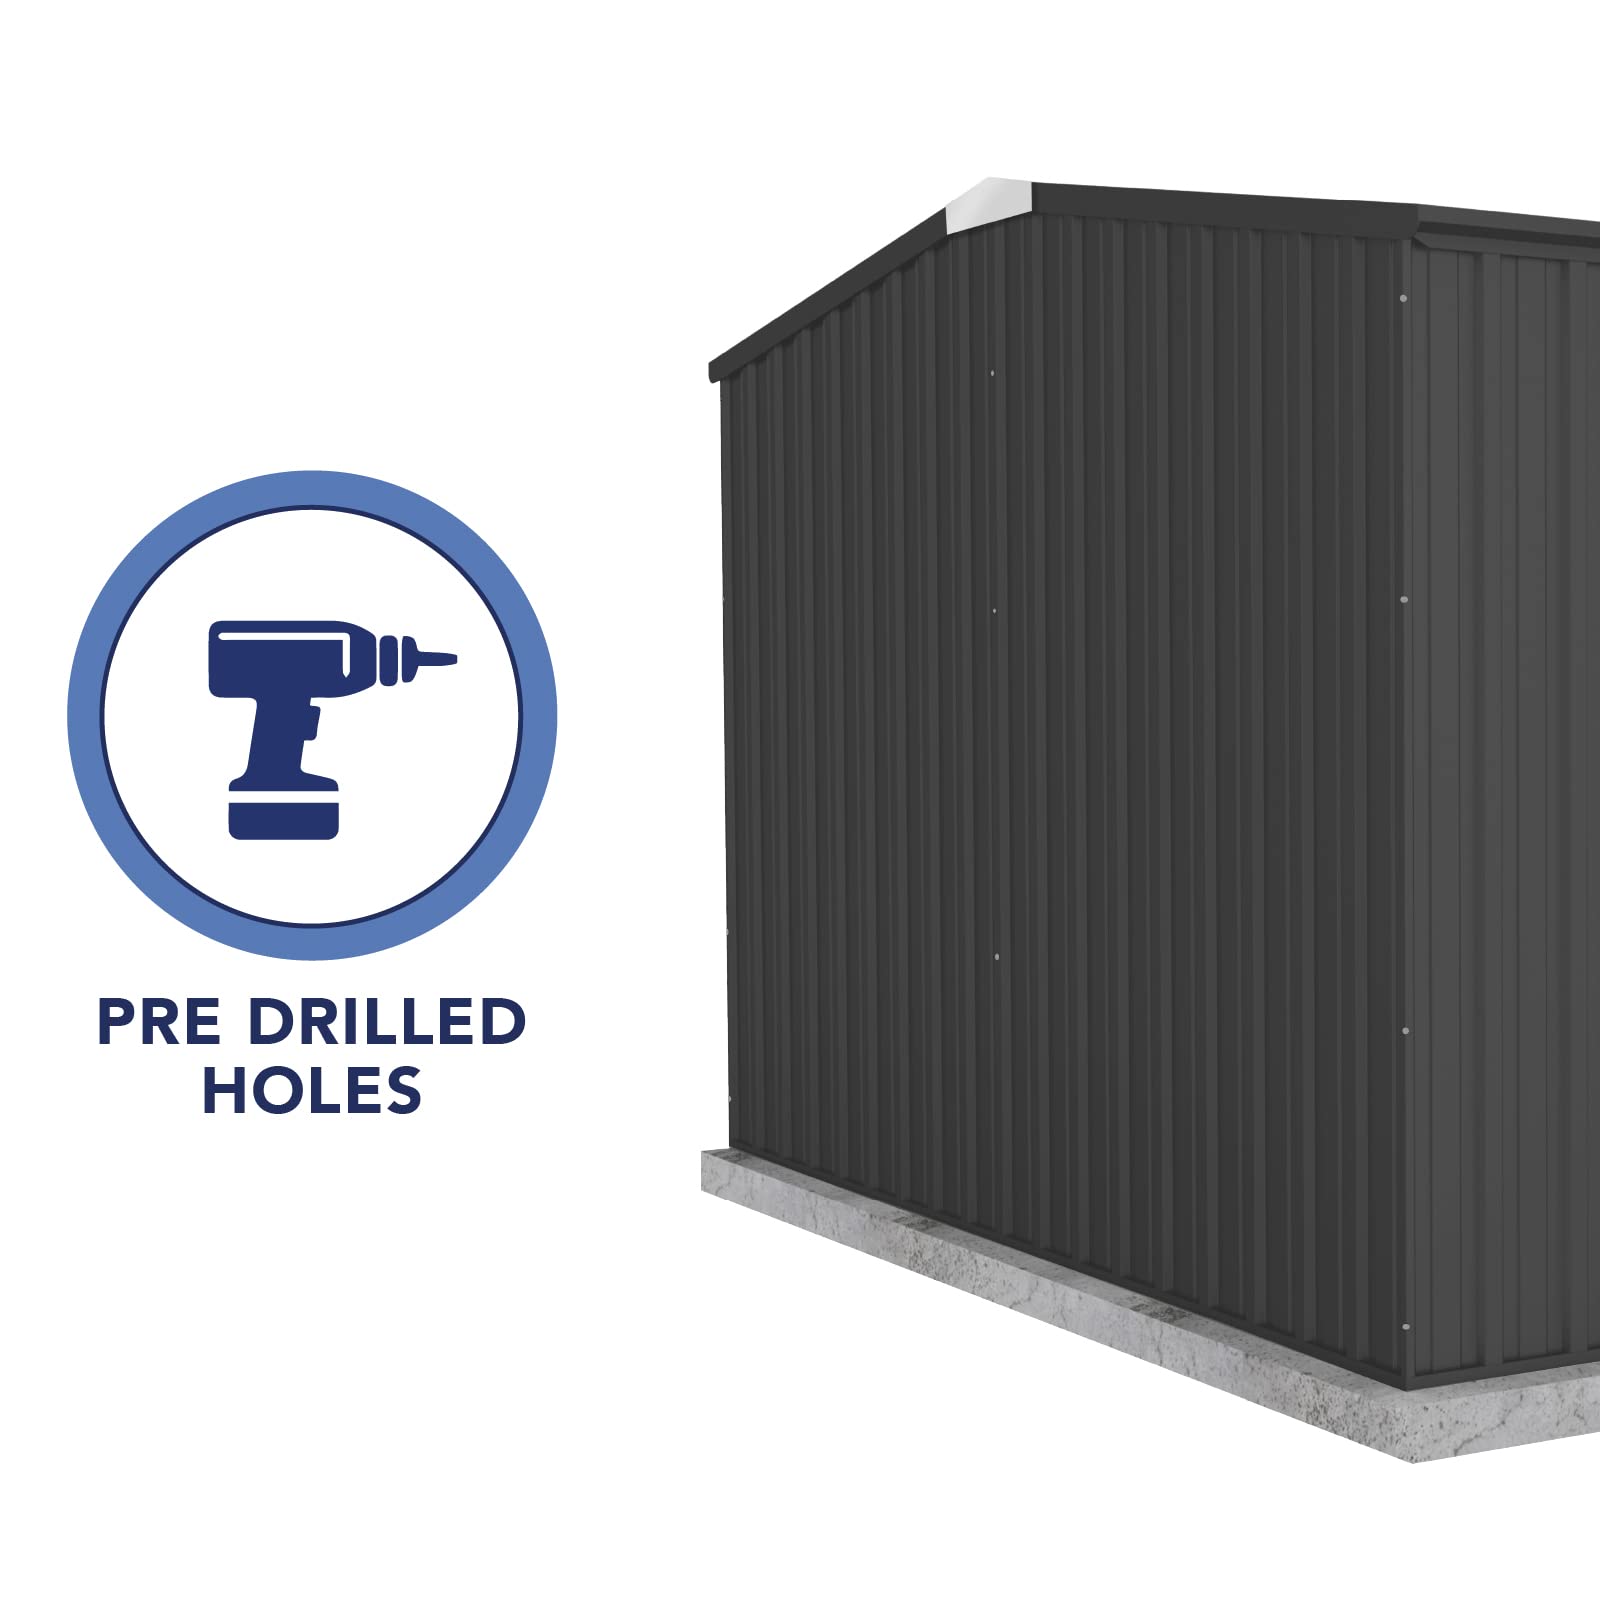
Stay away from this product! First, the instructions are awful, you're going to have to figure it out for yourself. Second, about half the "predrilled" holes are not in the right place, and you will need to drill new ones. Third, this takes a rivet gun to put together (seriously, it really does). If you haven't used a rivet gun, get ready to learn how. Fourth, when constructed, it is extremely flimsy. It's in no way secure, and anybody older than 5 years old will be able to tear it down without a problem. It may even be a hazard if you have children near it. I'm serious.ly concerned about any wind over 20 mph. Simply stay away, it was a huge mistake to purchase this product.
M**I
good high quality products
The product look thick and strong. Installation took about 7 hours because mostly because of the terrible instructions. The product installation video also terrible because they only show front view and not close up view on how the joint come together. It come with everything u need to put together. A lot of extra nut and screw. Don't expect to use everything in the bag. The door hinge that already attach to the frame isnt attach by nuts or screw. I was working in a windy day. The door slam and it fly off from the frame. It realized it was attached by metal joint that you tab together. Ended up drill holes and attach a screw. The door frame isnt strong. You need to get metal support for it in a long term. The position of roof down pour is in front of the door. Rain water will run down your door and flood your inner floor. You need to install some kind of gutter or block to push the water away from the door. Make sure you seal it so it won't leak. I use 7 tube of caulk to seal everything inside to water and bug proof. Over all it a good product for that price. Ended up I spend about $900 on everything.
H**Y
Great value for more storage
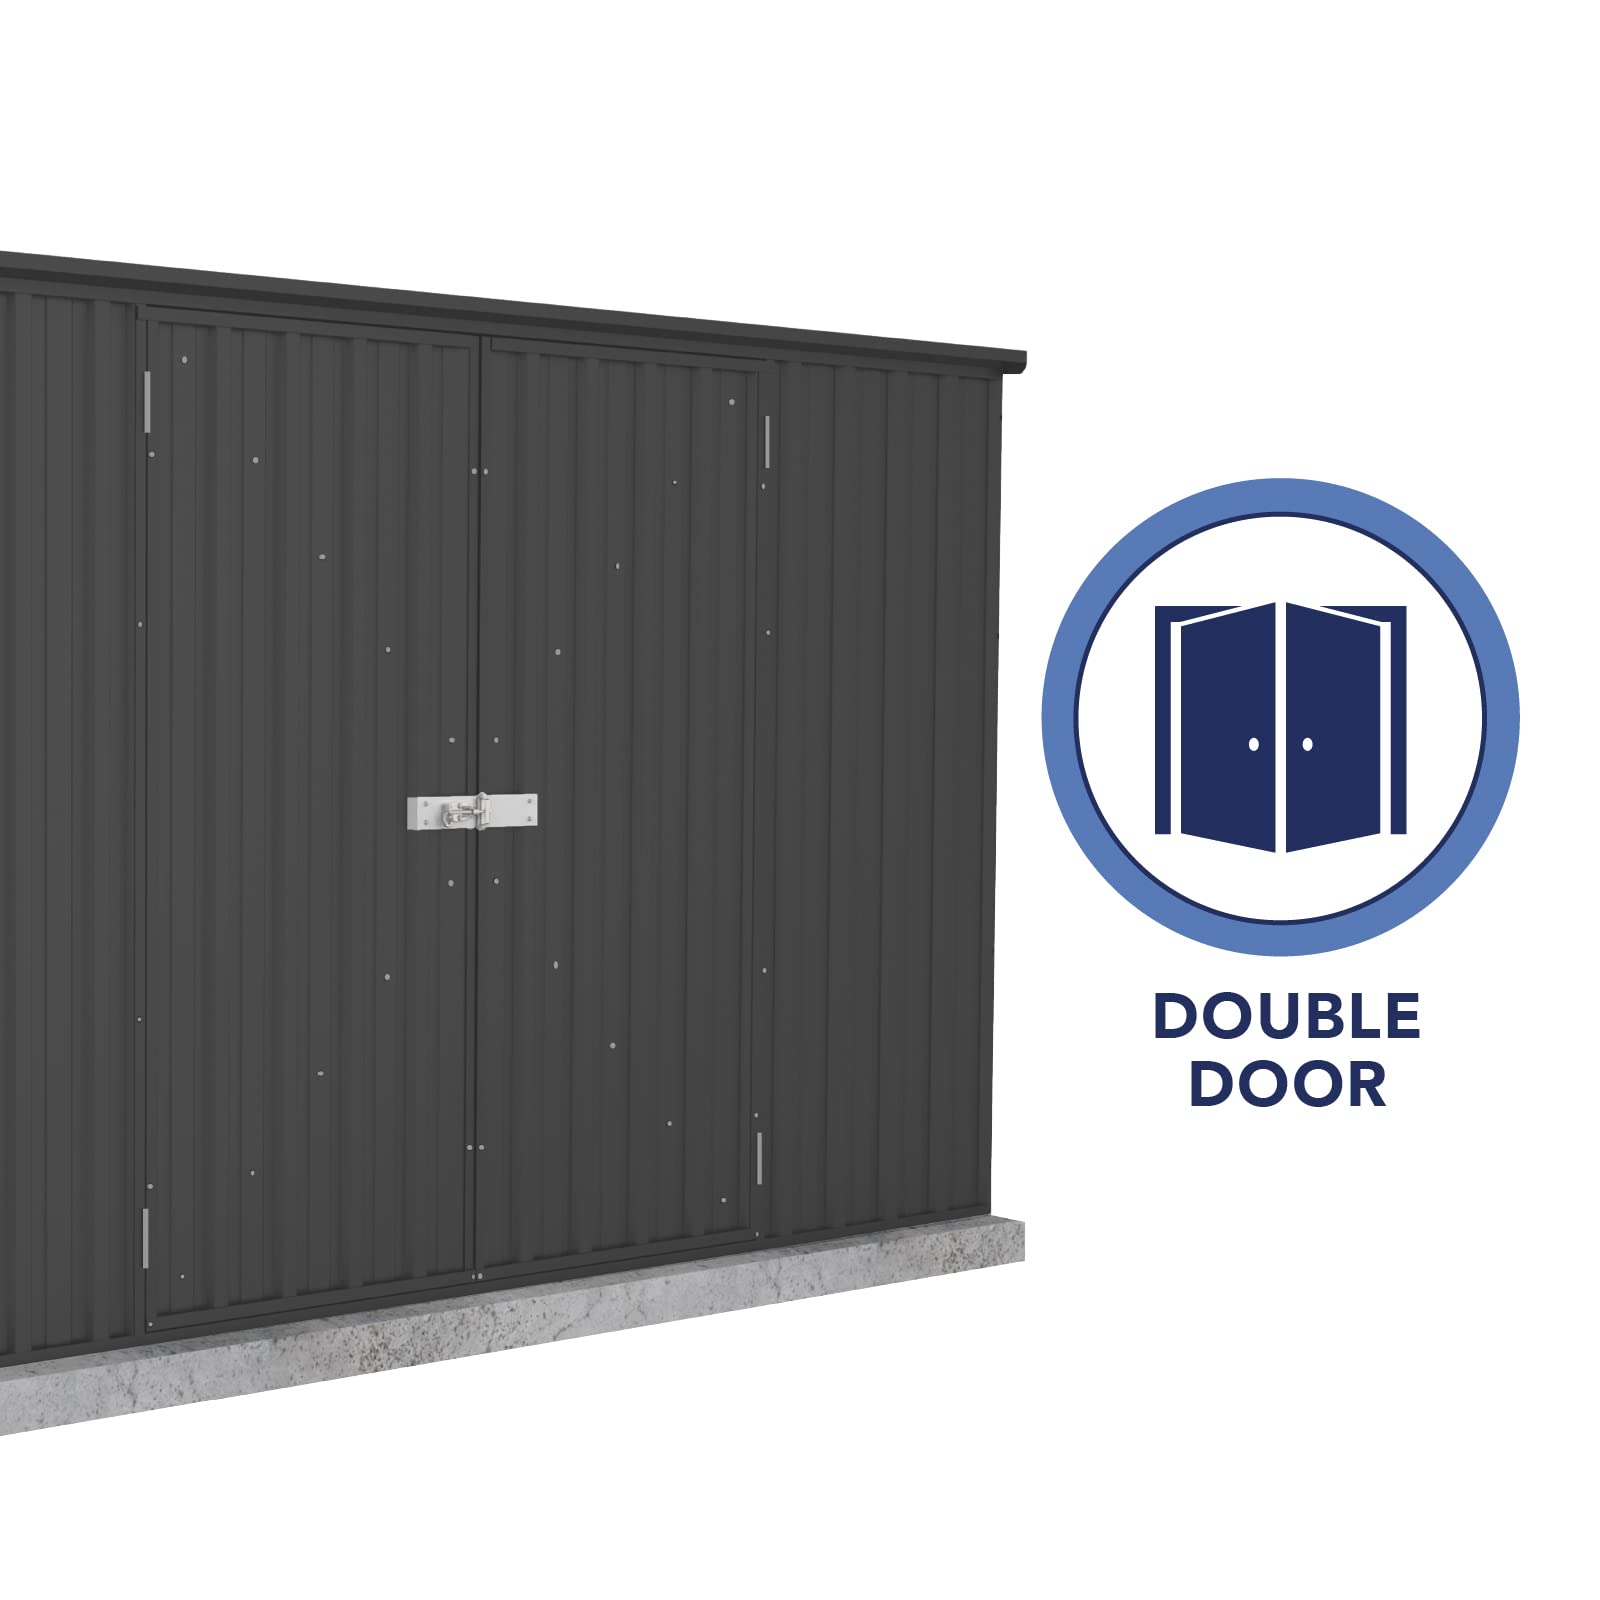
The first two things I noticed about this shed is it had swinging doors instead of the cheap sliding doors and the color was something other than cream. I built a wood foundation from 4 x 4’s and plywood which has worked well. The shed was pretty straight forward to assemble and the labeled parts were a great help. It took my husband and I about 6 hours to complete. Once assembled I was surprised at how much room there was, there is more headroom than my previous shed and my shelves fit nicely. So far I’m happy with the purchase and have freed up space in my garage.
C**T
Need a challenging project?
What do I like about this shed? Not much. I purchased this shed thinking the construction techniques would be similar to other popular sheds. I was incorrect. They are worse. Let's get started.This shed I ordered came in a sturdy cardboard box on a pallet. It was well packaged and the cardboard was sufficiently thick to minimize shipping damage. The hardware kit was awesome; tons of screws, rivets, bolts, nuts and even an amazing anchoring kit if one chooses to anchor the shed to concrete. It also comes with a Phillips #2 bit and a nice quality pop rivet gun. The instructions are okay, but could have used a bit more detail. This is where the fun ends.This shed is built in sections: 2 sides, back wall, front wall, 2 roof sections and a main roof beam and 2 doors. All of these sections must be built on the ground because of the construction technique know as snap rails. All of the rails come in 2 sections and have to be spliced together to form a complete rail, this is a pain. Some of the screws holding the splice together will need to be removed during construction, bad design. Most of these rails are 'snapped' into place on the edge of the panels. The sheet panels have to be assembled first before the snap rails are installed. Get a long 2X4 to put under each end to prop the end up, or you will never get the rails snapped onto the panels. If you have a bad back and can't work on the ground, go find a different shed to build, serious. You are on your knees the whole time. Most of the pre-punched holes line up, but a lot don't as well - which is a pain. If you have a drill driver, most of the screws can be spun up and will self-tap. For those that don't, break out your drill, you will be using it - a lot. The manufacture recommends drilling 1/8" holes. Rubbish. Drill 3/32" holes. 1/8" is too big, your screw will strip the hole out, regardless of how delicate you are twisting the screws. The manufacture should have pre-punched 3/32" holes. Assembly: Once you have assembled all the panels, they will all need to be fitted together. This is a two or three person job. If the wind is blowing, save it for another day, your panels will be all over the yard. Once all the panels are built, they all have a slight twist to them. Once put together, the twist will come out, but 2 people are required. Once all the panels are screwed into place, one must assemble the roof. Not easy as this is made up of 2 panels. Again, 2 people are needed. Once the roof beam is assembled onto the first roof panel, it's mounted on the shed as the first half of the roof. This part isn't too bad. The trick is assembling the second half of the roof. The second half of the roof is slid into position, but cannot be easily slid under the rood cap lip. Also, the roof panel sags in the middle and is a serious pain to feed into the rail cap for assembly. I strongly suggest getting two Vice Grip C-Clamps 11R to "pull" the roof panels into the rail. The last complaint I have is the serious oversight the manufacture did not address during design. The bottom rail is a "C" type rail system; the inside being slight higher than the outside. The problem is when it rains, it will fill this "C" channel up with water, where eventually it will rust the lower rail out - there are no drainage holes. Poor, poor design. If you are looking for an easy shed to build, a water tight shed to build, this may not be the one for you. Once the shed is assembled, it is sturdy, but does lack middle side and back support beams. The doors seem to be okay but are a bit tricky to build. Would I buy it again? NO.
T**W
Bargain, but not great.
It’s a good deal for a bargain but the instructions are awful. You will have to drill some new holes to get it to line up right. It’s a light little shed but I doubt it will last more than 7 or 8 years. If you’re on a tight budget it does the job. But don’t expect a great product
B**
Very nice shed
Watch the video on their website for the instructions to assemble. Makes it easy to understand when looking at the print version. Takes a bit of work by yourself to put together but it’s manageable. Happy with the shed so far.
K**N
Great looking shed
This is one good looking shed. The steel is really thick and once assembled (after 4 ½ hours) it’s not going anywhere. I’m sure it will hold up to heavy snow this winter. I was able to back my riding mower into it along with my wife’s garden bed, flower pots and tools. I have plenty of room for all of my outdoor power equipment like pressure washer, weed trimmer, smaller lawn mower as well as shovels and other tools. Very pleased with my purchase.
Trustpilot
3 weeks ago
1 month ago
