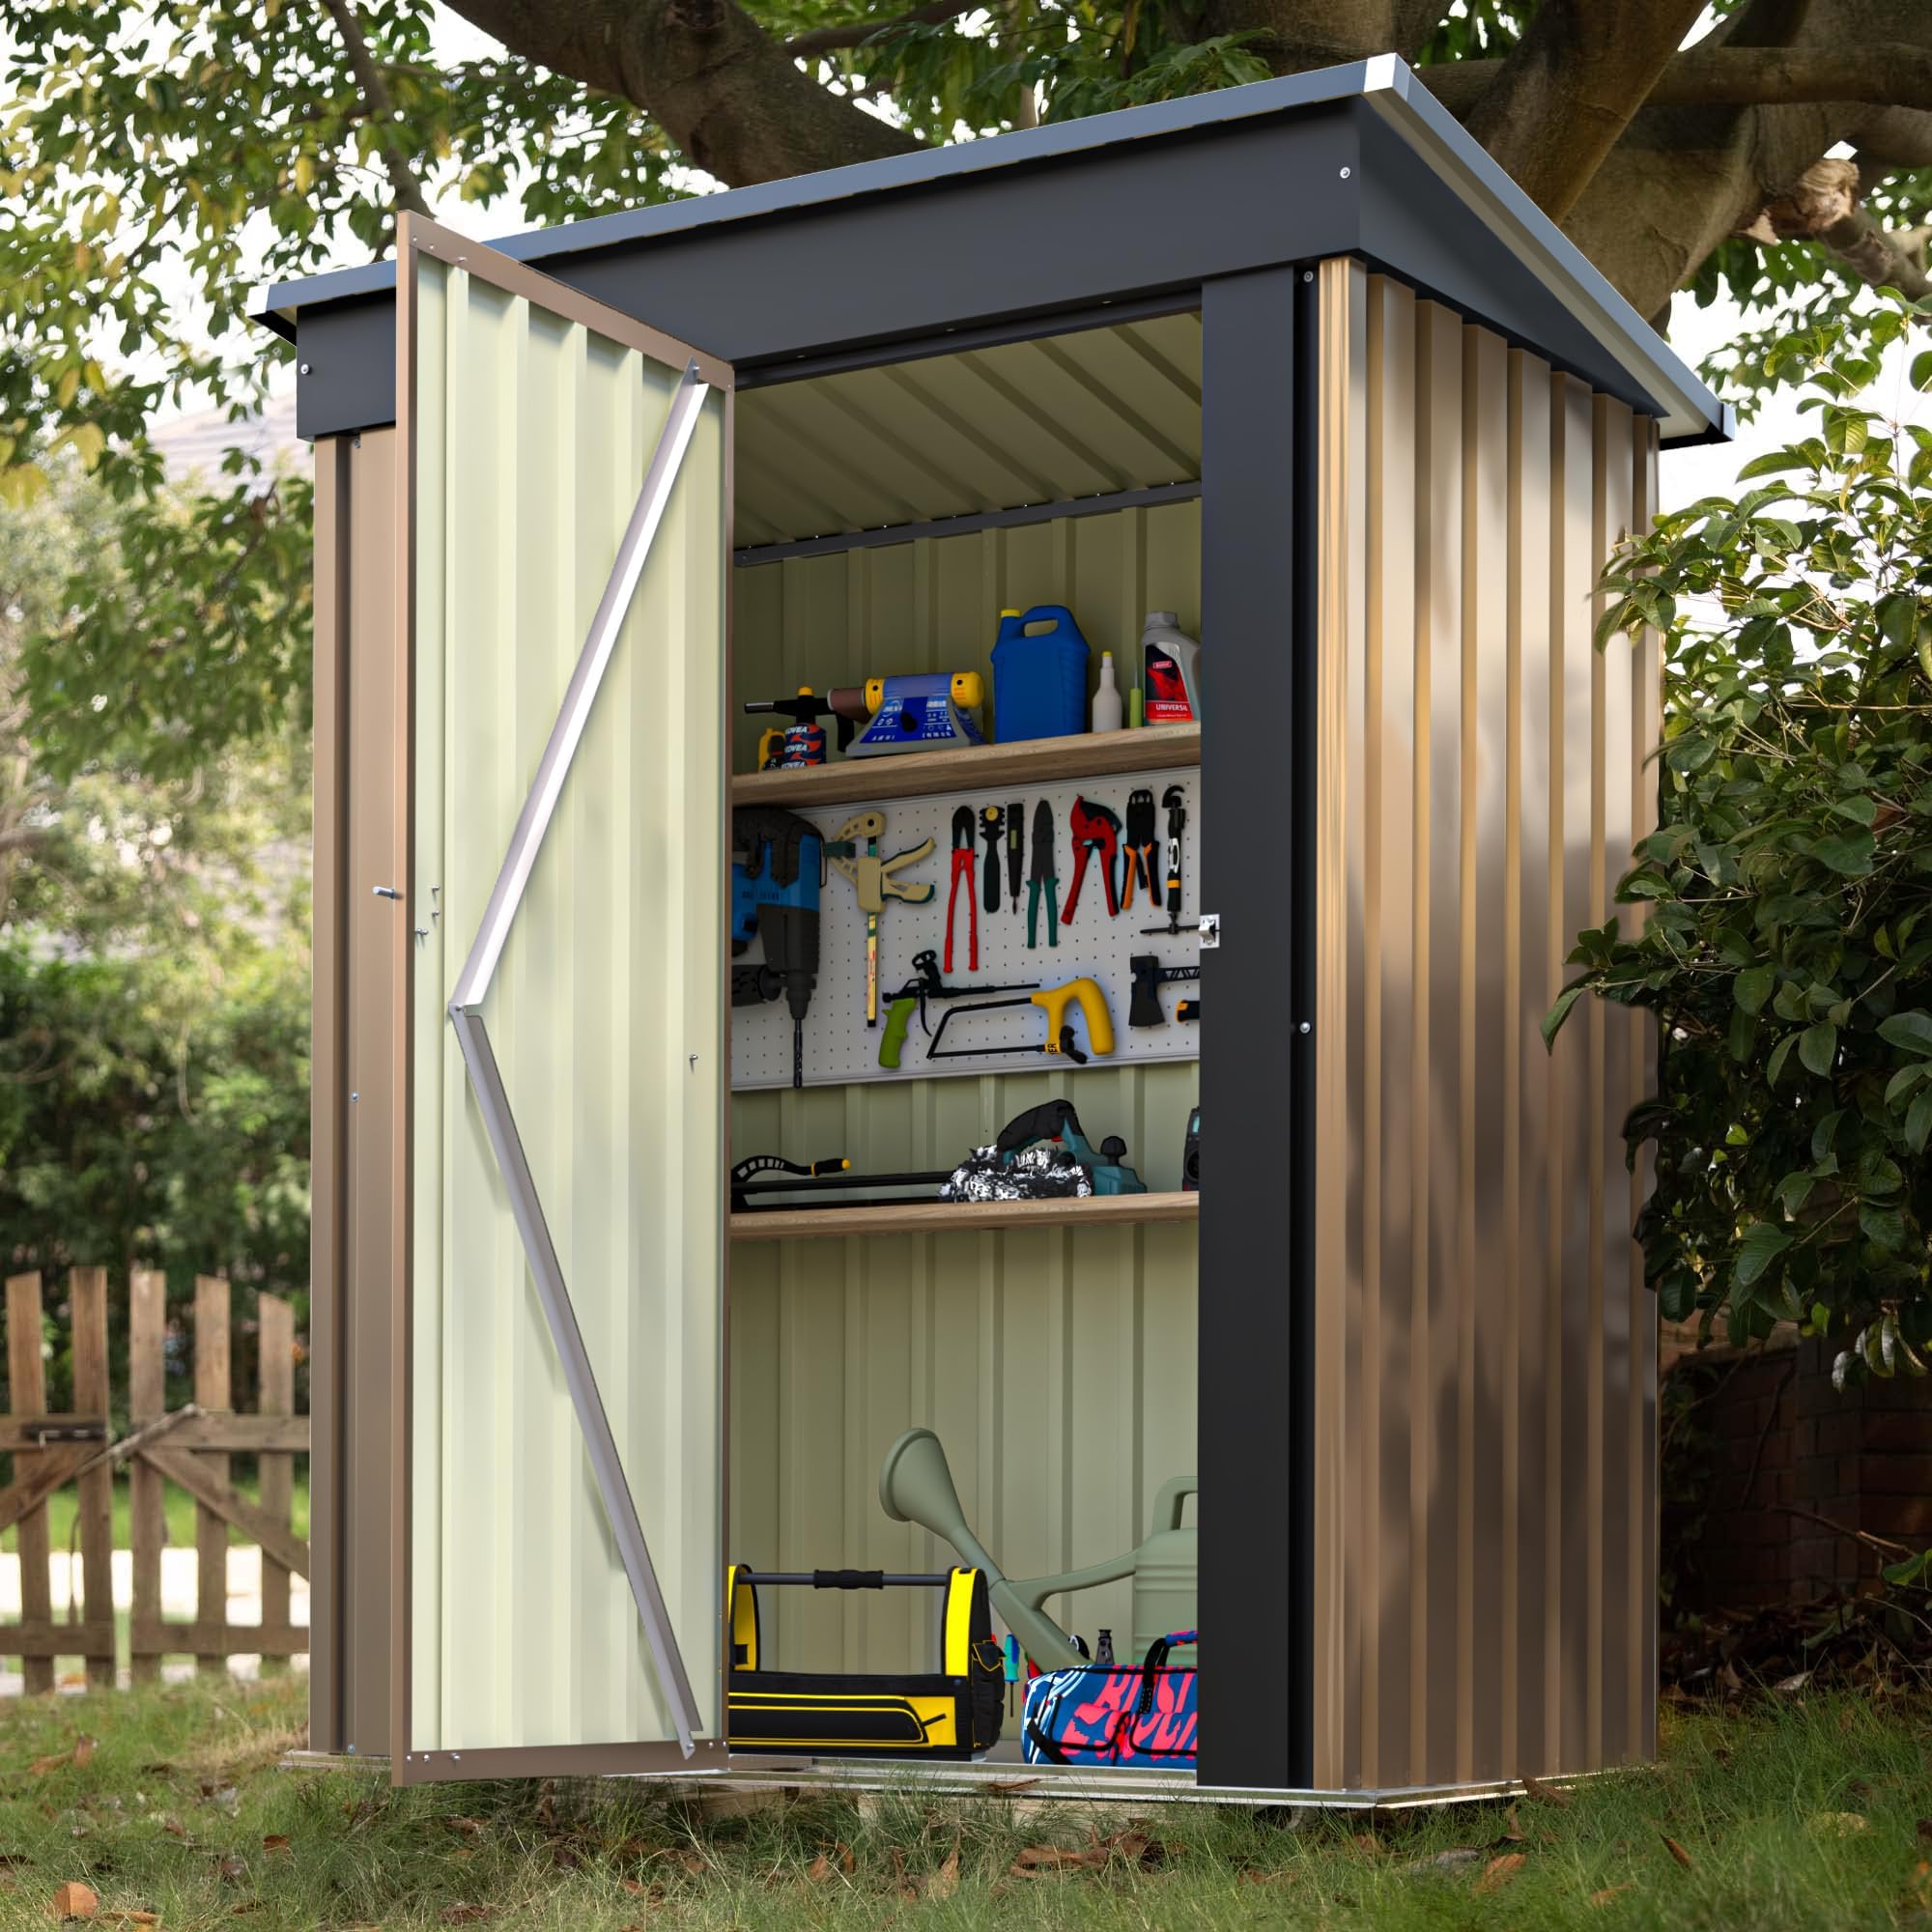
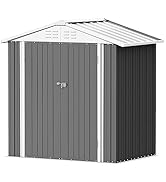
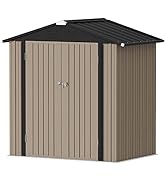
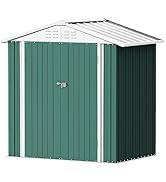
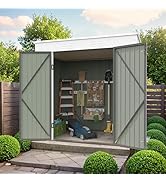
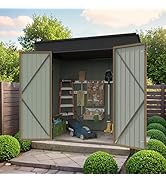
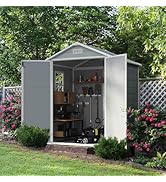
Description
🏡 Lock it down, weather the storm, and own your outdoor space!
- SECURE YOUR SANCTUARY - Robust lockable door ensures your garden gear stays safe and sound.
- ASSEMBLY MADE MANAGEABLE - Clear instructions and included accessories streamline setup—team up for a smooth build and quick garden upgrade.
- BUILT TO BRAVE THE ELEMENTS - Electro-galvanized steel frame and anti-corrosion paint keep your shed rust-free and durable through all seasons.
- MAXIMIZE YOUR OUTDOOR SPACE - Compact 5x3 ft design offers 67 cubic feet of organized storage without overwhelming your backyard.
- EFFORTLESS GARDEN ORGANIZATION - Store everything from lawn mowers to bikes neatly, transforming clutter into calm.
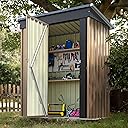
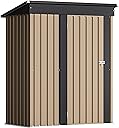
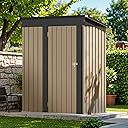
The Devoko Outdoor Storage Shed is a 5x3 ft lockable metal garden shed crafted from electro-galvanized alloy steel with anti-corrosion paint, designed to resist rust and moisture. Featuring a secure single door and 67 cubic feet of storage, it offers a compact yet durable solution for organizing outdoor tools and equipment. Ideal for backyards and patios, it requires assembly and provides reliable protection for your garden essentials.