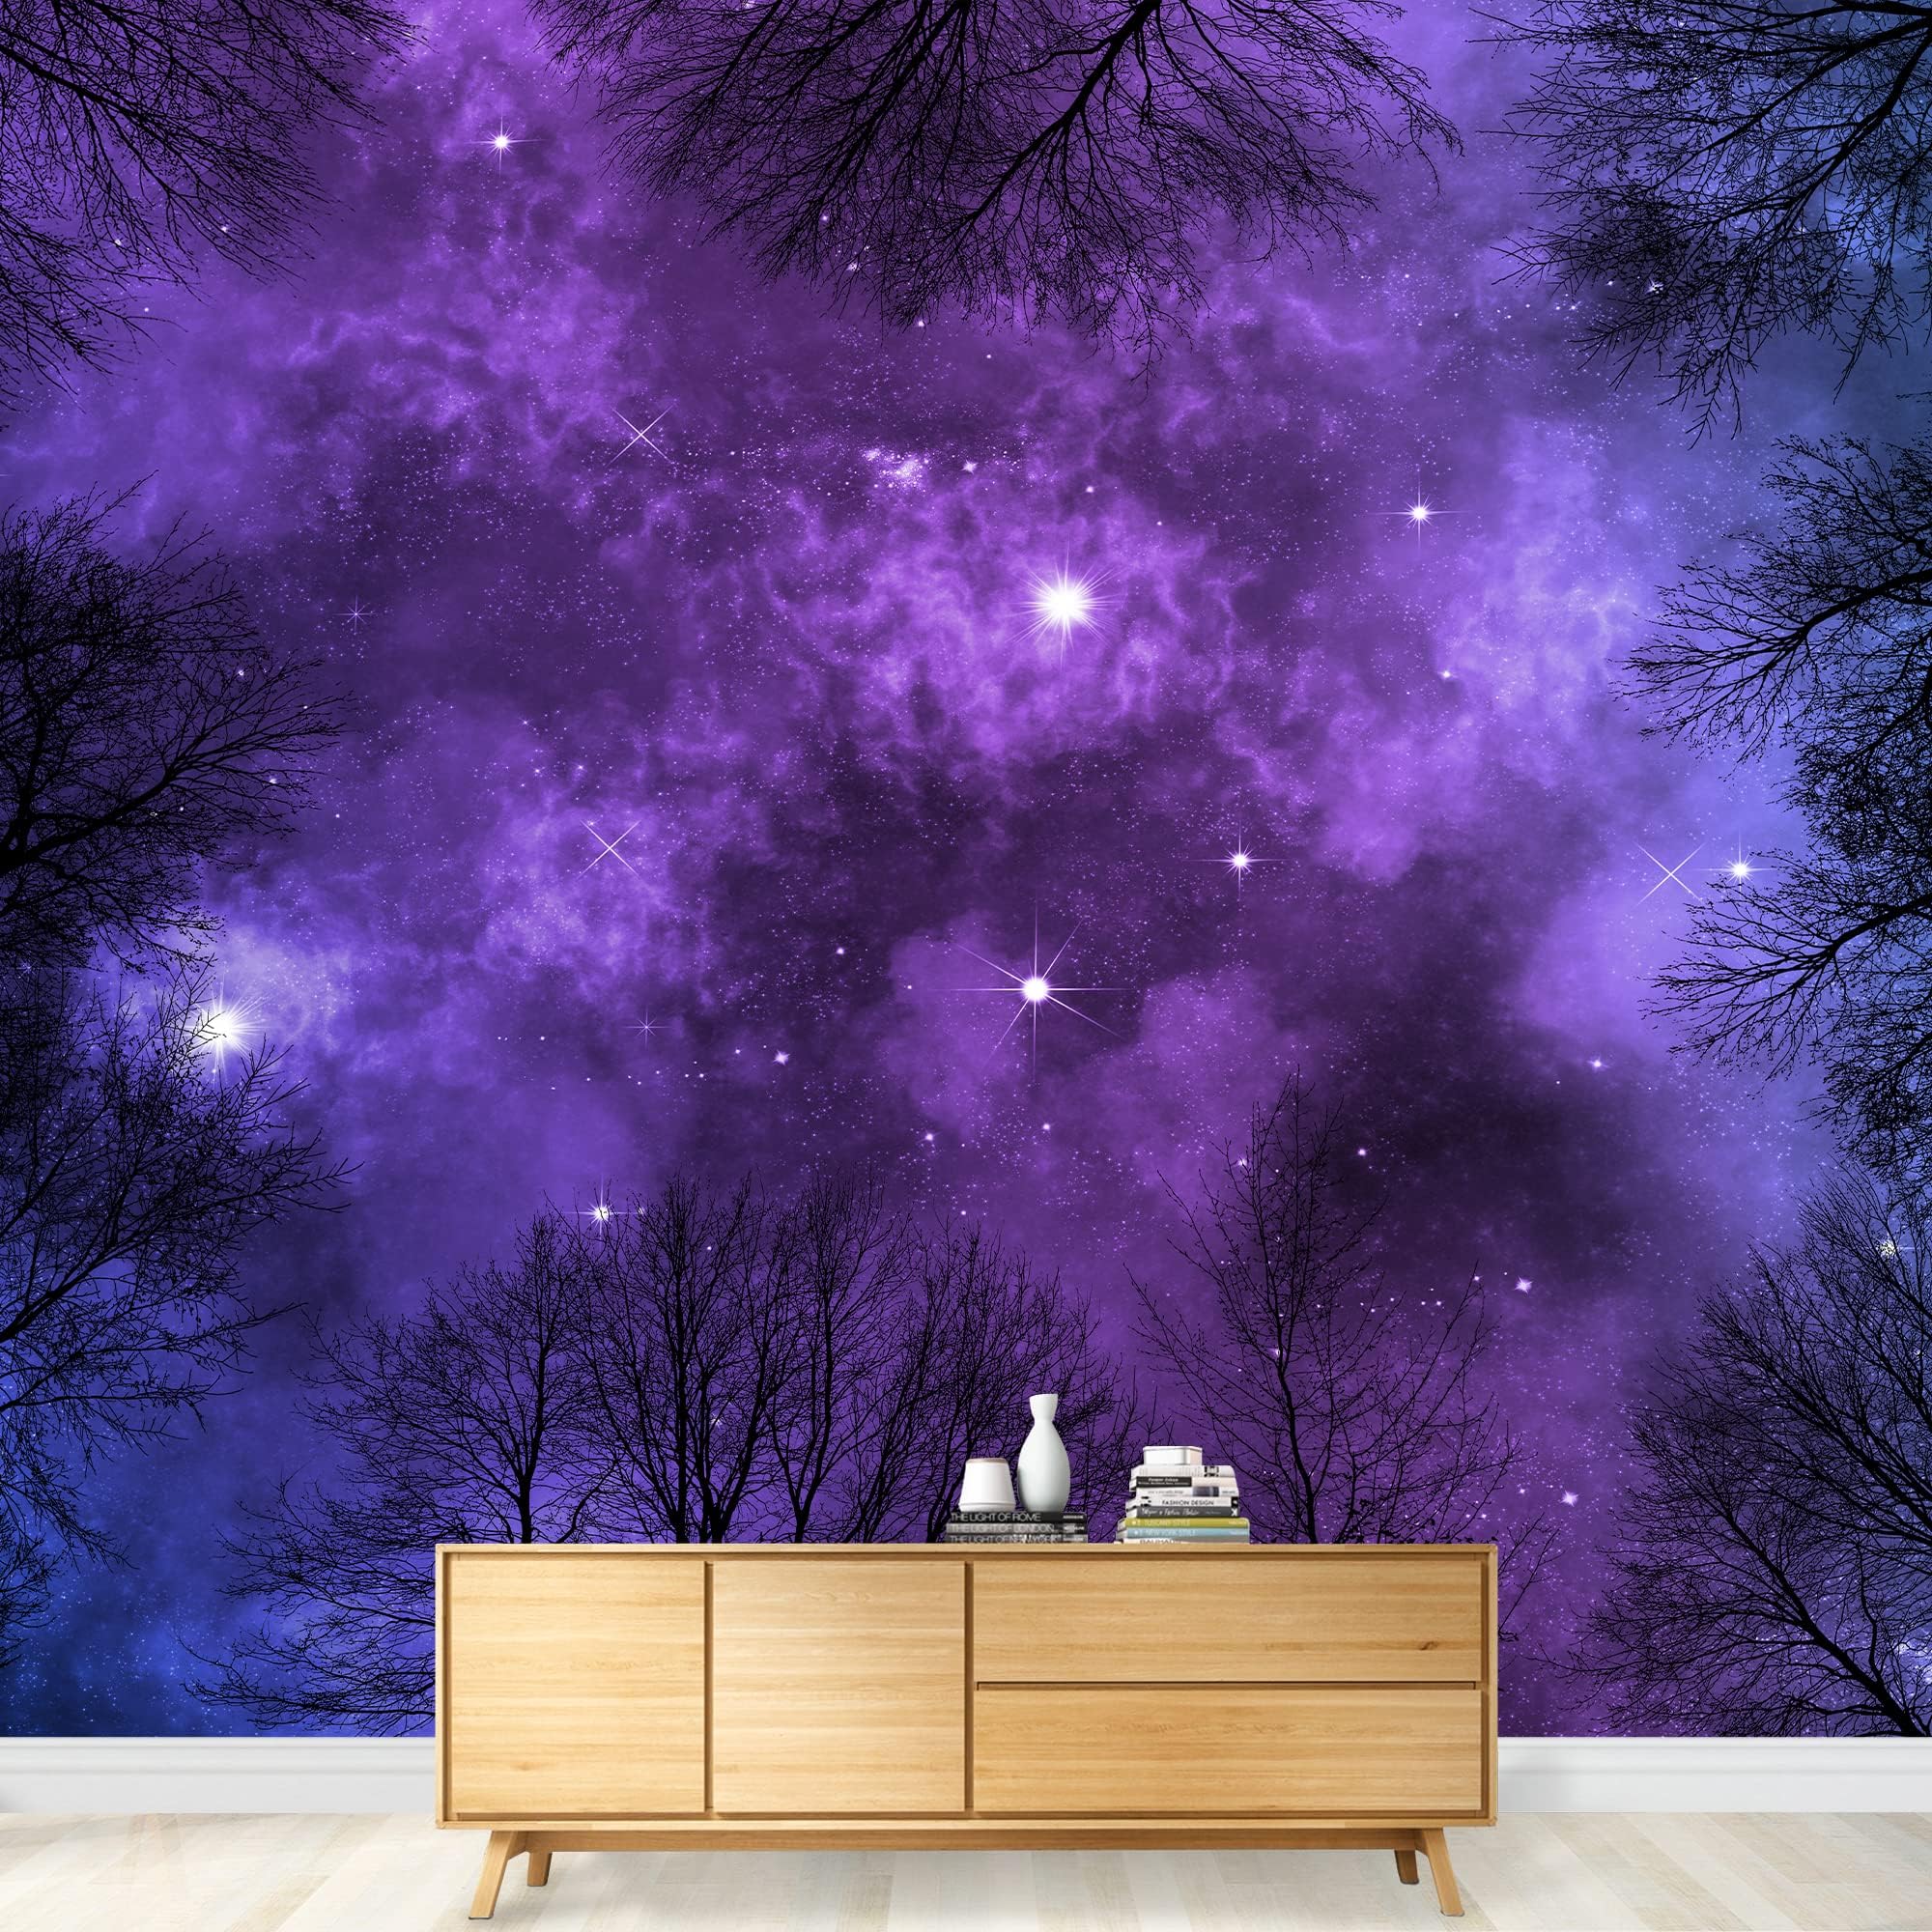
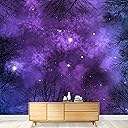


wall26 - Low Angle View of Colorful Nebula on Starry Night Sky in Forest, View Through Trees, Background - Removable Wall Mural | Self-Adhesive Large Wallpaper - 66x96 inches
Product ID: 40977117
📏66x96 inches
🧩4-piece design
🖼️Peel & Stick
Buy anything from 5,000+ international stores. One checkout price. No surprise fees. Join 2M+ shoppers on Desertcart.
Desertcart purchases this item on your behalf and handles shipping, customs, and support to Vietnam.
🌌 Transform your walls into a cosmic escape!
The wall26 removable wall mural features a breathtaking low-angle view of a colorful nebula set against a starry night sky, designed for easy installation and repositioning. Measuring 66x96 inches, it comes in four manageable pieces, ensuring a hassle-free application on various flat surfaces without leaving any residue.
S**I
This Product Is Awesome!!!
In the 80's I put up a wall mural (wall paper) and it was really hard and at the time I thought. Never again... This one was nothing compared to my 80s experiment. I had no problem with this mural (Moon, clouds and ocean). Once I figured out a strategy the pieces went up one after another. As another person mentioned. Match the print, not the seam. There is about an inch overlay to play with - trust me, this is by design and makes it far easier to line everything up. My last experience did not do this and it was near impossible to line up.The second thing you need to do is understand how to apply it. While I am sure there are many techniques. My worked well if you plan to do this alone. First, determine the top of the panel. I laid my panels print down across my queen bed so the bottom and top of the panels fell to the floor. On my panels -- face or print down, the top panel was the left most panel. Identify the wall you wish to start from and flip the panels print side up if you are starting from the right wall. In my case I started from the left. Laying the panels on my bed also helped relieve the rolled tension in the panels. They sat for 20 minutes before I started. Then figure out where the top of the panel is (they should all be the same). Then peel the backing off the panel about one foot all the way across. The backing will begin to roll back up but the print will not. then lift the panel off the bed from the top, orient the panel sticky side toward the wall and use a step stool to position. If you have someone to help you with the first panel it will go smoother but the thing to remember is that most walls in your home are not perfectly square (90 degrees) with the connecting wall. If you expect the panel to fit perfectly down the corner of a wall you will be disappointed. It's not the panel, it's your wall.So hang the panel at the top and let gravity tell you where the panel is at the bottom. You can either re position the panel for a "best fit" or you can cut it so the panel lines up to your corner (I would not recommend this as it may cause problems hanging the other panels because gravity wont be your friend). After you are satisfied with how it's hanging. Use a dry wash cloth to firmly seal the foot or so of the adhesive you peeled off before you hung it. At this point you can pull the backing paper off with ease. I usual pulled about a foot off at a time. Ensure it lined up with the adjacent print and firmly sealed it by rubbing it with a dry wash cloth. I also kept control of the backing paper by rolling it up in the natural direction it wanted to roll. Once you get the hang of it -- the rest of the panels will go up -- maybe 10 minutes a panel. Just make sure your print is lining up with the adjacent panel before sticking too much of it to the wall. Once you get to the bottom -- use a straight edge to firmly seat the adhesive to the top of the baseboard all the way across. Then use a sharp knife (exacto knife if you have one works great) and then remove the excess from the base. If you are a little off - I would caution you from pulling it off the wall and re hanging the panel. You can do this as I did on my very last panel (I got sloppy) -- but you will likely stretch the panel and when you go to re hang it - it can screw up more than it originally was and you will have a hard time avoiding bubbles. If you do get bubbles you can not get rid of -- take a needle or a sharp exactor knife, poke into the bubble and flatten the panel with your dry wash cloth. This will remove the air. It took me about 2 and a half hours to put up all the panels by myself. I had a couple mistakes but you would not notice if I did not point them out. Luckily the problem happened to be behind a flat screen TV I eventually hung on the wall.Lastly, I was a little worried this might peel the paint off the wall before hanging it -- but after hanging it I don't think this will be an issue. Just the other day I tried to peel a corner after they have hung for a month and it released no problem and stuck back to the wall no problem. I will post some pics in a couple of days.
C**E
Beautiful piece of art
Beautiful mural we put up in the bathroom of our dojo to add some drama. The way the panels overlapped wasn’t my favorite because you can see it but I still love it.
A**A
Amazing
I was honestly skeptical when first buying it because I did not trust the comments but this is honestly amazing if you go on the website there are some bad reviews for this but thats only because those people did not anti texture their wall if you scroll throught the pictures on amazon of this you see that it has instructions just follow them and yes there are lines but they are hard to noticeOverall it is amzing but if you are doing it by yourself it might take some time
L**C
Great product. Installation can be tricky
So the quality of this mural was top notch, looked great and the adhesive held well. Our ability to install it was another matter, this was 100% our doing, so not a dig on the quality of the item at all, but we gave up after getting multiple creases and accidentally stretching it out of shape in several places. I have no doubt this would look fantastic, but I recommend getting someone experienced with vinyl applications to put it up because it can be a pain to novices like us.
A**.
Great
Amazing product I love it- dont know how it'll be when attempting to move it- it took a bit of effort to align and I would have a recommendation to the maker for format- but looks beautiful
K**V
Good, but could be better, may be some instructions would have helped.
Loved the quality of this Wall decor. The only reason i have given it 4 star is because there is an over lap of print between 2 parts of sticker, and u only find out abt it after it is on wall. Picture attached look closely on the left edge of moon, u will understand what i mean.
Q**Q
Durable. Easy to install
Easy to install. Adds depth to the room. I want to cover all the walls!
K**.
Beautiful!
Beautiful design! Made a huge difference to our bedroom wall and easy to put up.
Trustpilot
1 month ago
1 week ago