Description
🚀 Upgrade your rig with Verilux: where speed meets cool innovation!
- CROSS PLATFORM READY - Compatible with Windows 8/10, Linux distros, and Windows Server 2012 R2 for versatile use
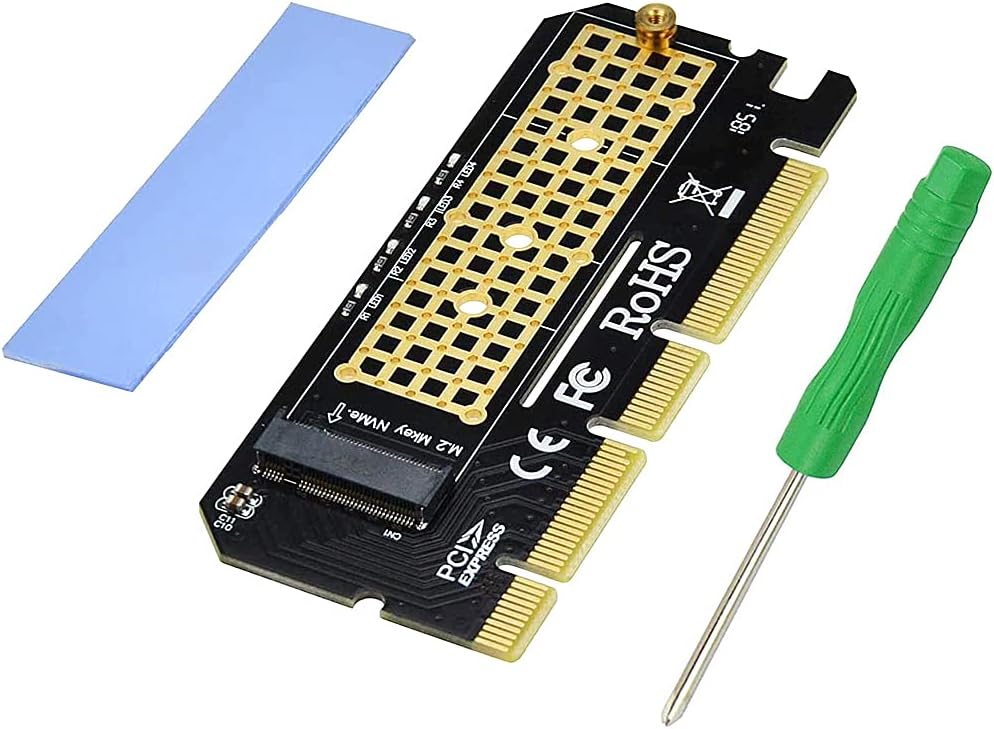
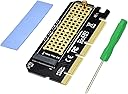
- SEAMLESS NV ME UPGRADE - Transform any PCIe slot into a lightning-fast NVMe SSD hub
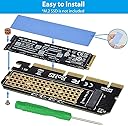
- PLUG PLAY INSTALLATION - Includes screwdriver and thermal pads for effortless setup and optimal cooling
- UNIVERSAL M 2 COMPATIBILITY - Supports M Key 2230/2242/2260/2280 SSD sizes for ultimate flexibility
- MAXIMIZE YOUR P CS POTENTIAL - Leverage PCIe 3.0 speeds up to 8GT/s and enjoy next-level storage performance
The Verilux NVMe Adapter PCIe x16 card enables professional users to add M.2 PCIe NVMe SSDs (Key M, sizes 2230 to 2280) to any PCIe 3.0/2.0/1.0 x4/x8/x16 slot, delivering transfer speeds up to 3470MB/s. Featuring a silicone thermal pad for enhanced heat dissipation and including installation tools, it supports multiple OS platforms and is ideal for boosting desktop storage performance without native M.2 slots.