


Buy anything from 5,000+ international stores. One checkout price. No surprise fees. Join 2M+ shoppers on Desertcart.
Desertcart purchases this item on your behalf and handles shipping, customs, and support to Vietnam.
Grill Like a Pro! ๐ฅ Elevate your BBQ game with the Utheer60040!
The Utheer60040 Grill Burner Tube is a high-quality replacement part designed for various Weber Q Series gas grills. Made from durable 304 stainless steel, this 17-inch burner tube offers exceptional heat resistance and corrosion protection, ensuring a long-lasting grilling experience. Its easy installation process makes it a hassle-free upgrade for any grilling enthusiast.


| ASIN | B07SCXPRZ1 |
| Best Sellers Rank | #17,393 in Patio, Lawn & Garden ( See Top 100 in Patio, Lawn & Garden ) #17 in Grill Burners |
| Brand | Utheer |
| Brand Name | Utheer |
| Color | 17 Inch |
| Cooking System | Gas |
| Customer Reviews | 4.6 out of 5 stars 1,655 Reviews |
| Finish Types | Polished |
| Frame Material | Stainless Steel |
| Fuel Type | Gas |
| Grill Configuration | single burner |
| Handle Material | Stainless Steel |
| Included Components | Burner Tube, Installation Manual |
| Indoor Outdoor Usage | Outdoor |
| Installation Type | Tabletop |
| Item Dimensions | 1 x 1 x 10 inches |
| Item Dimensions D x W x H | 5.75"D x 17.2"W x 5.75"H |
| Item Type Name | grill burner |
| Item Weight | 0.32 Kilograms |
| Main Burner Count | 1 |
| Manufacturer | Utheer |
| Manufacturer Part Number | Utheer Weber burner |
| Material Type | Stainless Steel |
| Model Name | Utheer Weber burner |
| Model Number | Utheer Weber burner |
| Number of Heating Elements | 1 |
| Other Special Features of the Product | Rust Resistant |
| Product Dimensions | 5.75"D x 17.2"W x 5.75"H |
| Recommended Uses For Product | Outdoor |
| Required Assembly | Yes |
| Special Feature | Rust Resistant |
| UPC | 791309233298 |
T**Y
Perfect fit for Spirit E310
For my Weber Spirit E310 with front ignition from 2015: five stars based purely on initial impressions: a perfect fit, surprisingly easy installation, and excellent function, at a fair price. It got my grill to 600 degrees. Don't waste time messing with old rusty burners and crossover tubes with clogged holes like I did, this should be a no brainer.
R**J
Quality replacement
Easy install, great fit, nice quality, everything looks great and lit up first button pushโฆtime for summer BBQโs !
D**B
Fits & works
Just installed burners, etc. Grill disassembley was a little harder than expected, but the replacement parts went in easily & worked perfectly.
D**G
It worked after a little work to install and adjustment.
This product looks exactly like the original "Webber" product. I bought the 3 burner (Natural Gas) grill at Home Depot about 6 to 8 years ago. I have contacted Webber to warranty parts in the past but for some reason I bought this replacement kit. I am glad I did- finally I got my ignitor back again. For the last year or 2 the ignitor just didn't lite the burner. I tried new batteries and bending the electrode, I wrapped a copper wire around the burner near the ignitor but nothing worked. I am a HVAC service tech so I am use to working on furnaces so this wasn't too hard to figure out. I decided to make it more challenging by doing it after dark with a flashlight. Remember to Shut Off the gas supply first. The main thing is to take the front control panel off and let it dangle by the internal gas line while you pull the burners out. A lot of Phillip's screws and two- 7/16" bolts hold panel in place. Also take the gas line support loose on the right side. Don't disconnect or severely bend the internal gas line. The washer headed screws at the back of the burners were hopelessly rusted in place. Fortunately the burners slid out under them I pulled out burners through the front. The left burner has a clip that holds the ignitor electrode in place. The mounting bracket on the new burner had to be pried up to get the ignitor to slide in place. Be careful use a flat blade screwdriver and pry just enough to get it to slide. This tight connection is critical and I think why my old one wasn't sparking right. This provides the grounded connection for the ignitor. It has to fit tight metal to metal. Make sure it pushes tightly and completely into place. Rout the wires just like the old ignitor system. The electric control module fits in place just like the old one and the wires are easy to figure out. While the burners were out I cleaned up the burner bowl and used pliers to grab the 3 rusted screws in the back of the burners and slowly unscrewed them. The kit came with 3 new screws. The screws don't hold the burners tight. They do keep the burners in place. The burners are all different so each of the three fit in only one way. Put the crossover tube and burners together carefully - study them to be sure the flame holes all face the right way and that the crossover tube will carry the flame across the the next burner. After it's all back together it lit with the ignitor but the flame jumps around off the burners and the burners didn't stay completely lit. This is the important tip that the instructions don't mention---- each burner has an air shutter at the front end that may need to be adjusted. The shutters also have a metal screen to keep bugs out - don't remove the screens Just loosen or remove the shutter set screw with the burners working and carefully adjust the shutters to make the flame stabilize. This is easier in the dark so you can see the flame. A well defined blue flame is what you want. I found closing the shutters to 1/4 to 1/3 open worked best for my grill. Watch the flame on the cross over tube as well it should be small but a continuous string of flames. Move the control knobs slowly between hi and low and make sure the burners are blue and stable. Don't just go for the biggest flame from the burners. Look for the largest well defined flame on high without a rolling/ dancing type flame. Tighten the set screws back to hold the shutters in place. Propane has a much higher pressure than natural gas so adjusting the burner shutters will be different but same thing applies look for a strong well defined blue flame on high. Orange tops on the flames are not good and should be adjusted out as much as possible using the shutters. Orange flames are inefficient flames and produce more carbon monoxide they are usually more common in dirty or rusty burner tubes. I've cooked several steaks in the 2 weeks since I rebuilt the burner and it seems to work like new.
B**N
Highly recommended for cost savings over OEM parts
Compared to the original components, two burner tubes were unable to fully secure while the last bolt tightened the end just fine. I think they were just a hair thinner than the original ends, not a big deal. I replaced everything in the kit and it fired up just fine. Performance wise, the new burners sputters at the lowest heat setting. Otherwise on mid to high heat, performed like a new grill. I bought this kit because it was way cheaper than original Weber parts. Highly recommended if you want to save money. The biggest difference I noticed between my original burners vs these new ones. Maybe thatโs why it doesnโt have better heat control at the lower end. Iโll keep messing with it and see if thereโs any modifications I can make. Only issue keeping it from 5 stars
@**H
Great value!
Reading a few reviews was helpful, But the instructions were really clear. Super durable, super high-quality. Really easy to do. Such a great value for the money. Took my 10-year-old grill that had pretty much had rotted out insides and made it like brand new again! Highly recommend.
R**L
The item we got is working perfectly
Easy to replace and is working perfectly.
S**P
Great, but wish there was a 4-pack
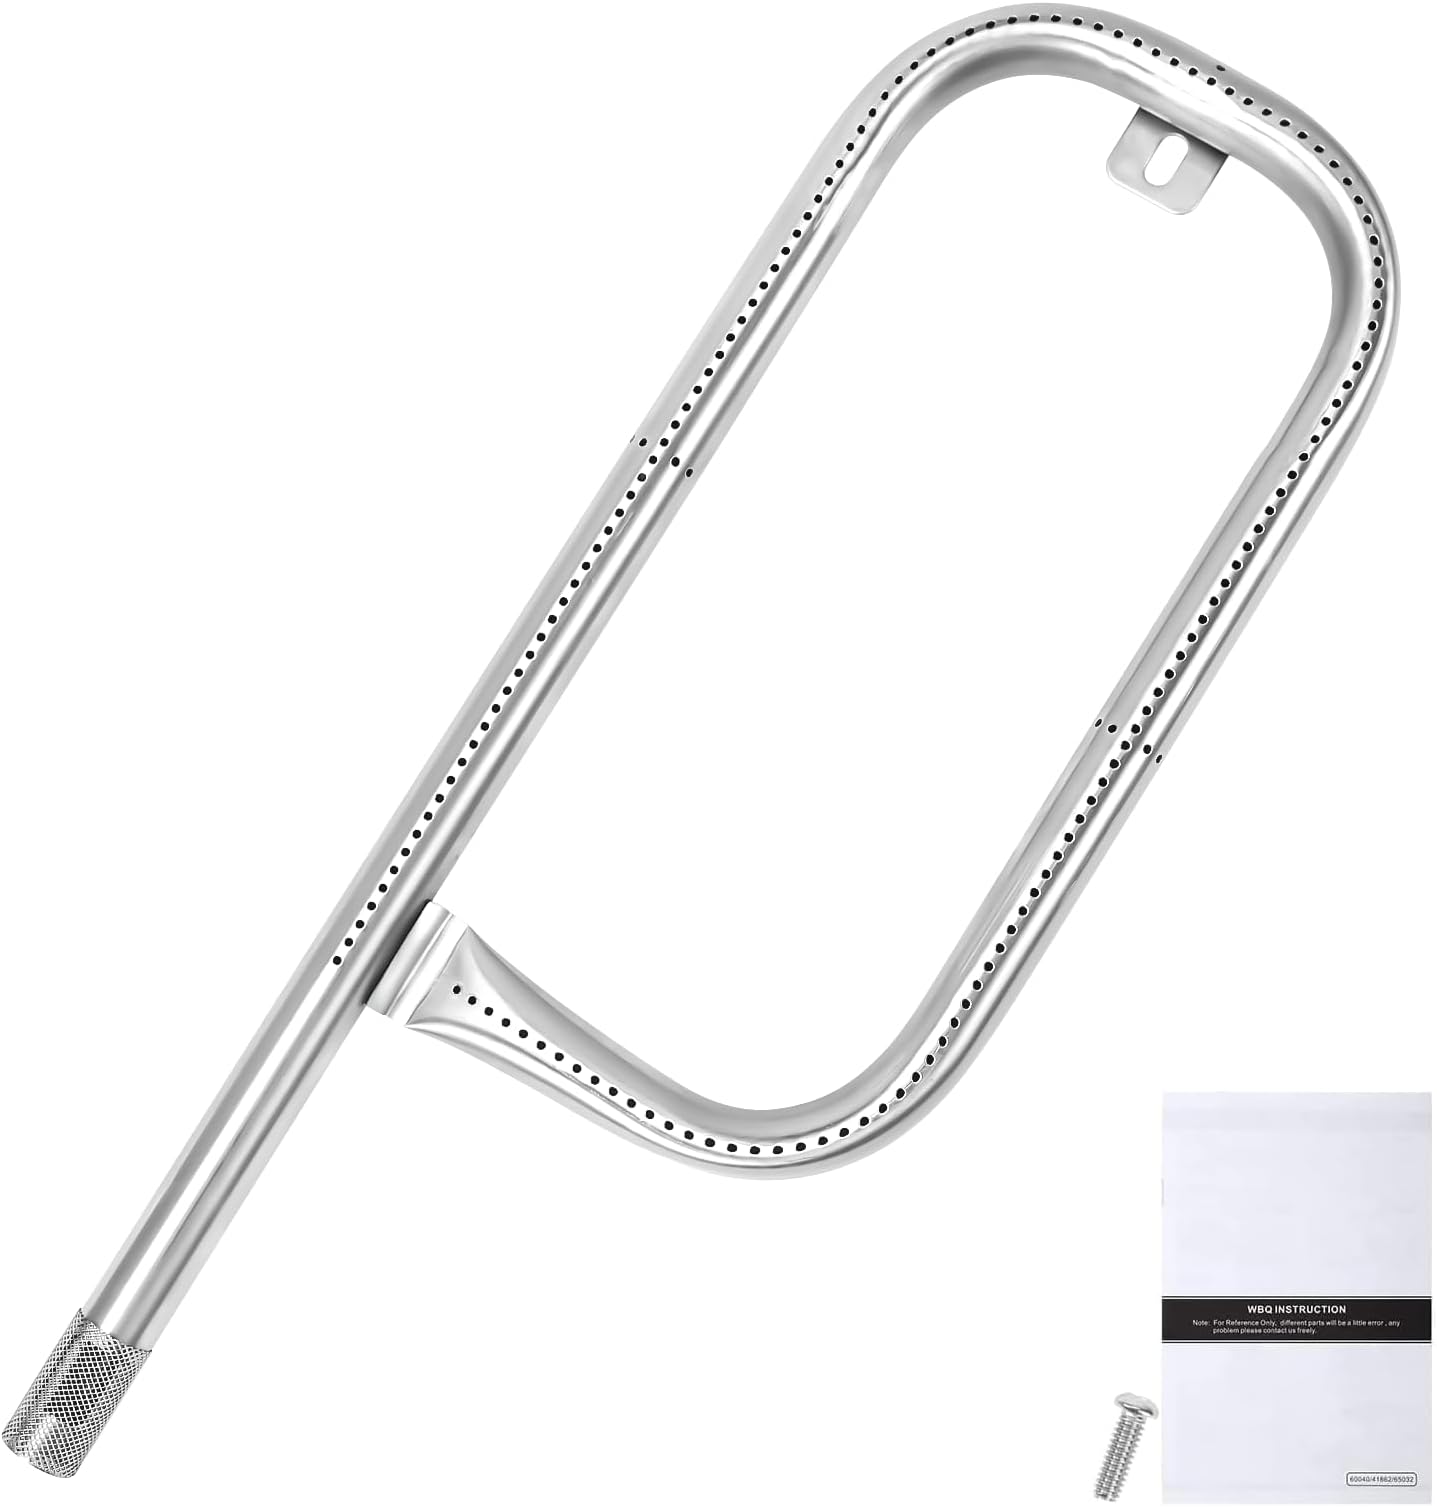
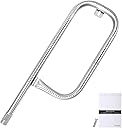
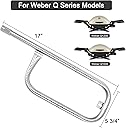
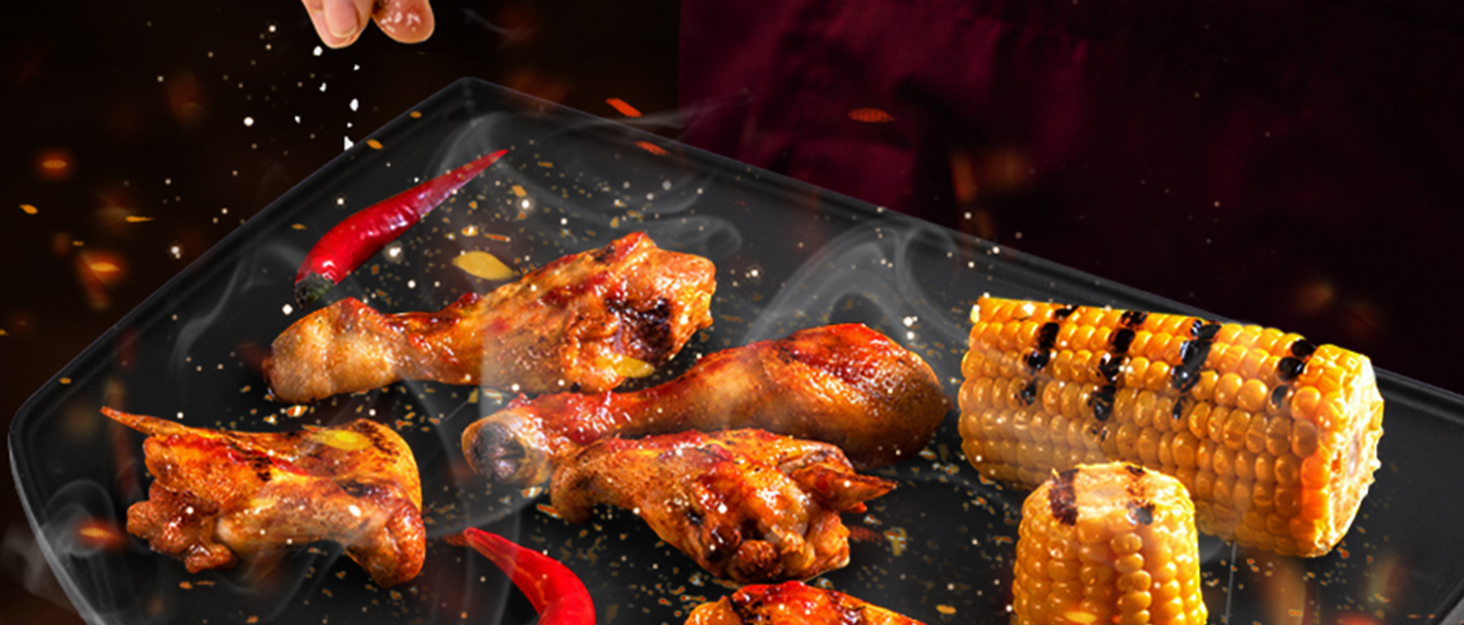
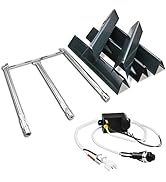
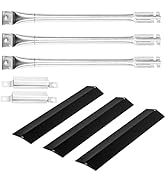
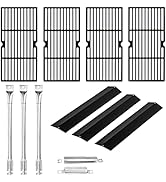
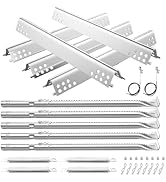
These are a great replacement for the Weber S-330 grill, but the 330 has "four" burners, not three. So, you end up having to buy two packs (six total) of these to replace the four original burners. I may buy a third set (three more burner tubes) so that I have a complete replacement set as backup. I really wish they just sold these in a 4-pack. Eh, that's how they get you. Installation for the burners themselves is very simple. Other than attaching the igniters (which slide from back to front), you just plop them in. There's a really good youtube video that shows step-by-step how to do it. I did run into an issue with replacing the burners. Weber, surprisingly, has the screws that hold the burner down situated where they get corroded from heat, debris and grease. You would think they would engineer a design to either protect the screws or a design where the burners attach inside "without" having to be screwed down. Not to mention, they use a proprietary screw that you won't find at your local hardware store. Shame on Weber. I couldn't remove two of them ( heads almost completely corroded) and ended up drilling them out. I didn't feel like creating new threads, but that isn't necessary because I don't move my grill. The burners stay put on their own. The replacement burners themselves seem just as good as the original. I had blue flame straight out of the box, no adjustment necessary. I have zero complains about the quality. If you are replacing the burners you probably need to replace the igniters and the rest of the internal metal components. Flame tamers, burners, and igniters are over $100 total ($200 if replacing the stainless grates), but still cheaper than buying a new grill and your Weber perform like new.
C**1
Perfect Fit
These burner tubes were an exact fit and a better replacement than the factory tubes. Compared with local shopping, these are a great deal.
S**E
gproduct
fit like it should and works perfect
I**C
I.C Australia
Better than the original will be ordering a spare highly recommend if you own a webber Q
P**L
Easy replacement
It was easy to replace the burner units, bbq works like new now.
B**L
Top Quality
Easy to install. Removing old rusty burners was the biggest difficulty.
Trustpilot
3 days ago
1 week ago