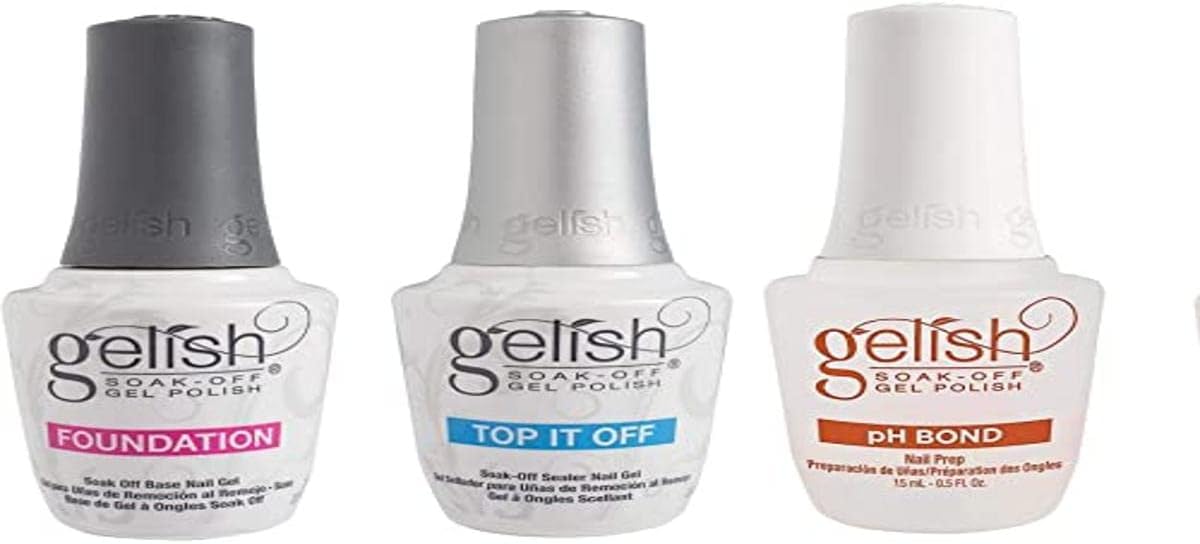
Sorry this review is so long, but I made almost all of my gel polish choices based off of reviews on Amazon so I wanted to be detailed enough to help the next person. :) This three pack is great for those new to DIY gel nails. I ordered this set together with another Gelish color, my UV light nail dryer and a couple of other gel colors from different brands to do my nails at home for the first time. It arrived within the shipping time estimate. The PH bond is very thin and evaporates almost instantly after applying. It helps hydrate and clean the nail for the gel base. The Foundation Base is very thick and comes with a short stubby brush. It goes on smooth. After curing, it's very tacky and requires cleaning. Tips: After applying the base, go over the whole nail a few more times with the brush to make sure the coat is thin and even. If I don't do that, after curing the polish and cleaning the nail, I find random spots on the nail that don't have the base on it. When I find them, I just touch up those spots and cure them again, and I haven't had any issues with the manicure after, but it's just easier to prevent it in the first place. Regarding cleaning the nail after curing, the instructions on the bottle call for a "dry clean of the surface" with a lint free wipe. No matter how hard I tried, I could never get the surface clean with a dry wipe. It would leave smear marks and stay tacky. Rubbing alcohol works perfectly and I haven't had an issue from using a cleanser. The Top It Off has a more standard nail brush and liquid consistency. The liquid is very smooth, almost slick. This coat is also tacky after curing and requires cleaning with rubbing alcohol. No matter how many coats of polish I put it over (I've done up to 6: 1 base coat, 3 coats of color and 2 coats of chunky glitter), I've only needed one coat to make my nails perfectly smooth and shiny. When you rub them together, they even make the clacky noise you get with professionally done gel nails or acrylics. Every time I do the final cleaning, it's still hard for me to believe that 7 coats of nail polish dried in less than 2 hours. When you add in how long that manicure is going to last, it's pretty awesome. So far, I've made it to 2 weeks with only a very small chip that was just in the shine, not the actual polish color, so it was almost impossible to notice. My biggest problem is that I get bored with colors on my hands pretty easily. When the nail grows out too much, I just start over, instead of trying to do upkeep so I don't know how long I could try to keep the same manicure going. When I get brave enough to try French manicures, I'll probably try to extend it. Other tips: This process does take time. I didn't do regular nail polish manicures that often because of how long they didn't last, so I wasn't very handy wielding a nail brush, especially with my non-dominant hand. But I've already seen a marked improvement since I started doing gel nails, and the time it takes is going down. So don't start this if you don't have a chunk of time without interruptions to do it. Also, because your nails are supposed to be a clean, oil free zone, eat before you start. I have a drink with a straw on the table ready to go so I can stay seated once I start. I do my cuticles directly before starting each hand to make sure I can cover as much nail as possible. I soak my finger tips in warm water for a bit, dry, then push back and trim my cuticles. When applying the gel, you don't want any on your skin before you cure it. Having polish on your skin can break the seal on your nail and lift up the polish after a few days. I use a wood stick to clean up the nail edges. I was doing my entire hand at a time when I saw a comment from a nail technician that stated it was easier to do the four fingers and the thumb separately and she was so right. I like to fully complete the four fingers on each hand first so I can use the thumb on either side to pull back skin on other fingers to fully paint the nail or to tidy up an edge I'm afraid to use the wood stick on, then I do my thumbs separately. Gel polish can shrink, some more than others, so it's important to make sure to cap the tip of your nail with each coat so it'll fully shrink onto your nail. I start painting my nail doing this step so I can smooth out the edge after. I also come up a little under my nail tip to help solidify the color. You're supposed to cap the nail with each coat from base to top coat, but I've found that if you are using a chunky glitter and you cap the tip, after it cures it feels like an uneven nail edge. I learned that on my first hand, so on my other I didn't cap it as much, didn't go under the nail at all and pushed back any glitter pieces that were on the edge and it turned out perfect. I wouldn't buy this particular set again, but only because of the Ph Bond. There's nothing wrong with the product, but you can do the same thing with rubbing alcohol (which is the main ingredient in the PH Bond) and you can buy it in a large bottle for a couple bucks. So next time, I'll definitely just buy the base and top coat. But the Gelish brand hasn't let me down yet. I've also been able to use the Gelish products with IBD and Fingerpaints gel polish with no problem.