


🌍 Elevate Your Home's Climate Game!
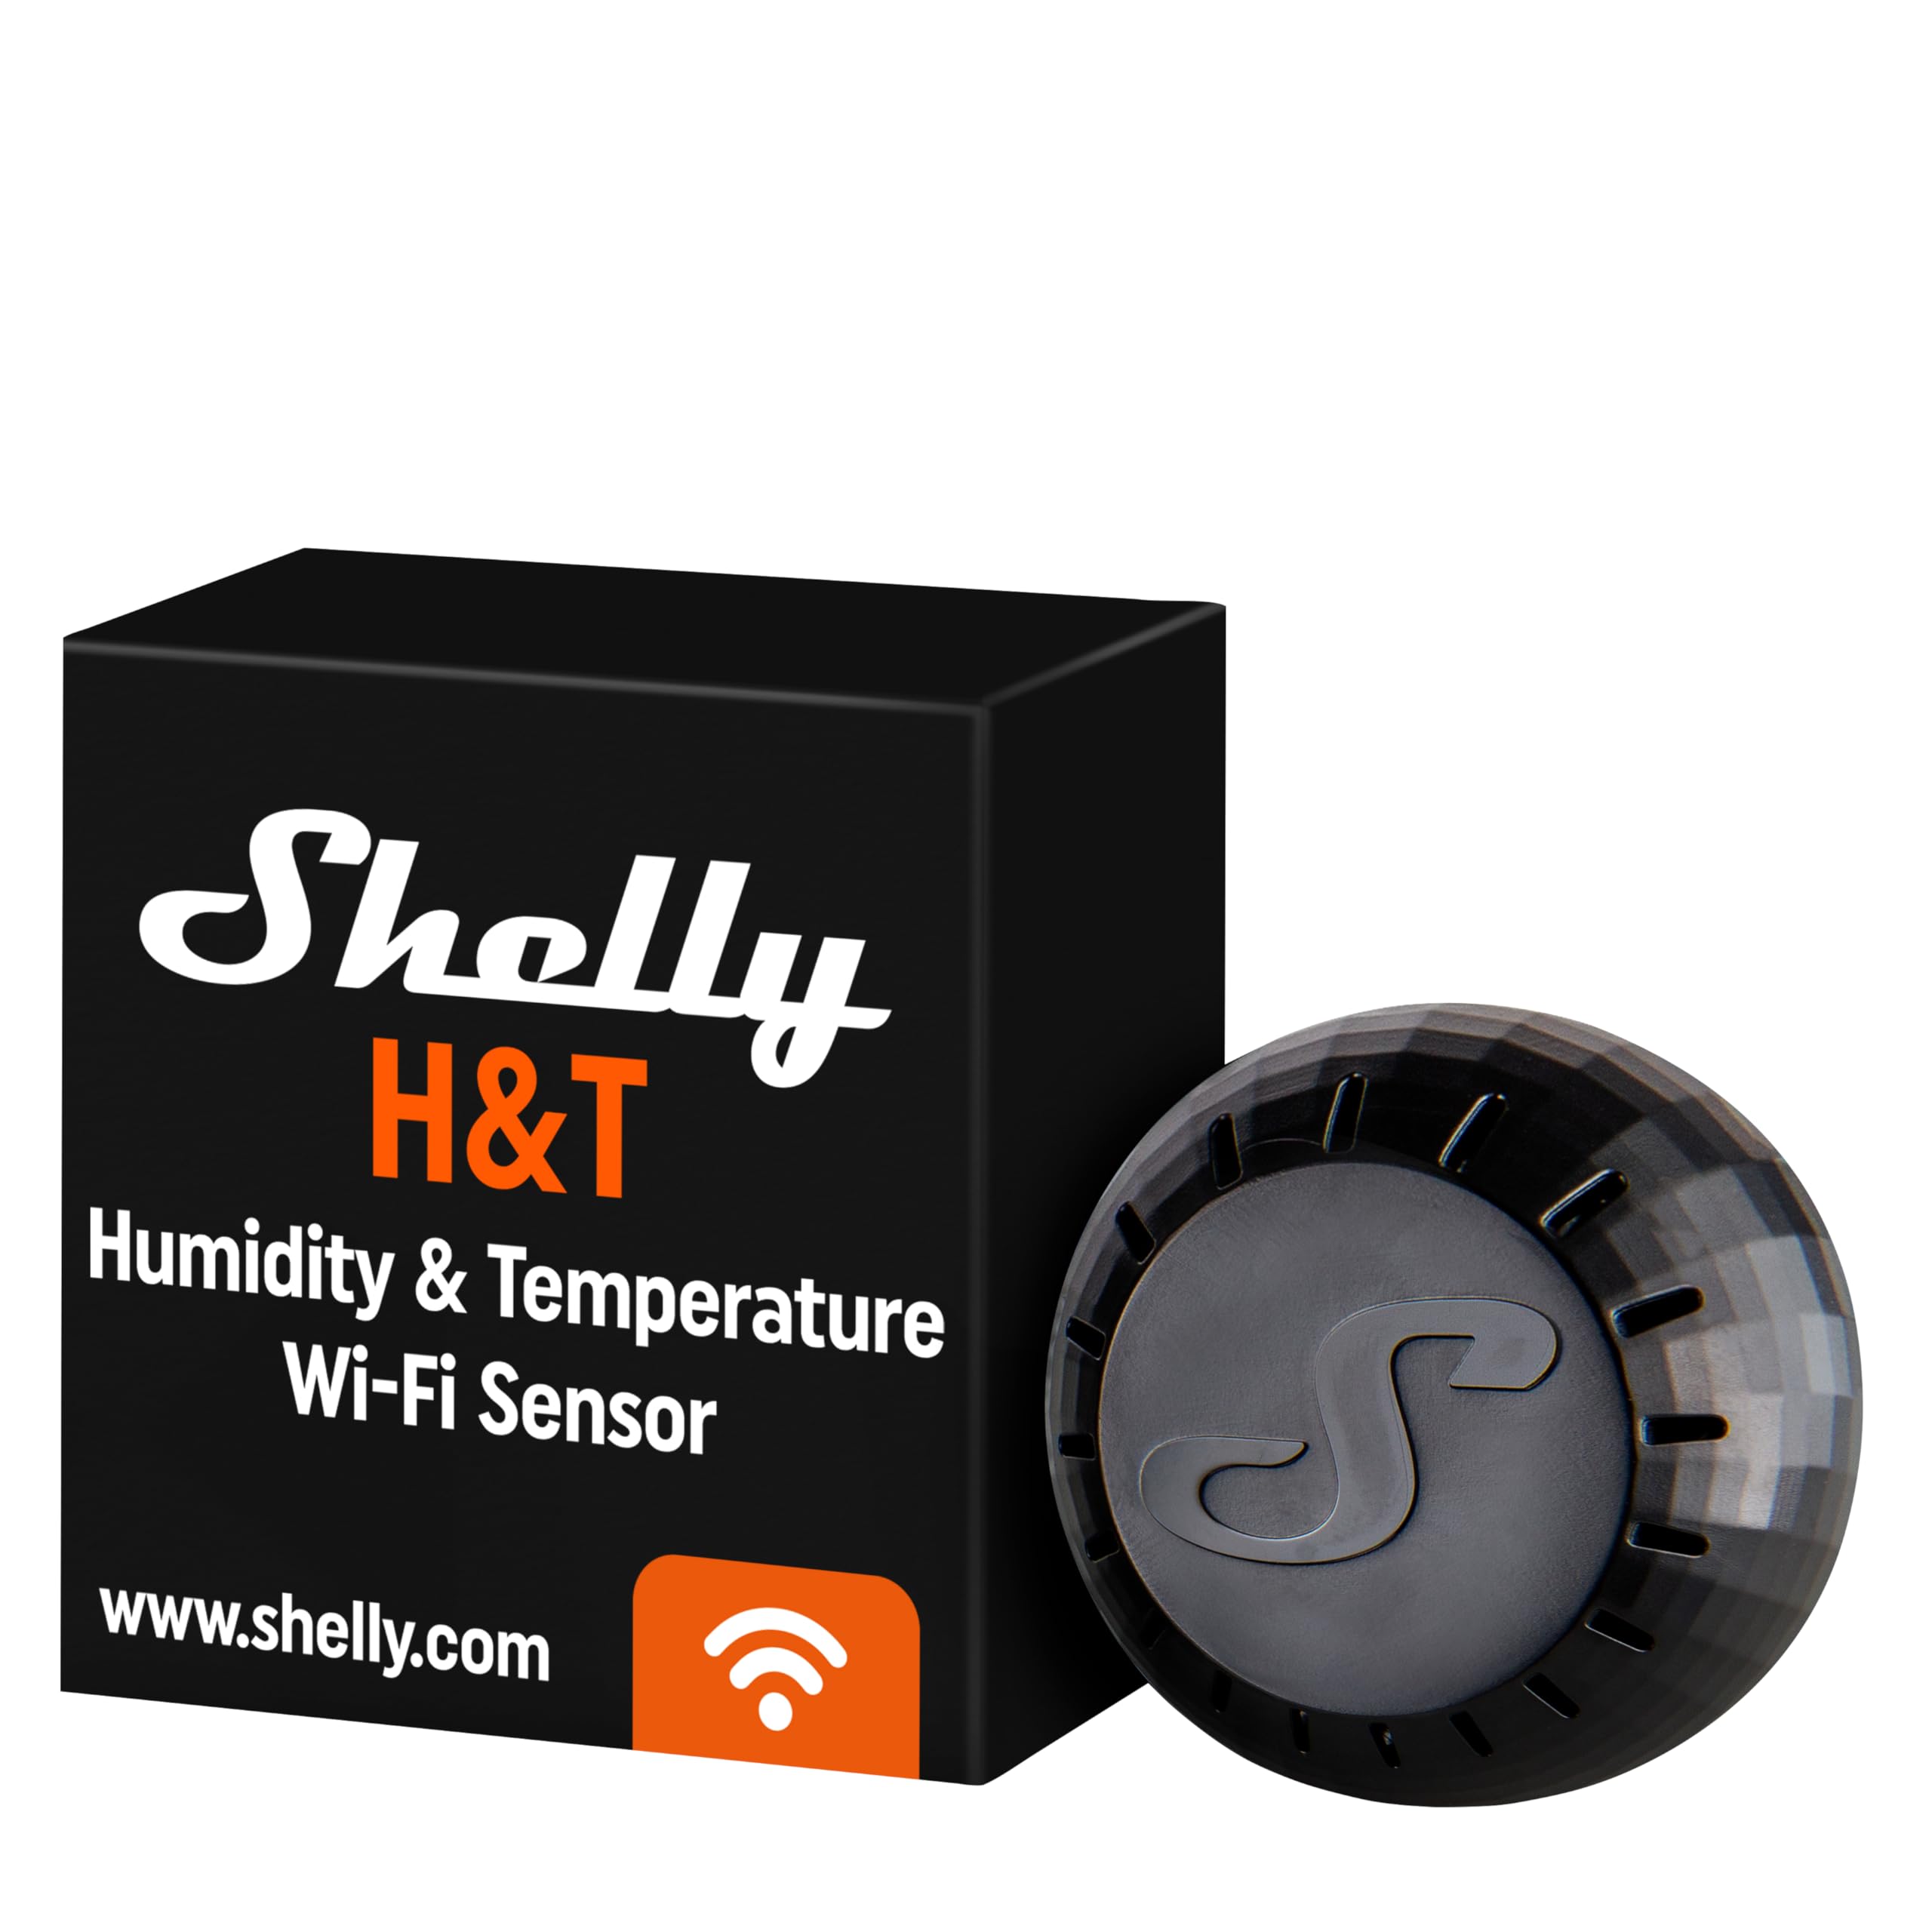
The Shelly H&T is a compact Wi-Fi humidity and temperature sensor designed for home automation. It features real-time monitoring, over a year of battery life, and seamless integration with the Shelly Smart Control App, allowing users to manage their home environment efficiently and effectively.
C**X
Works like a charm
I have a painting project I want to do this weekend in the garage. With the weather forecast calling for highs over 100F, I thought I'd get this to monitor the temp and humidity in the garage to ensure my paint will dry appropriately.Mine didn't come with a battery. But after resolving that, I turned it on, joined the AP, opened the configuration web page, added my home WiFi settings, rebooted the device and that was pretty much that. Once it restarted, HomeAssistant immediately detected the ShellyHT and prompted me to add it. (No need for MQTT.) I was worried based on other reviews... but in my case, setup was super easy.Initially, the battery level was only reading 6%. After updating the firmware, it reads 87%... which is more inline with what I'd expect for a Lithium battery out-of-the-box and not charging first myself.I didn't need so didn't try the mobile app or cloud services.Sitting next to a cheap AcuRite thermometer/hygrometer, it consistently reports the same temp and humidity in the house and in the garage. So I think I'm safe to assume it's accurate enough for my needs.
A**Y
Worst product ever
Honestly, this is the worst smart home product I've seen so far (and I've seen a lot of them). If you read through reviews, you may notice that setup is finicky. One needs to use a static IP to make it work reliably, there is no real guidance in the manual provided and all information needs to be extracted from some sketchy support forums. It took me a couple of hours to get the thing working somehow. But then I was taken to the next level. When I tried to connect the sensor to the cloud, I got a message stating that the device is already linked to another account. Few hours of digging through forums (Shelly support people sound like real jerks on them, rude and unsupportive. How about "you should not buy this product if you don't understand how it works"?) and I figured out that Shelly originally used short devices ID codes and they ran out of them, so it is possible to have two devices with the same ID. They solved the problem by increasing the ID number length but it requires a special firmware update. The firmware update is briefly discussed on a page in German and there is a bunch of download links and one needs to pretty much guess which one is needed. I flashed the sensor with it and it worked for some time. It sent the temperature and humidity data once an hour and drained the battery in 10 days, not a year as promised. At this point, I decide to send it back to Amazon. Will never buy a Shelly product again.
E**N
Setup steps that worked for me
So - as others have reported the setup is a bit wonky. Here is what I did. Perhaps it will help others so I thought I would share. note: I tried following the steps in the instructions with no success..... I do not recommend using them, and feel the following instructions should lead to a repeatable positive result.Note - This device can and will go to sleep.... During the setup process you may have to wake it up by pressing the button/stick. The LED will be solid red when it is on and connected to your network. The LED will stay blinking if it is in AP mode. To be clear you cannot save settings to the unit if it is asleep.1. Mine did come with a battery - remove the plastic cover and remove the plastic battery insulator.2. The light should start blinking - It will boot to AP mode and start broadcasting something like 343534-Shelly. You will see Shelly in the name of the SSID. Connect to this open network. I used a laptop for this.3. Open a web browser and go to 192.168.33.1 - this is the web GUI of the device.4. Go to the "Internet & Security" button/tab.5. Select WiFi Mode - Client6. Check the connect box7. Provide the SSID (broadcast network name) you want the Shelly to connect to.8. Input the password for the SSID.NOTE: While you can specify a static IP, I would recommend using a DHCP reservation outside of your scope if your router supports it. If not, a static IP is a helpful idea. Either way - keep track of the device's IP address static or otherwise. UPDATE: Set a static IP or the app will nag at you... it does seem to connect somewhat faster as well. Static for this device is the way to go.OPTIONAL: You can also put this on a separate SSID from you "home" devices for added security, i.e. you could have an isolated "iot" SSID on a different VLAN.9. Press SAVE - you will be dropped off the shelly network as the Temp/Humid device attempts to login onto the SSID you provided. (make sure the device did not go to sleep - red light on? or it will not save)10. Optional - once back on your home SSID (normal wireless SSID) you can go the IP address of the device and make sure it is connected and make any changes you may want to. To be clear - this has nothing to do with shelly cloud or the app... you are just making changes to the hardware device itself. *This is a good time to update the firmware if needed.11. download the Shelly app on your control device. NOTE - it will need to be on the same SSID as the temp/humid device12. login13. create a room - do not scan for devices (you can attempt to scan for devices but it did not work reliably for me. FYI - I had 2.4 disabled as well)14. From the main menu select add device by IP15. Add the Temp/Humid sensor IP and add it to the room you created.16. SaveSeems like a lot, but most of this is pretty easy. I probably wrote more than needed but wanted to be complete.Hope this helps - best of luck. Seems like a great device once you get it working!
A**R
Works great in small wood kiln
Testing out a small wood kiln and wanted to monitor temp and moisture in correlation with Home Assistant. Using stats to automate heat/fans/dehumidifier. Works as expected, no issues and looking like battery life won't be an issue in this situation either.
A**R
Eats batteries
Going though batteries like crazy. Once or twice a week. Needs external power.
A**A
La marca è una garanzia
Prodotto super, acquistato ad un’ottimo prezzo. Spedizione velocissima.
O**I
Tolles Shelly Produkt
Problemlose Inbetriebnahme mit der Shelly App. Stabile Übertragung der Temperatur und Luftfeuchtigkeit. Abruf in der Shelly Cloud, wenn man das möchte.Shelly ist beliebt für die problemlose Integration in andere Produkte/Apps..Die Integration im Home Assistent ist sehr einfach. Deutlich stabilere Verbindung als preiswertere noname zigbee Thermostate.
K**
Ras
Simple et efficace
U**N
Fick inte det jag beställde
Jag köpte den för att övervaka temperatur och fukt i mitt fritidshus när jag inte är där. Eftersom jag inte kan byta batteri när det tar slut beställde jag versionen med usb. Jag fick i alla fall versionen med batteri och dessutom ett ovanligt format på batteri som jag inte hade.
Trustpilot
2 months ago
1 month ago